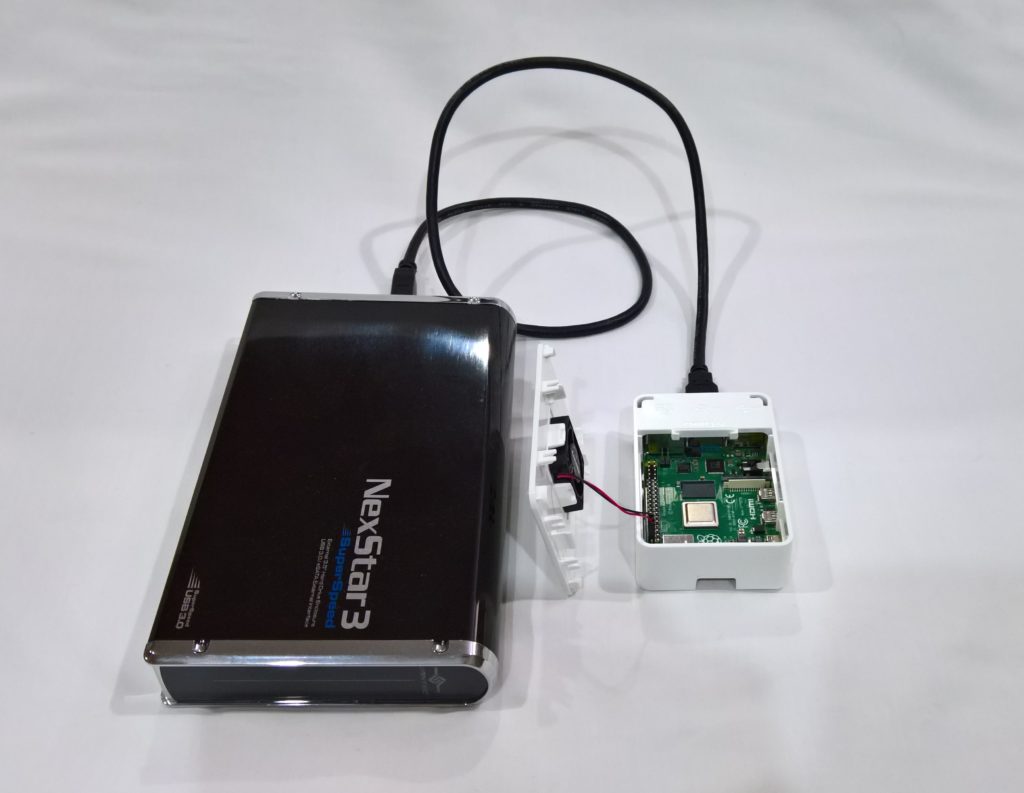
If you’re worried about destroying your SD Cards, need some more space, or just want to learn something new, I’m going to show you how to use an NFS root for the Raspberry Pi 4.
When you use an NFS Root with your Raspberry Pi, it stores the entire root filesystem on a remote NFS export (think of it as a network filesystem share). This means you’ll have as much space as the NFS export, and you’ll probably see way faster performance since it’ll be running at 1Gb/sec instead of the speed of the SD Card.
This also protects your SD card, as the majority of the reading and writing is performed on the physical storage of the NFS export, instead of the SD card in the Pi which has limited reads and writes.
What you’ll need
To get started, you’ll need:
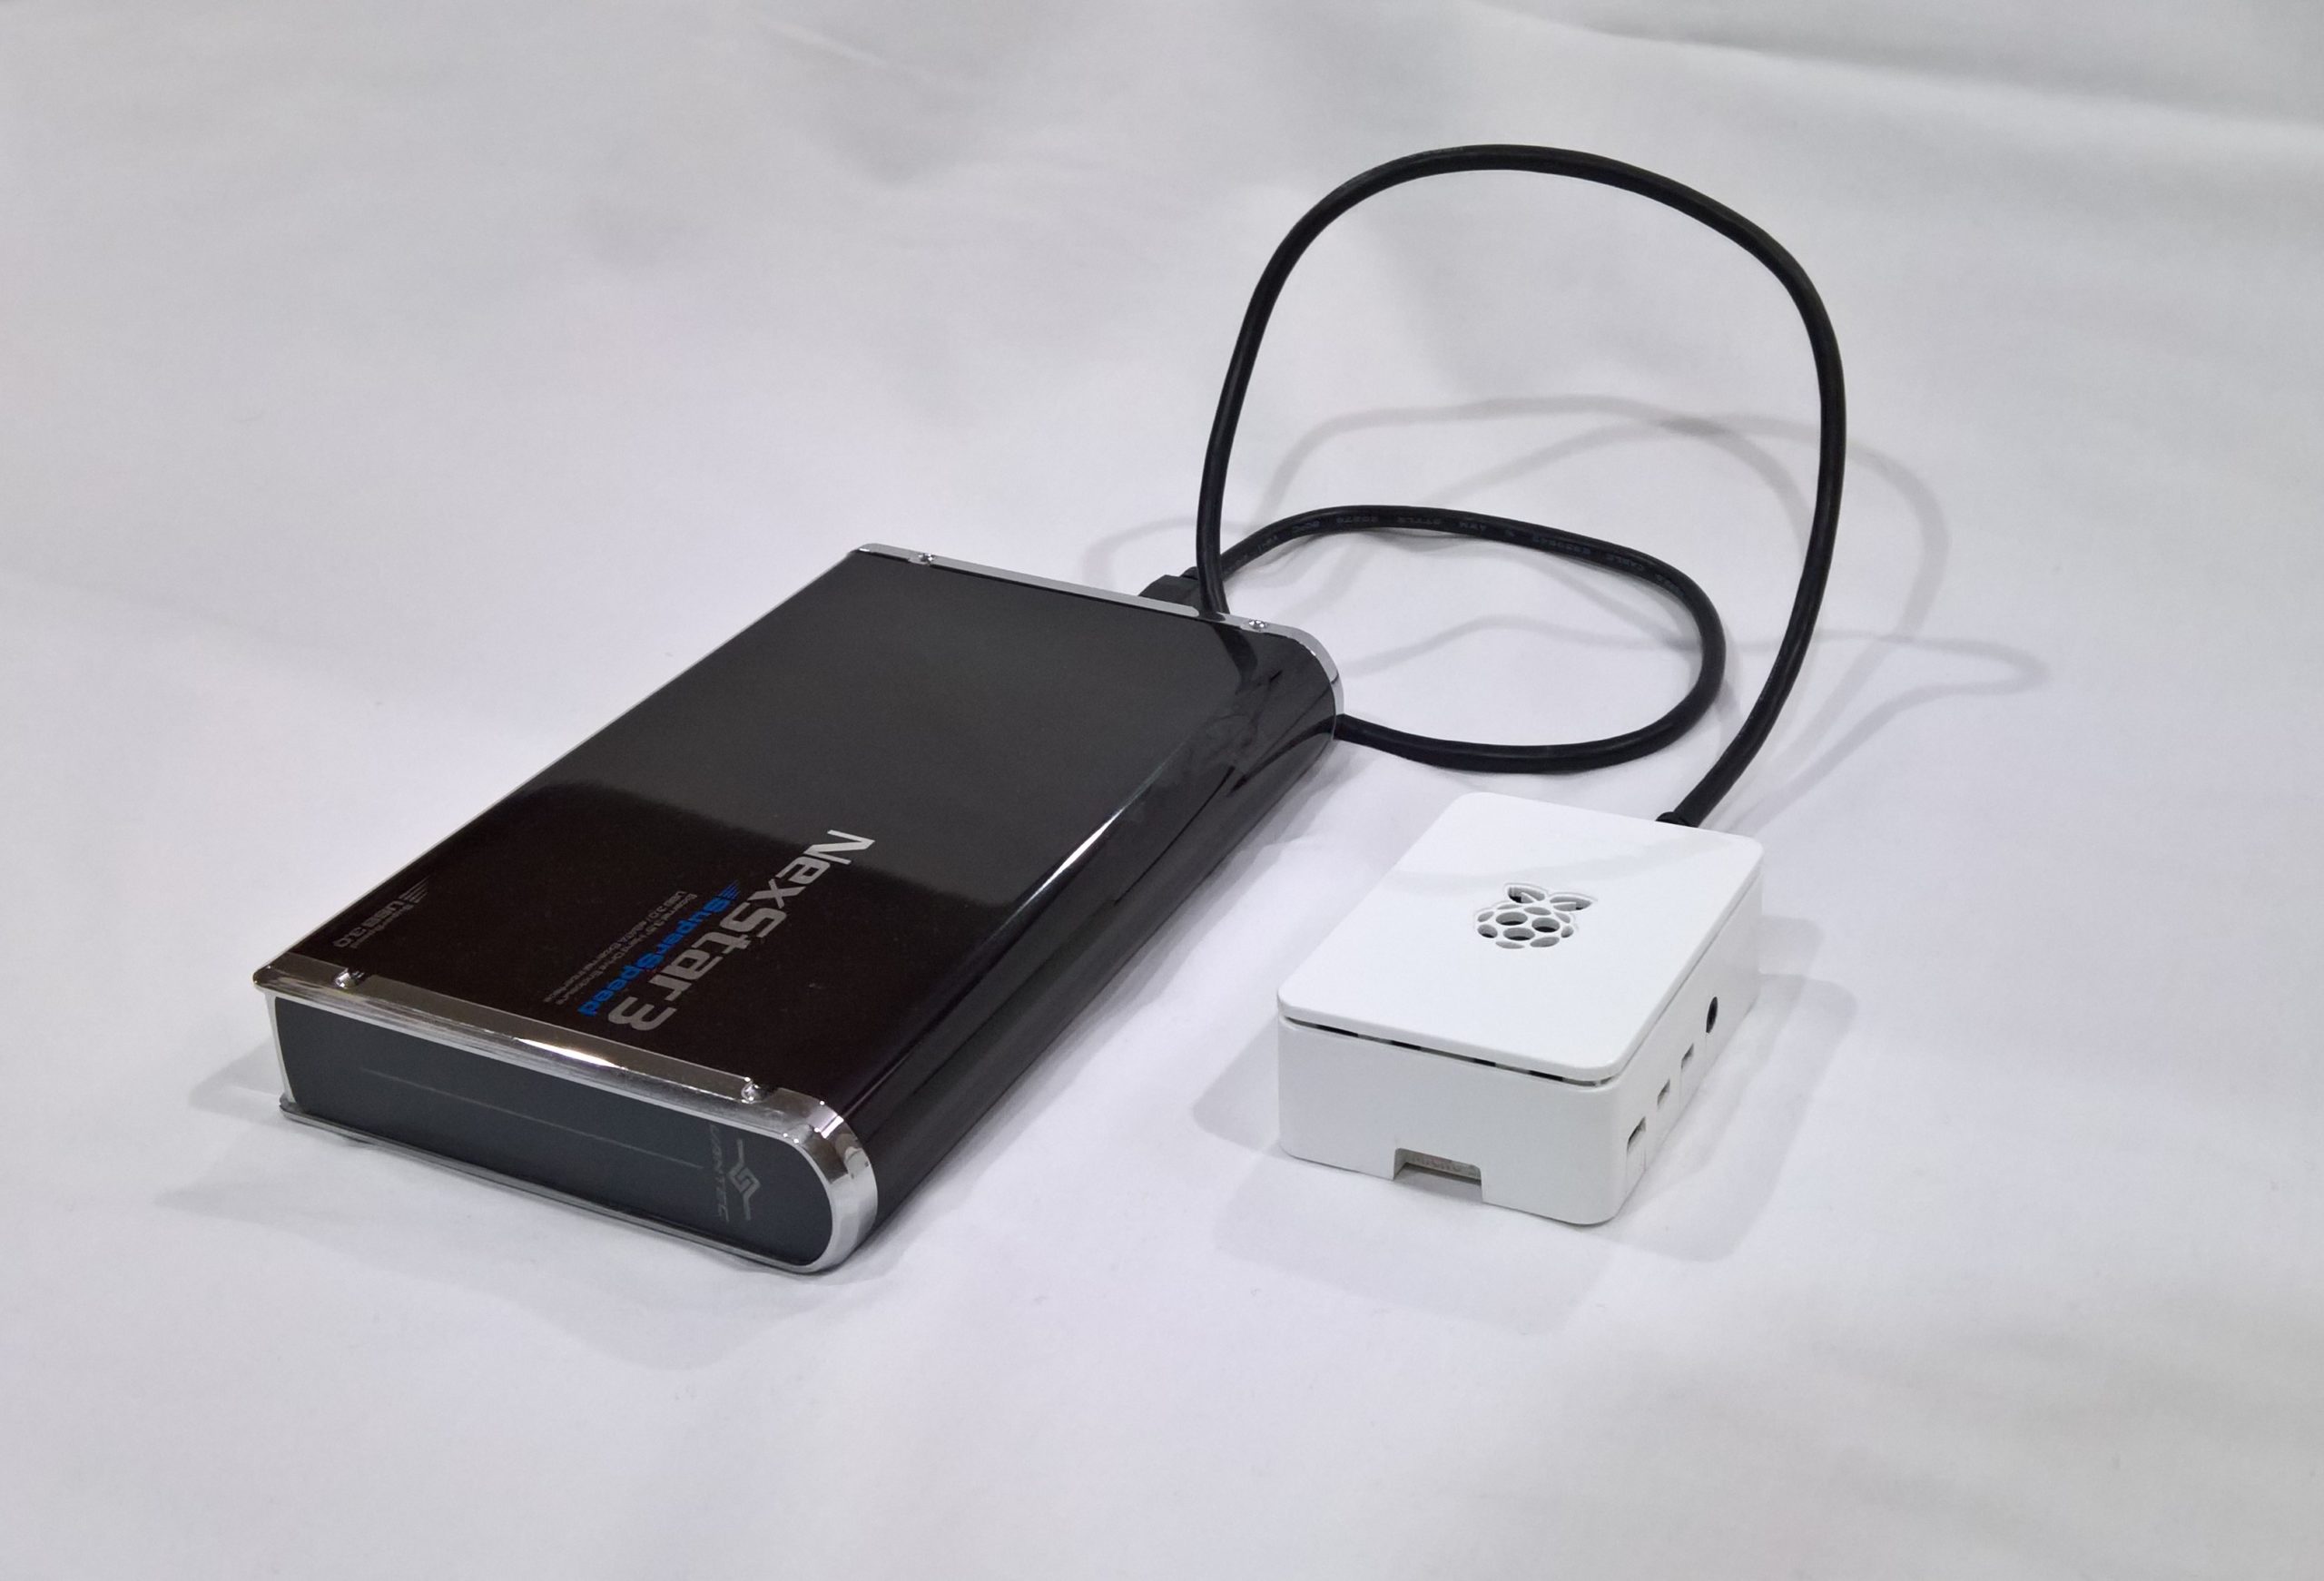
- Raspberry Pi 4
- Ubuntu or Raspbian for Raspberry Pi 4 Image
- A small SD card for the Boot Partition (1-2GB)
- SD card for the Raspberry Pi Linux image
- Access to another Linux system (workstation, or a Raspberry Pi)
There are multiple ways to do this, but I’m providing instructions on the easiest way it was for me to do this with the resources I had immediately available.
Instructions
To boot your Raspberry Pi 4 from an NFS root, multiple steps are involved. Below you’ll find the summary, and further down you’ll find the full instructions. You can click on an item below to go directly to the section.
The process:
- Write the Linux image to an SD Card
- Create boot SD Card for NFS Root
- Prep the Linux install for NFS Root
- Create the NFS Export
- Copy the Linux install to the NFS Export
- Copy and Modify the boot SD Card to use NFS Root
- Boot using SD Card and test NFS Root
See below for the individual instructions for each step.
Write the Linux image to an SD Card
First, we need to write the SD Card Linux image to your SD card. You’ll need to know which device your SD card will appear to your computer. In my case it was /dev/sdb, make sure you verify the right device or you could damage your current Linux install.
- Download Ubuntu or Raspbian for Raspberry Pi.
- unzip or unxz depending on distribution to uncompress the image file.
- Write the SD card image to SD card.
dd if=imagename.img of=/dev/sdb bs=4M
You now have an SD Card Linux install for your Raspberry Pi. We will later modify and then copy this to the NFS root and boot SD card.
Create boot SD Card for NFS Root
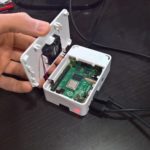
In this step, we’re going to create a bootable SD card that contains the Linux kernel and other needed files for the Raspberry Pi to boot.
This card will be installed in the Pi, load the kernel, and then kick off the boot process to load the NFS root.
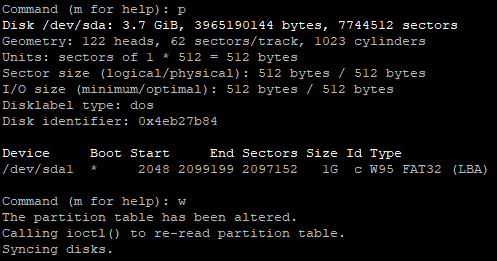
I previously created a post to create a boot partition layout for a Raspberry Pi. Please follow those instructions to complete this step.
Later on in this guide, you’ll be copying the boot partition from the SD Card Linux image, on to this newly created boot SD Card for the NFS Root.
Prep the Linux install for NFS Root
There’s a few things we have to do to prep the Ubuntu or Raspbian Linux install to be usable as an NFS Root.
- Boot the Raspbian or Ubuntu SD Card you create in the first step on your Raspberry Pi.
- Complete the first boot procedures. Create your account, and complete the setup.
- Enable and confirm SSH is working so you can troubleshoot.
- Install the NFS client files using the following command:
apt install nfs-common
- Open the /etc/network/interfaces file, and add the following line so that the Pi only get’s an IP once during boot:
iface eth0 inet manual
- Modify your /etc/fstab entries to reflect the NFS root and the new boot SD card as per below.
For step 6, we need to modify the /etc/fstab entry for the root fs. It is different depending on whether you’re using Ubuntu or Raspbian.
For Raspbian, your /etc/fstab should look like this:
proc /proc proc defaults 0 0
LABEL=boot /boot vfat defaults 0 2
NFS-SERVER-IP:/nfs-export/PI-Raspbian / nfs defaults 0 0
For Ubuntu, your /etc/fstab should look like this:
LABEL=system-boot /boot/firmware vfat defaults 0 2
/dev/nfs / nfs defaults 0 0
After you do this, the Linux SD image may not boot again if directly installed in the Raspberry Pi, so make sure you’ve made the proper modifications before powering it down.
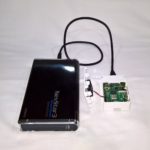
Create the NFS Export
In my case I used a Synology DS1813+ as an NFS server to host my Raspberry Pi NFS root images. But you can use any Linux server to host it.
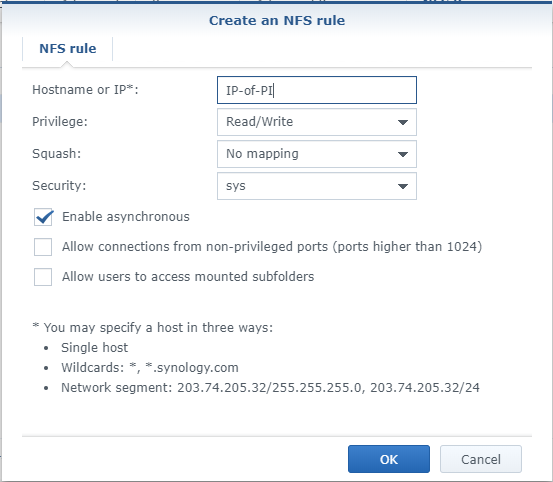
If you’re using a synology disk station, create a shared folder, disable the recycling bin, leave everything else default. Head over to the “NFS Permissions” tab and create an ACL entry for your PI and workstations. You can also add a network segment for your entire network (ex. 192.168.0.0/24″) instead of specifying individual IPs.
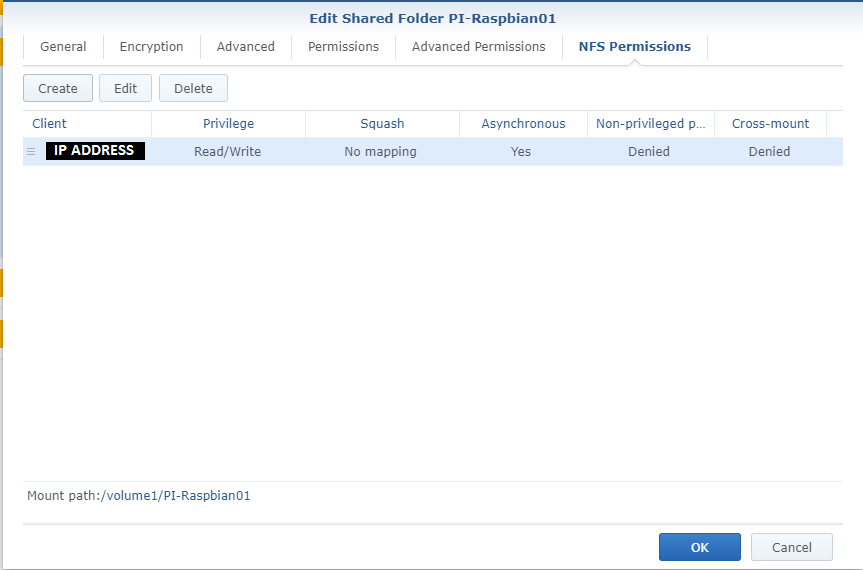
Once you create an entry, it’ll look like this. Note the “Mount path” in the lower part of the window.
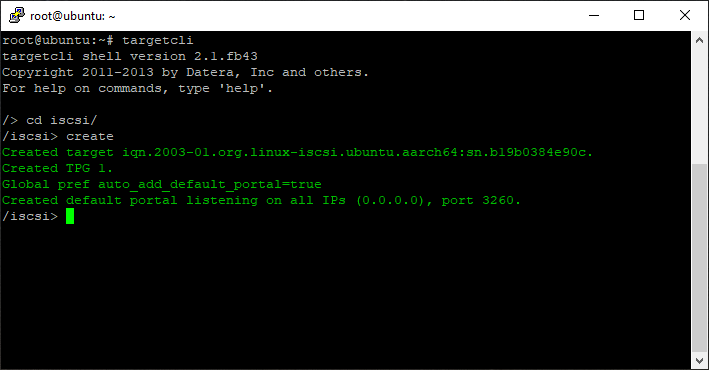
Now, if you’re using a standard Linux server the steps are different.
- Install the require NFS packages:
apt install nfs-kernel-server
- Create a directory, we’ll call it “nfs-export” on your root fs on the server:
mkdir /nfs-export/
- Then create a directory for the Raspberry Pi NFS Root:
mkdir /nfs-export/PI-ImageName
- Now edit your /etc/exports file and add this line to the file to export the path:
/nfs-export/PI-ImageName IPorNetworkRange(rw,no_root_squash,async,insecure)
- Reload the NFS exports to take affect:
exportfs -ra
Take note of the mount point and/or NFS export path, as this is the directory your Raspberry Pi will need to mount to access it’s NFS root. This is also the directory you will be copying your SD Card Linux install root FS to.
Copy the Linux install to the NFS Export
When you’re ready to copy your SD Card Linux install to your NFS Export, you’ll need to do the following. In my case I’ll be using an Ubuntu desktop computer to perform these steps.
When I insert the SD Card containing the Raspberry Pi Linux image, it appeared as /dev/sdb on my system. Please make sure you are using your proper device names to avoid using the wrong one to avoid writing or using the wrong disk.
Instructions to copy the root fs from the SD card to the NFS root export:
- Mount the root partition of the SD Card Linux install to a directory. In my case I used directory called “old”.
mount /dev/sdb2 old/
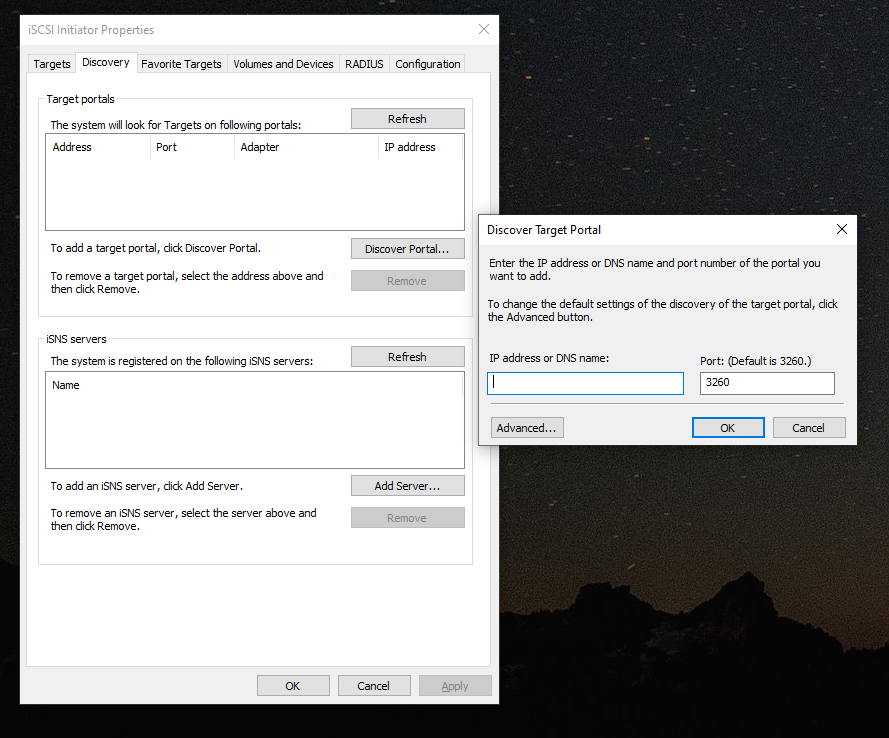
- Mount the NFS Export for the NFS Root to a directory. In my case I used a directory called “nfs”.
mount IPADDRESS:/nfs-export/PI-ImageName nfs/
- Use the rsync command to transfer the SD card Linux install to the NFS Root Export.
rsync -avxHAXS --numeric-ids --info=progress2 --progress old/ nfs/
- Unmount the directories.
umount old/
umount nfs/
Once this is complete, your OS root is now copied to the NFS root.
Copy and Modify the boot SD Card to use NFS Root
First we have to copy the boot partition from the SD Card Linux install to the boot SD card, then we need to modify the contents of the new boot SD card.
Top copy the boot files, follow these instructions.
- Mount the boot partition of the SD Card Linux install to a directory. In my case I used directory called “old”.
mount /dev/sdb1 old/
- Mount the new boot partition of the boot SD card to a new directory. In my case I used the directory called “new”.
mount /dev/sdc1 new/
- Use the rsync command to transfer the SD card Linux install boot partition to the new boot SD card.
rsync -avxHAXS --numeric-ids --info=progress2 --progress old/ new/
- Unmount the directories.
umount old/
umount new/
Now there are few steps we have to take to make to the boot SD card boot to an NFS Root.
We have to make a modification to the PI boot command. It is different depending on which Linux image (Ubuntu or Raspbian) you’re using.
First, insert the boot SD card, and mount it to a temporary directory.
mount /dev/sdc1 new/
If you’re running Ubuntu, your existing nobtcmd.txt should look like this:
dwc_otg.lpm_enable=0 console=tty1 root=/dev/mmcblk0p2 rootfstype=ext4 elevator=deadline rootwait
We’ll modify and replace some text to make it look like this. Don’t forget to change the command to reflect your IP and directory:
dwc_otg.lpm_enable=0 console=tty1 root=/dev/nfs nfsroot=IPADDRESS:/nfs-export/PI-Ubuntu,tcp,rw ip=dhcp rootfstype=nfs elevator=deadline rootwait
For Raspbian, your existing cmdline.txt should look like this:
console=serial0,115200 console=tty1 root=PARTUUID=97709164-02 rootfstype=ext4 elevator=deadline fsck.repair=yes rootwait
We’ll modify and replace some text to make it look like this. Don’t forget to change the command to reflect your IP and directory:
console=serial0,115200 console=tty1 root=/dev/nfs nfsroot=IPADDRESS:/nfs-export/PI-Raspbian,tcp rw vers=3 ip=dhcp rootfstype=nfs elevator=deadline rootwait
Once you make the modifications, save the file and unmount the SD card.
Your SD card is now ready to boot.
Boot using SD Card and test NFS Root
At this point, insert the boot SD Card in your Raspberry Pi and attempt to boot. All should be working now and it should boot and use the NFS root!
If you’re having issues, if the boot process stalls, or something doesn’t work right, look back and confirm you followed all the steps above properly.
You’re done!
You’re now complete and have a fully working NFS root for your Raspberry Pi. You’ll no longer worry about storage, have high speed access to it, and you’ll have some new skills!
And don’t forget to check out these Handy Tips, Tricks, and Commands for the Raspberry Pi 4!