NVIDIA GPU Manager
In May of 2023, NVIDIA released the NVIDIA GPU Manager for VMware vCenter. This appliance allows you to manage your NVIDIA vGPU Drivers for your VMware vSphere environment.
Since the release, I’ve had a chance to deploy it, test it, and use it, and want to share my findings.
In this post, I’ll cover the following (click to skip ahead):
Let’s get to it!
The NVIDIA GPU Manager is an (OVA) appliance that you can deploy in your VMware vSphere infrastructure (using vCenter and ESXi) to act as a driver (and update) repository for vLCM (vSphere Lifecycle Manager).
In addition to acting as a repo for vLCM, it also installs a plugin on your vCenter that provides a GUI for browsing, selecting, and downloading NVIDIA vGPU host drivers to the local repo running on the appliance. These updates can then be deployed using LCM to your hosts.
In short, this allows you to easily select, download, and deploy specific NVIDIA vGPU drivers to your ESXi hosts using vLCM baselines or images, simplifying the entire process.
The NVIDIA GPU Manager supports the following vSphere releases (vCenter and ESXi):
The NVIDIA GPU Manager supports vGPU driver releases 15.1 and later, including the new vGPU 16 release version.
To deploy the NVIDIA GPU Manager Appliance, we have to download an OVA (from NVIDIA’s website), then deploy and configure it.
See below for the step by step instructions:
After downloading the package and extracting, you should be left with the OVA, along with Release Notes, and the User Guide. I highly recommend reviewing the documentation at your leisure.
We will now deploy the NVIDIA GPU Manager OVA appliance:
We must now create a role and service account that the GPU Manager will use to connect to the vCenter server.
While the vCenter Administrator account will work, I highly recommend creating a service account specifically for the GPU Manager that only has the required permissions that are necessary for it to function.
Now, we will perform the initial configuration of the appliance. To configure the application, we must do the following:
We must now configure an API key on the NVIDIA Licensing portal, to allow your GPU Manager to download updates on your behalf.
And now we can finally log on to the vCenter interface, and perform the final configuration for the appliance.
We have now fully deployed and completed the base configuration for the NVIDIA GPU Manager.
In this section, I’ll be providing an overview of how to use the NVIDIA GPU Manager to manage, update, and deploy vGPU drivers to ESXi hosts. But first, lets go over the workflow…
The workflow is a simple one:
As you can see, there’s not much to it, despite all the configuration we had to do above. While it is very simple, it simplifies management quite a bit, especially if you’re using images with Lifecycle Manager.
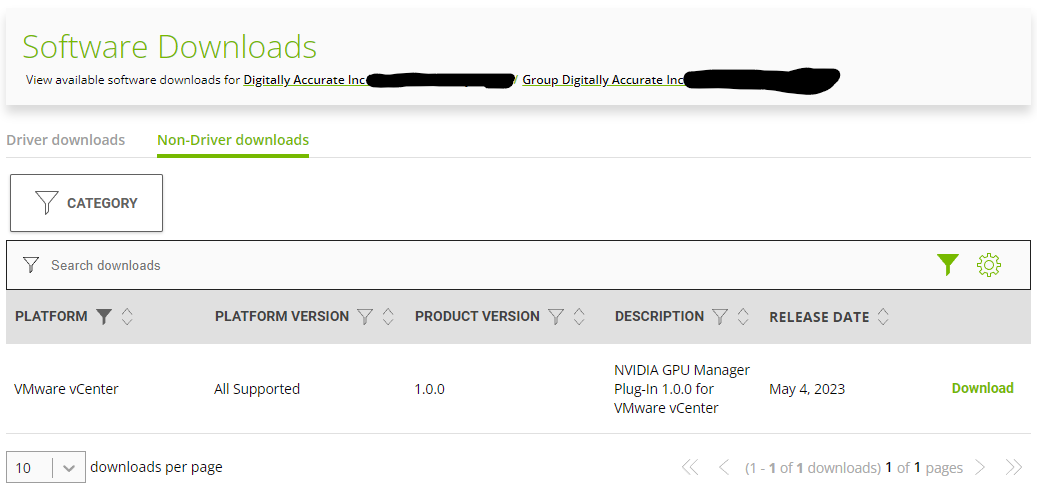
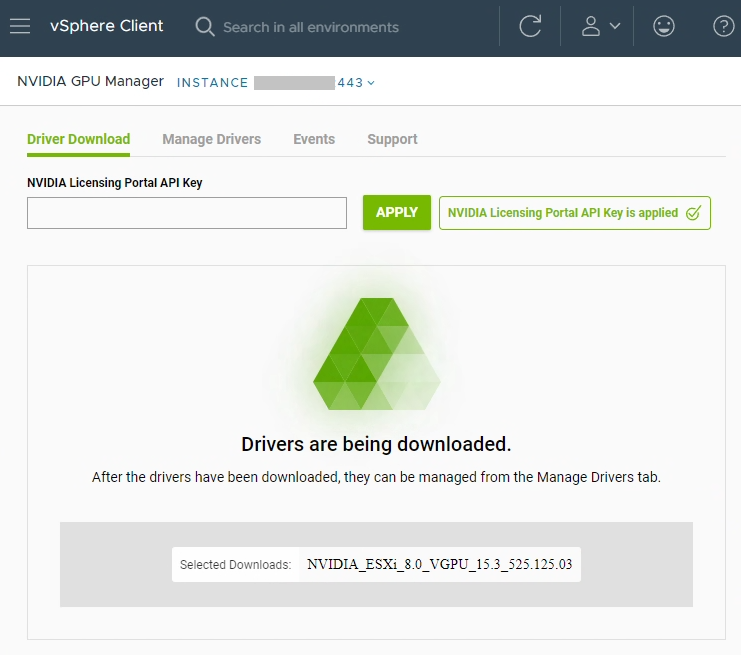
To choose and download the drivers, load up the plugin, use the filters to filter the list, and select your driver to download.
As you can see in the example, I chose to download the vGPU 15.3 host driver. Once completed, it’ll be made available in the repo being hosted on the appliance.
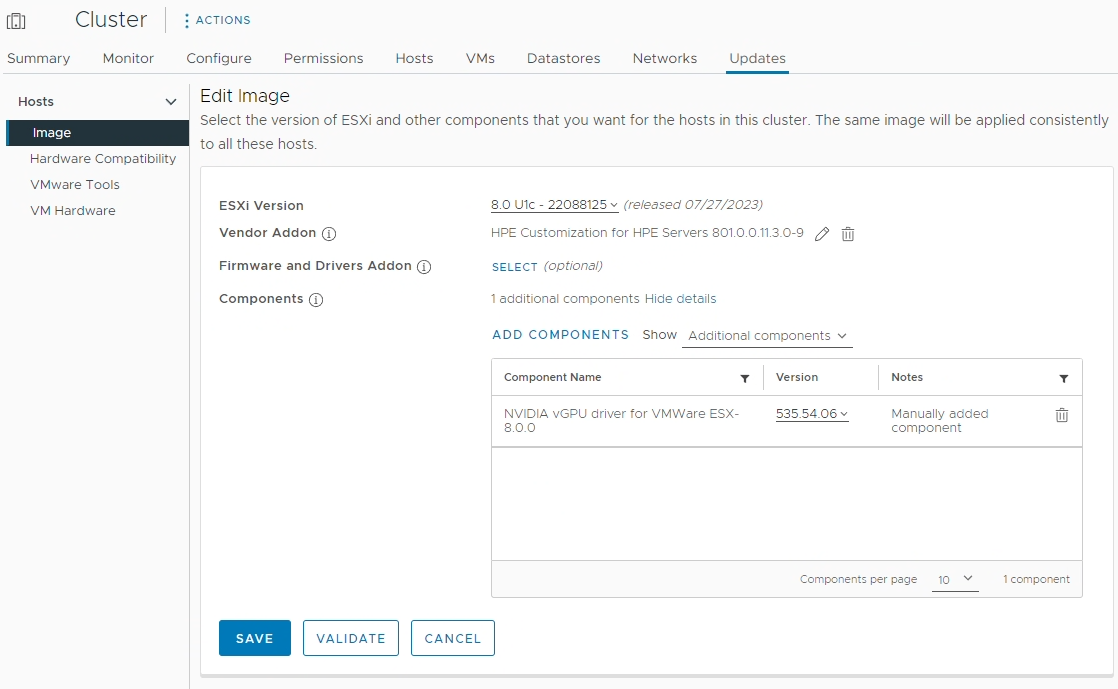
Once LCM has a changed to sync with the updated repos, the driver is then made available to be deployed. You can then deploy using baselines or host images.
In the example above, I added the vGPU 16 (535.54.06) host driver to my clusters update image, which I will then remediate and deploy to all the hosts in that cluster. The vGPU driver was made available from the download using GPU Manager.
While most of us frequently deploy new ESXi hosts, a question and task not oftenly discussed is how to properly decommission a VMware ESXi host. Some might be surprised to… Read More
This guide will outline the instructions to Disable the VMware Horizon Session Bar. These instructions can be used to disable the Horizon Session Bar (also known as the Horizon Client… Read More
Normally, any VMs that are NVIDIA vGPU enabled have to be manually migrated with manual vMotion if a host is placed in to maintenance mode, to evacuate the host. While… Read More
You may experience GPU issues with the VMware Horizon Indirect Display Driver in your environment when using 3rd party applications which incorrectly utilize the incorrect display adapter. This results with… Read More
Today we're going to cover a powerful little NAS being used with VMware; the Synology DS923+ VMware vSphere Use case and Configuration. This little (but powerful) NAS is perfect for… Read More
Today we'll go over how to install the vSphere vCenter Root Certificate on your client system. Certificates are designed to verify the identity of the systems, software, and/or resources we… Read More
View Comments
very cool, this is how I expected to work, I had installed and configured this a few months ago but have yet to update my vcenter hosts due to other projects.
Hello Sir,
Could you please share the ova file in a cloud? I cannot download it
I am immensely grateful for your time and consideration
Hi Mohammadreza,
Unfortunately I can't provide the file. You'll need to log on to the NVIDIA licensing portal and download the deployment files.
Cheers,
Stephen
Nice! The problem I have is when I try to deploy the ova (v1.3), there is no field to input a static ip address, dns, mask etc. It just states it will use static - ipv4. Since it has no ip, cannot access the gui. If I put it on a network it gets a dhcp address, and I can log into the portal and set the password. At this point I can change the ip address to static, but the self signed cert is using the old ip address. The only option is to upload a 3rd part SSL, no way to regenerate the self signed cert with the new ip. Seems like they put the cart before the horse.
Ah, my bad, deep in the user-guide (section 2.11.4 & 2.11.5) are the following to be run from the CLI web console. They completely omitted Step 8 "Customize template" in the later OVA versions:
Set the static ip:
sudo ./set-static-ip-cli.sh
Reset the self-signed cert:
sudo ./reset-ssl-cert.sh