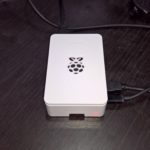
Worried about your Raspberry Pi 4 overheating? The CanaKit Raspberry Pi 4 case and Raspberry PI cooling fan is a must have!
I purchased the complete CanaKit Raspberry Pi 4 Start MAX Kit from Amazon (link here). It’s a great little starter kit, easy to get going, and best of all it was same day delivery with Amazon Prime (for those of us who are impatient).
I placed the order, and within 8 hours I received the package and was up and running with the Pi 4!
The PI cooling fan on the CanaKit case for the Raspberry Pi 4 can be somewhat loud once installed, however when doing CPU intensive operations, it’s a must have to keep your Pi cool.
Pi Cooling Fan stats
Originally I left the fan unhooked until I was compiling a linux kernel on the Raspberry Pi 4. I could feel the heat coming from the top of the case so I decided to check to see what the temperatures were.
root@raspberrypi:/home/stephenw# vcgencmd measure_temp
 temp=83.0'C
You can see that the CPU was running very hot! I sampled the CPU temp 3 times over a period of a minute to confirm it was running that hot.
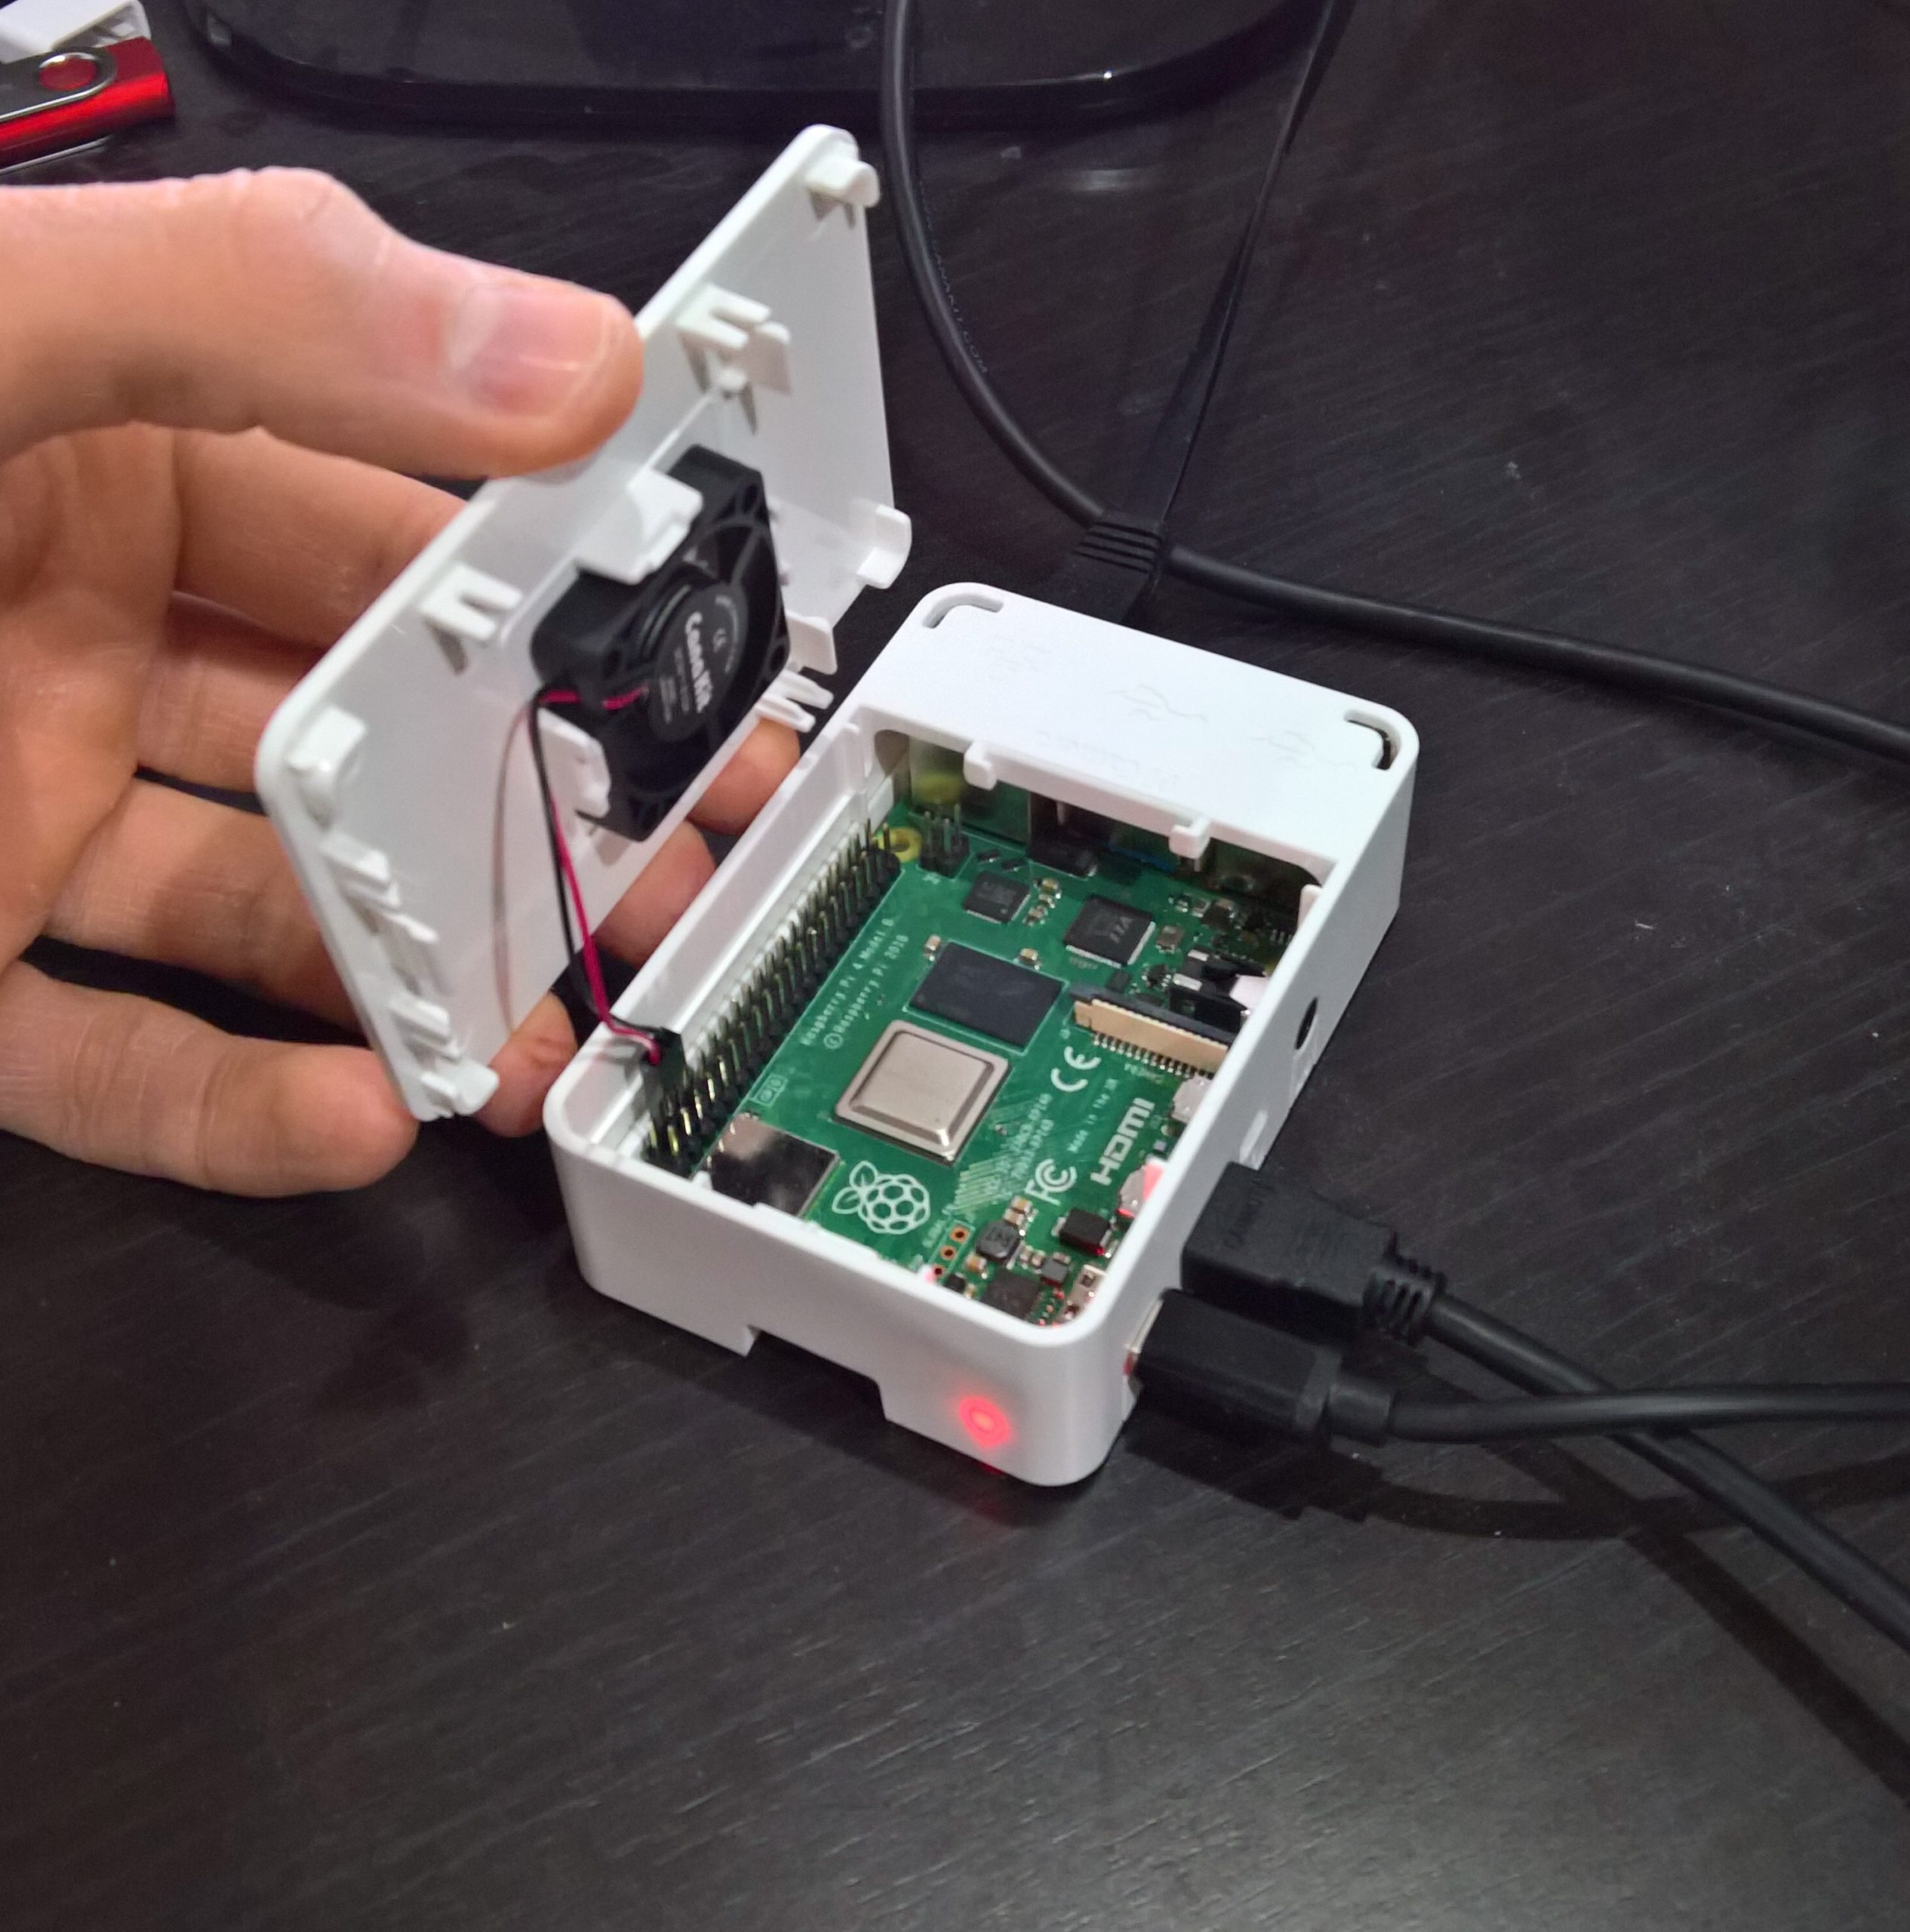
Immediately I decided to hook up the fan and install it in the case. After installing the fan and letting it run for a while, the temperature dropped dramatically.
root@raspberrypi:/home/stephenw# vcgencmd measure_temp
 temp=51.0'C
As you can see, the temperature went from a toasty 83 Celsius, down to 51 Celsius with the fan running. Please keep in mind these temperatures are after the latest firmware update which reduces operating temps.
Fan Connection
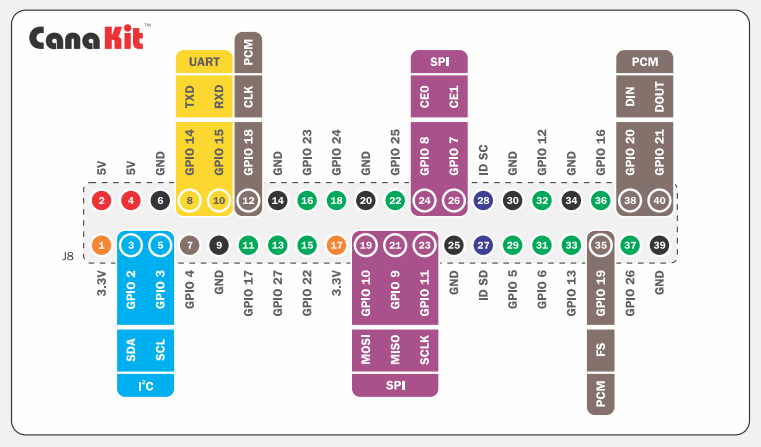
One thing that wasn’t included with the kit, was what pins to connect the PI cooling fan to. If you look at the manual included, or the GPIO pin out schematics, you’ll see that a 5V is available on pin 4, and ground is available right next to it on pin 6.
You can view the CanaKit Raspberry Pi 4 Quick Start guide here: https://www.canakit.com/Media/CanaKit-Raspberry-Pi-Quick-Start-Guide-4.0.pdf
I hooked my black wire up to ground (pin 6) first, and then connected the red wire up to the 5v pin 4.
Make sure you don’t cross or use the wrong pins or you may damage your Raspberry Pi!
[…] And don’t forget, this can take some time and is CPU intensive. I installed a fan to help cool the temperatures while compilling! […]
Do you know something I don’t? The label on the fan usually goes up to pull hot air out of the case.
Hey Alan,
I found a guide and video way back when I got it. I just followed that.
I think I actually ran some tests with the fans going both ways and noticed better temps with it this way.
I guess anything goes though!
Cheers
It’s better to have the fan blowing outside ambient air directly inward onto the heatsinks, taking advantage of the greater thermal difference between outside air and the heatsink temps.
If you were to pull the air out, it would be drawing out a mix of hot heatsink-air and warm case-air. Fresh cool air would be forced to enter from the periphery case vents and mix with already warmed case-air before it ever got a chance to waft across the heatsinks. Obviously, moving warm air across something is less efficacious than moving colder air across it. So, for maximum efficiency, blast air IN, directly at the heatsinks and let the now-warmed air blow out of the vents.
Don’t worry about wiring one of these fans up backwards. They’re simple motors. They’ll just simply spin backwards and won’t harm the electronics. But realize they will be blowing air backwards.
If the fan seems annoyingly loud on pin 4, you can move the red wire to pin 1. At 3.3v it will spin slower and quieter. Though you will, of course, get a little less cooling efficiency. But, depending on what kinds of loads you’re putting on your Pi, that may be Good Enough™.
If you have a Canakit case with the Raspberry-shaped fan holes, as depicted above, I would highly suggest getting a 1″ Hole Saw or a Dremel mototool and carefully cut out the logo between the fan mounting pins, making it one big hole. If you inspect the current design with the fan installed, you’ll find that a good 60% of the holes are blocked by the fan motor hub itself and do absolutely nothing, while another 30% do not line up with the fan blades and do next to nothing. While the Raspberry logo is cute and all, it is an incredibly inefficient design for fan holes, defeats the whole purpose of having a fan to begin with and, from an engineering standpoint, earns itself its own loud raspberry. A single big hole, the full diameter of the fan blades, lets the fan move the maximum amount of air possible.
My $0.02 *thumbs up*
Actually, he’s right about the fan label going down. With HomeBridge running and the label turned upwards so you could see it through the grill on top, I was idling at 46C on my 4B. With it reversed under identical conditions, I was idling at 40C. With no fan I was at 49-50C. At least with this case design (it does have vents on the bottom and upper rim), having the fan blow the hot air out seems to do a better job pulling heat off the heatsinks. Funny, because the reason I reversed the fan was because of aesthetics. However, I have a very quiet office, and the fan is much louder than my 5K iMac with an i9-9900K usually runs, even at twice the distance. I may end up moving it or looking into getting a quieter fan, but for most people it’s probably quiet enough.
Thank you for the information. I appreciate it.
I’ve been messing around with the Canakit fan I received with my RPi 4 kit. The Canakit website says it is expected to draw 0.12 amps, and the sticker on the fan says so too. Using a high quality Fluke 117 multimeter, I am measuring only .047 amps when running the fan connected to pin #2 (5V) and pin #6 (ground). Is there anybody else out there who has measured this current? I’m trying to figure out if the fan spec is wrong, the meter is wrong, or pin #6 is current limited.
Is there a way to control the fan speed, instead of running it at full speed all the time?
I don’t believe there is.
@Aravin: to control speed you can add a potentiometer. To turn on and off via logic, you need a transistor or a relay EXTERNAL LINK REMOVED
Just to confirm; whith the fan logo facing into the kit, is it blowing in or out?
If you want to control the fan speed just buy a 3 wires fan. https://www.raspberrypi.org/products/raspberry-pi-4-case-fan/