Oct 252022
 
Screenshot of Horizon Agent for Linux on Ubuntu 22.04 LTS

Today I’m going to show you the process to install Horizon Agent for Linux on Ubuntu 22.04 LTS. We’ll be installing the Horizon Agent for Linux from VMware Horizon 8 version 2209.

The official documentation from VMware is helpful, but unfortunately doesn’t provide all the information to get up and running quickly, which is why I’ve put together this guide as a “Quick Start”.

Please note, that this is just a guide to get to the point where you can install NVIDIA vGPU drivers and have installed the Horizon Agent for Linux on the VM. This will provide you with a persistent VM that you can use with Horizon, and the instructions can be adapted for use in a non-persistent instant clone environment as well.

Screenshot of Horizon Agent for Linux on Ubuntu 22.04 LTS
Horizon Agent for Linux on Ubuntu 22.04 LTS

I highly recommend reading VMware’s documentation for Linux Desktops and Applications in Horizon.

Requirements

  • VMware Horizon 8 (I’m running VMware Horizon 8 2209)
  • Horizon Enterprise or Horizon for Linux Licensing
  • Ubuntu 22.04 LTS Installer ISO (download here)
  • Horizon Agent for Linux (download here)
  • Functioning internal DNS

Instructions

  1. Create a VM on your vCenter Server, attached the Ubuntu 22.04 LTS ISO, and install Ubuntu
  2. Install any Root CA’s or modifications you need for network access (usually not needed unless you’re on an enterprise network)
  3. Update Ubuntu as root
    apt update
    apt upgrade
    reboot
  4. Install software needed for VMware Horizon Agent for Linux as root
    apt install make gcc libglvnd-dev open-vm-tools open-vm-tools-dev open-vm-tools-desktop
  5. Install your software (Chrome, etc.)
  6. Install NVIDIA vGPU drivers if you are using NVIDIA vGPU (this must be performed before install the Horizon Agent). Make sure the installer modifies and configures the X configuration files.
  7. Install the Horizon Agent For Linux as root (accepting TOS, enabling audio, and disabling SSO).
    See Command-line Options for Installing Horizon Agent for Linux
    ./install_viewagent.sh -A yes -a yes -S no
  8. Reboot the Ubuntu VM
  9. Log on to your Horizon Connection Server
  10. Create a manual pool and configure it
  11. Add the Ubuntu 22.04 LTS VM to the manual desktop pool
  12. Entitle the User account to the desktop pool and assign to the VM
  13. Connect to the Ubuntu 22.04 Linux VDI VM from the VMware Horizon Client

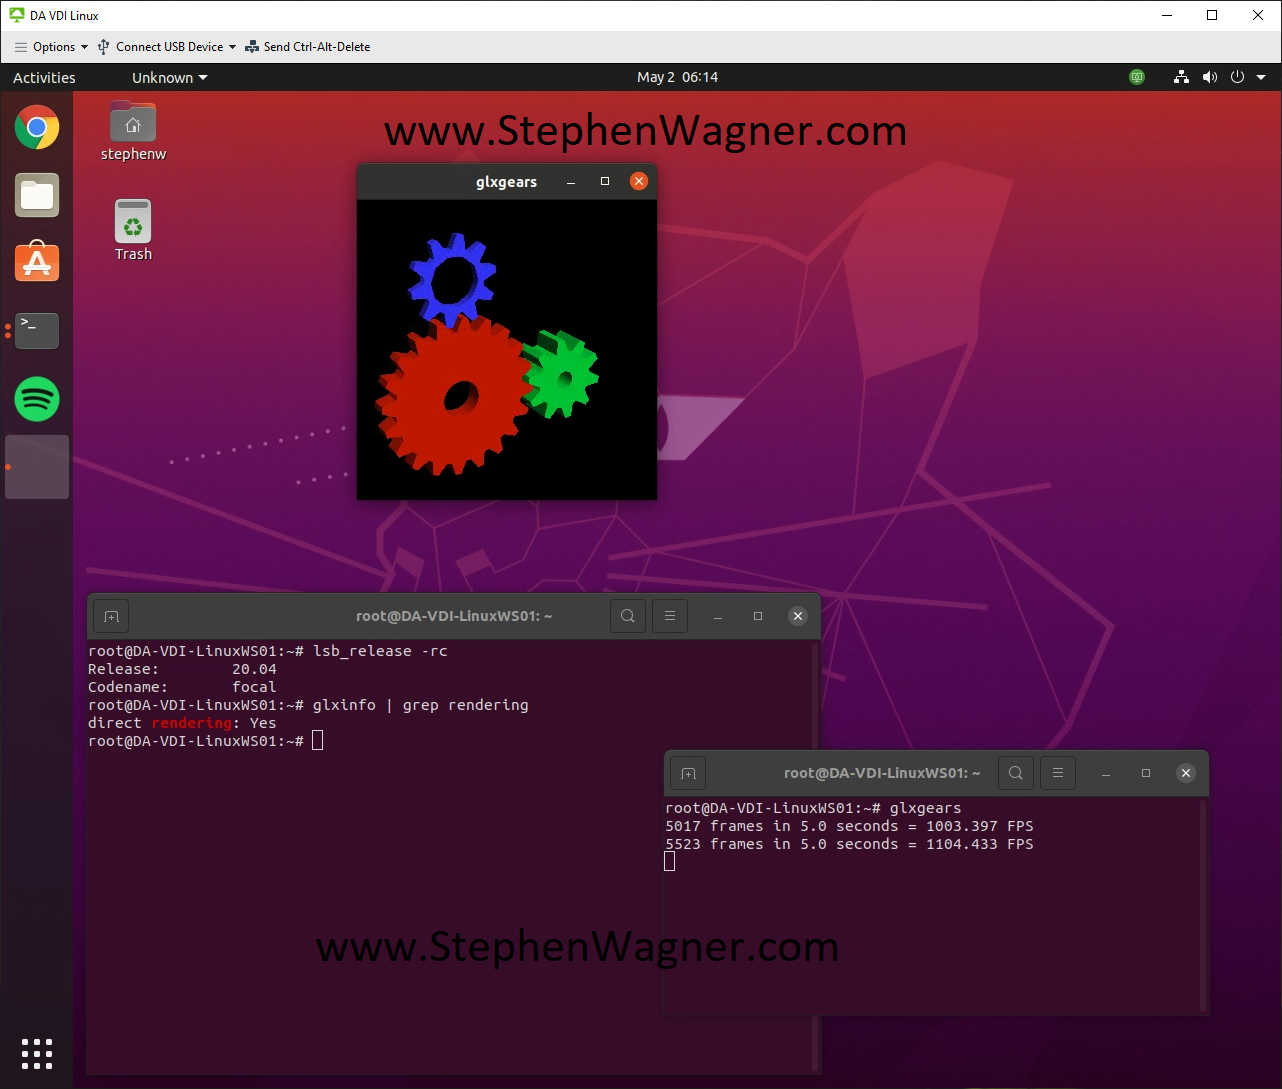
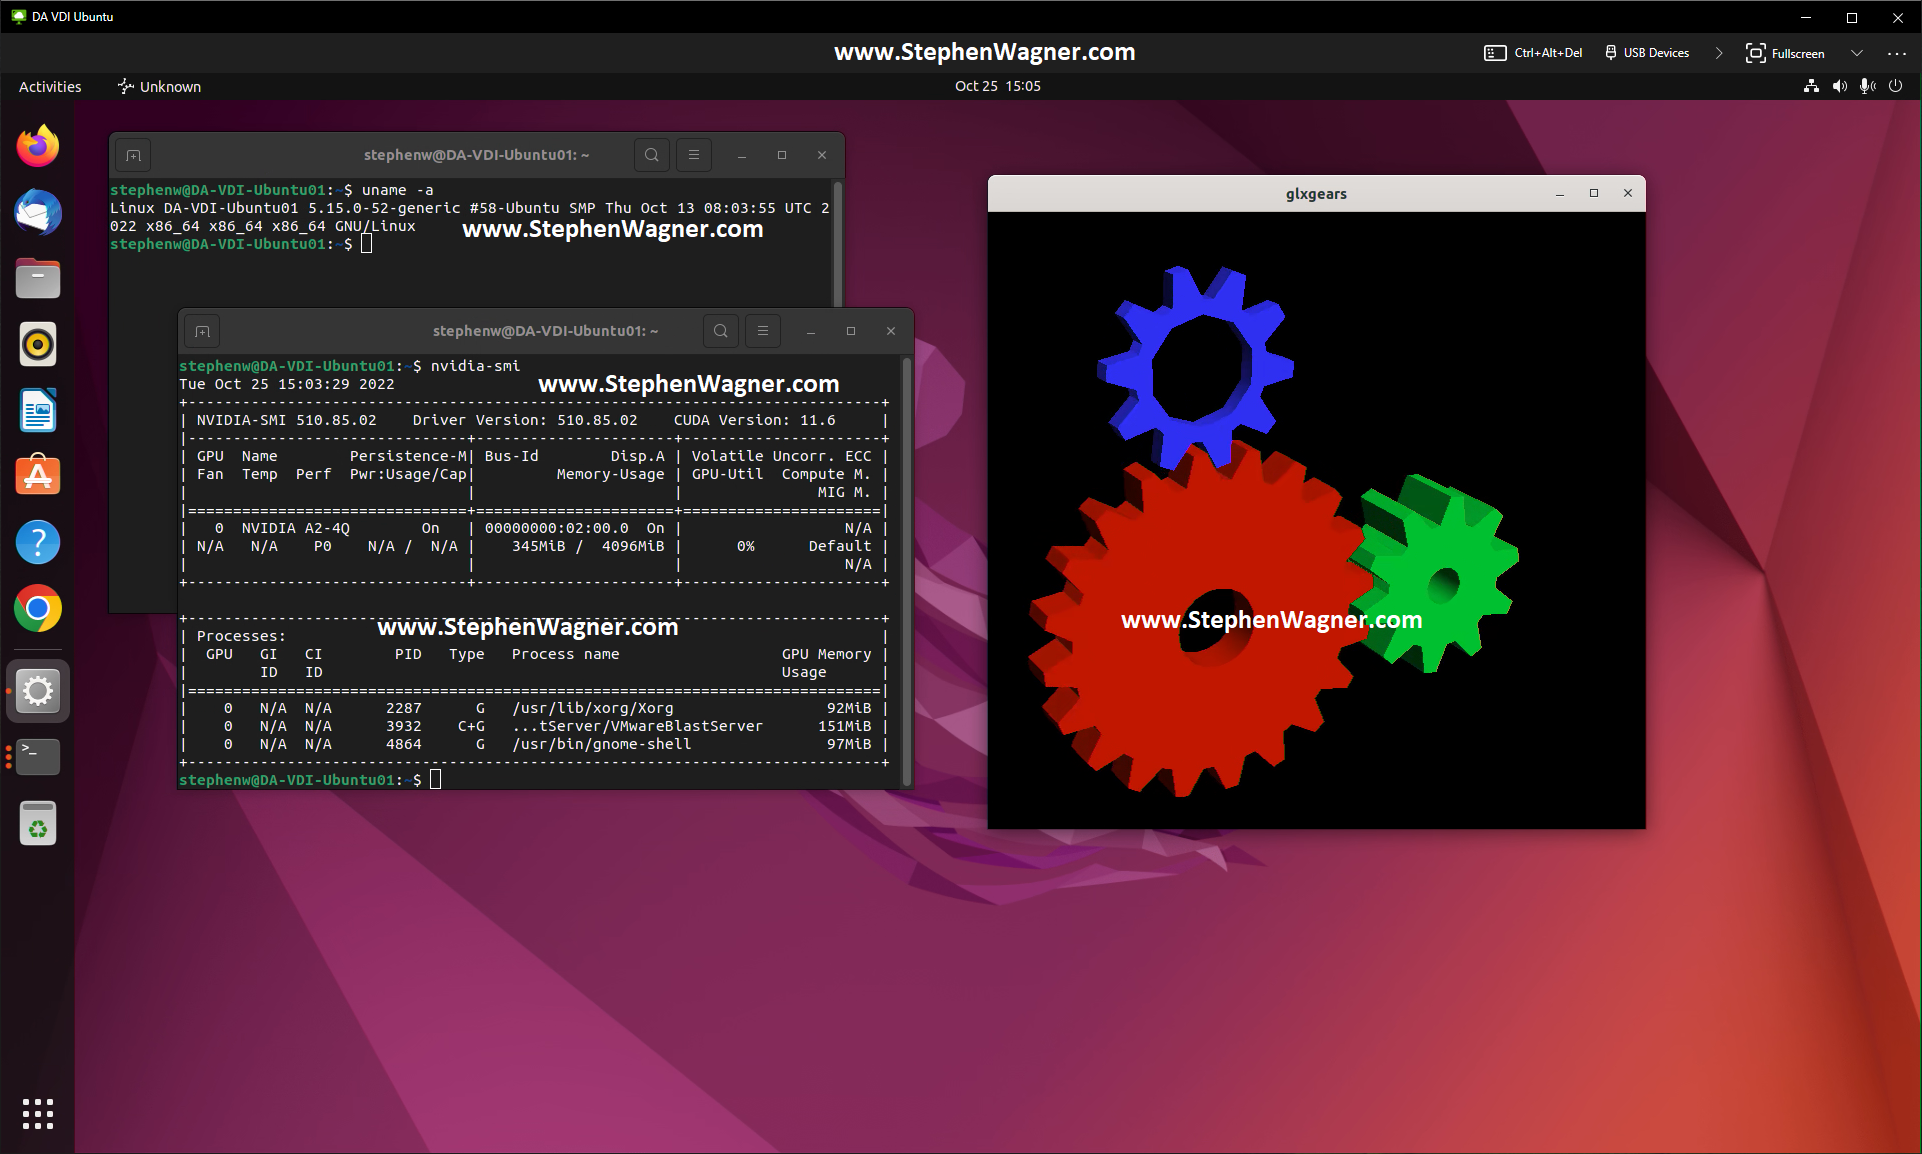
You should now be able to connect to the Ubuntu Linux VDI VM using the VMware Horizon client. Additionally, if you installed the vGPU drivers for NVIDIA vGPU, you should have full 3D acceleration and functionality.

May 022021
 
Ubuntu Orange Logo

In this post, I’m going to provide instructions and a guide on how to install the Horizon Agent for Linux on Ubuntu 20.04 LTS. This will allow you to run and connect to an Ubuntu VDI VM with VMware Horizon View.

In the past I’ve created instructions on how to do this on earlier versions of Ubuntu, as well as RedHat Linux, but it’s getting easier than ever and requires less steps than previous guides.

I decided to create the updated tutorial after purchasing an AMD S7150 x2 and wanted to get it up and running with Ubuntu 20.04 LTS and see if it works.

Screenshot of VMware Horizon for Linux on Ubuntu 20.04 LTS
VMware Horizon for Linux on Ubuntu 20.04 LTS

I also highly recommend reading the documentation made available for VMware Horizon: Setting Up Linux Desktops in Horizon.

Requirements

  • VMware Horizon View 8 (I’m running version 2103)
  • Horizon Enterprise or Horizon for Linux Licensing
  • Horizon VDI environment that’s functioning and working
  • Ubuntu 20.04 LTS Installer ISO (download here)
  • Horizon Agent for Linux (download here)
  • Functioning internal DNS

Instructions

  1. Create a VM on your vCenter Server, attached the Ubuntu 20.04 LTS ISO, and install Ubuntu
  2. Install any Root CA’s or modifications you need for network access (usually not needed unless you’re on an enterprise network)
  3. Update Ubuntu as root
    apt update
    apt upgrade
  4. Install software needed for VMware Horizon Agent for Linux as root
    apt install openssh-server python python-dbus python-gobject open-vm-tools-desktop
  5. Install your software (Chrome, etc.)
  6. Install any vGPU or GPU Drivers you need before installing the Horizon Agent
  7. Install the Horizon Agent For Linux as root (Enabling Audio, Disabling SSO)
    ./install_viewagent.sh -a yes -S no
  8. Reboot the Ubuntu VM
  9. Log on to your Horizon Connection Server
  10. Create a manual pool and configure it
  11. Add the Ubuntu 20.04 LTS VM to the manual desktop pool
  12. Entitle the User account to the desktop pool and assign to the VM
  13. Connect to the Ubuntu 20.04 Linux VDI VM from the VMware Horizon Client

And that’s it, you should now be running.

As for the AMD S7150 x2, I noticed that Ubuntu 20.04 LTS came with the drivers for it called “amdgpu”. Please note that this driver does not work with VMware Horizon View. After installing “mesa-utils”, running “glxgears” and “glxinfo” it did appear that 3D Acceleration was working, however after further investigation it turned out this is CPU rendering and not using the S7150 x2 GPU.

You now have a VDI VM running Ubuntu Linux on VMware Horizon View.

May 052019
 
Ubuntu Orange Logo

After upgrading a computer from Ubuntu 16.04 LTS to Ubuntu 18.04 LTS or Ubuntu 18.04 LTS to Ubuntu 20.04 LTS, during boot the screen goes blank (turns black), all HD disk activity halts, and the system becomes frozen. This event can also occur on a fresh installation or when updates are installed.

This is due to a video mode issue that causes the system to halt or freeze. It’s much like the issue I described here on a Fedora Linux system.

Temporary Fix

To get the system to boot:

  1. After turning on your PC, hold the right SHIFT key to get to the GRUB bootloader if your computer uses a BIOS. If your computer uses EFI or UEFI, continuously tap the “ESC” (escape) key after turning on your PC.
  2. Once GRUB is open, press the “e” key to edit the first highlighted entry “Ubuntu”.
  3. Move your cursor down to the line that starts with “linux”, and use the right arrow key to find the section with the words “ro quiet splash”.
  4. Add “nomodeset” after these words.
    nomodeset
  5. Feel free to remove “quiet” and “splash” for more verbosity to troubleshoot the boot process.
  6. Press “CTRL + X” or “F10” to boot.
  7. The system should now boot.

Permanent Fix

To permanently resolve the issue:

  1. Once the system has booted using the temporary fix, log in.
  2. Open a terminal window (Applications -> Terminal, or press the “Start” button and type terminal).
  3. Either “su” in to root, or use “sudo” to open your favorite text editor and edit the file “/etc/default/grub” (I use nano which can be install by running “apt install nano”):
    nano /etc/default/grub
  4. Locate the line with the variable “GRUB_CMDLINE_LINUX_DEFAULT”, and add “nomodeset” to the variables. Feel free to remove “splash” and “quiet” if you’d like text boot. Here’s an example of my line after editing (yours will look different):
    GRUB_CMDLINE_LINUX_DEFAULT="quiet splash nomodeset"
  5. Save the file and exit the text editor (CTRL+X to quit, the press “y” and enter to save).
  6. At the bash prompt, execute the following command to regenerate the grub.conf file on the /boot partition from your new default file:
    update-grub
  7. Restart your system, it should now boot!

Please Note: Always make sure you have a full system backup before modifying any system files!

May 042019
 
Ubuntu Orange Logo

You’re trying to install Ubuntu on your computer, but it freezes due to lack of resources, specifically memory. This can happen when you’re trying to re-purpose old laptops, netbooks, etc.

This recently happened to met as I tried to install Ubuntu on an old HP Netbook. Originally I used Fedora, but had to switch to Ubuntu due to library issues (I wanted to use the VMware Horizon Client on it).

Unfortunately, when I’d kick off the USB installer, the OS would completely freeze (mouse either unresponsive, or extremely glitchy).

The Fix – External SWAP File

In the ~5 minutes where the system is operable, I used the key sequence “CTRL + ALT + F2” to get to a text tty console session. From here I noticed the system eventually uses all the RAM and maxes out the memory. When this occurs, this is when the system becomes unresponsive.

Since this is a Live CD installer, there is no swap file for the system to use once the RAM has filled up.

To fix this and workaround the problem, I grabbed a second blank USB stick and used it as an external swap file. Using this allowed me to run the installer, complete the installer, and successfully install Ubuntu.

Please make sure you are choosing the right device names in the instructions below. Choosing the wrong device name can cause your to write to the wrong USB stick, or worse the hard drive of your system.

Instructions:

  1. Attached USB Installer, boot system.
  2. Once system has booted, press “CTRL + ALT + F2” to open a tty console session.
  3. Login using user: “Ubuntu” with a blank password.
  4. Type “sudo su” to get a root shell.
  5. Type in “tail -f /var/log/kern.log” and connect your spare blank USB stick that you want to use for SWAP space. Note the device name, in my case it was “/dev/sdd”.
  6. Press “CTRL + C” to stop tailing the log file, then run “fdisk /dev/sdd” and replace “/dev/sdd” with whatever your device was. PLEASE MAKE SURE YOU ARE CHOOSING THE RIGHT USB DEVICE NAME.
  7. Use “n” to create a new partition, follow the prompts, when it asks for size I randomly chose “+2G” for a 2GB swap file. Use “w” to write the partition table and then quit the fdisk application.
  8. Run “mkswap /dev/sdd1” and replace “sdd1” with the device and partition number of your USB Swap stick. This will format the partition and mark it as a SWAP filesystem.
  9. Run “swapon /dev/sdd1” and replace “sdd1” with your swap partition you created. This will activate the external swap file on the USB stick.
  10. Press “CTRL + ALT + F1” to return to the Ubuntu installation guide. Continue the install as normal.

This should also work for other Linux distributions, as I have also used this in the past with Fedora (on a Single Board Computer with almost no RAM).

During the install process where the Ubuntu installer formats your hard drive, the install will actually mount the hard drive swap file as well (it’ll use both). Once the installer is complete, shut down the system and remove the USB SWAP stick.