Jul 312019
 
Rogers RCS on Samsung Galaxy S9+ Settings Screenshot Confirming RCS

This morning I had two surprises, the first being the not-so monthly security update, and the second being that the Samsung Galaxy S9+ messaging app showed a notification about turning on RCS (Rich Communication Services) messaging.

So as of today, RCS messaging is officially enabled on Samsung Galaxy S9+ phones on Rogers in Canada. Please note that this option did NOT appear on other Samsung S8/S8+ phones on my corporate account, and only the S9+.

This function has also probably been enabled on newer Samsung Galaxy devices as well. Please leave a comment if you can confirm.

Turning on RCS

To turn on RCS, open the messaging app. You’ll notice a “notification bubble” on the three-dot menu button.

Click on this, going to “Settings”, you’ll be able to turn on what Samsung calls “Chat Service”. Tap on this, and it will have to register on the network (since RCS is a service provided by your cell network).

RCS Settings

Once you register RCS on the network, a new settings button will appear called “Chat Settings”.

Rogers RCS on Samsung Galaxy S9+ Menu Screenshot
Rogers RCS on Samsung Galaxy S9+ Menu

Once you go in to “Chat Settings” you’ll see the following options, confirming it is RCS.

Rogers RCS on Samsung Galaxy S9+ Settings Screenshot Confirming RCS
Rogers RCS on Samsung Galaxy S9+ Settings

As of right now I can’t really test this, because all the other phones on my corporate account are only S8+ or S8 variants. I also don’t know anyone that is currently using RCS, so I’ll have to wait to test it out.

Jul 312019
 

If you’re like me and use a Synology NAS as an NFS or iSCSI datastore for your VMware environment, you want to optimize it as much as possible to reduce any hardware resource utilization.

Specifically we want to disable any services that we aren’t using which may use CPU or memory resources. On my DS1813+ I was having issues with a bug that was causing memory overflows (the post is here), and while dealing with that, I decided to take it a step further and optimize my unit.

Optimize the NAS

In my case, I don’t use any file services, and only use my Synology NAS (Synology DS1813+) as an NFS and iSCSI datastore. Specifically I use multipath for NFSv4.1 and iSCSI.

If you don’t use SMB (Samba / Windows File Shares), you can make some optimizations which will free up substantial system resources.

Disable and/or uninstall unneeded packages

First step, open up the “Package Center” in the web GUI and either disable, or uninstall all the packages that you don’t need, require, or use.

To disable a package, select the package in Package Center, then click on the arrow beside “Open”. A drop down will open up, and “Disable” or “Stop” will appear if you can turn off the service. This may or may not be persistent on a fresh boot.

To uninstall a package, select the packet in Package Center, then click on the arrow beside “Open”. A drop down will open up, and “Uninstall” will appear. Selecting this will uninstall the package.

Disable the indexing service

As mentioned here, the indexing service can consume quite a bit of RAM/memory and CPU on your Synology unit.

To stop this service, SSH in to the unit as admin, then us the command “sudo su” to get a root shell, and finally run this command.

synoservice --disable pkgctl-SynoFinder

The above command will probably not persist on boot, and needs to be ran each fresh boot. You can however uninstall the package with the command below to completely remove it.

synopkg uninstall SynoFinder

Doing this will free up substantial resources.

Disable SMB (Samba), and NMBD

I noticed that both smbd and nmbd (Samba/Windows File Share Services) were consuming quite a bit of CPU and memory as well. I don’t use these, so I can disable them.

To disable them, I ran the following command in an SSH session (remember to “sudo su” from admin to root).

synoservice --disable nmbd
synoservice --disable samba

Keep in mind that while this should be persistent on boot, it wasn’t on my system. Please see the section below on how to make it persistent on booth.

Disable thumbnail generation (thumbd)

When viewing processes on the Synology NAS and sorting by memory, there are numerous “thumbd” processes (sometimes over 10). These processes deal with thumbnail generation for the filestation viewer.

Since I’m not using this, I can disable it. To do this, we either have to rename or delete the following file. I do recommend making a backup of the file.

/var/packages/FileStation/target/etc/conf/thumbd.conf

I’m going to rename it so that the service daemon can’t find it when it initializes, which causes the process not to start on boot.

cd /var/packages/FileStation/target/etc/conf/
mv thumbd.conf thumbd.conf.bak

Doing the above will stop it from running on boot.

Make the optimizations persistent on boot

In this section, I will show you how to make all the settings above persistent on boot. Even though I have removed the SynoFinder package, I still will create a startup script on the Synology NAS to “disable” it just to be safe.

First, SSH in to the unit, and run “sudo su” to get a root shell.

Run the following commands to change directory to the startup script, and open a text editor to create a startup script.

cd /usr/local/etc/rc.d/
vi speedup.sh

While in the vi file editor, press “i” to enter insert mode. Copy and paste the code below:

case "$1" in
    start)
                echo "Turning off memory garbage"
                        synoservice --disable nmbd
                        synoservice --disable samba
                        synoservice --disable pkgctl-SynoFinder
                        ;;
    stop)
                        echo "Pertend we care and are turning something on"
                        ;;
        *)
        echo "Usage: $1 {start|stop}"
                exit 1
esac
exit 0

Now press escape, then type “:wq” and hit enter to save and close the vi text editor. Run the following command to make the script executable.

chmod 755 speedup.sh

That’s it!

Conclusion

After making the above changes, you should see a substantial performance increase and reduction in system resources!

In the future I plan on digging deeper in to optimization as I still see other services I may be able to trim down, after confirming they aren’t essential to the function of the NAS.

Feel like you can add anything? Leave a comment!

Jul 312019
 

Once I upgraded my Synology NAS to DSM 6.2 I started to experience frequent lockups and freezing on my DS1813+. The Synology DS1813+ would become unresponsive and I wouldn’t be able to SSH or use the web GUI to access it. In this state, NFS sometimes would become unresponsive.

When this occured, I would need to press and hold the power button to force it to shutdown, or pull the power. This is extremely risky as it can cause data corruption.

I’m currently running DSM 6.2.2-24922 Update 2.

The cause

This occurred for over a month until it started to interfere with ESXi hosts. I also noticed that the issue would occur when restarting any of my 3 ESXi hosts, and would definitely occur if I restarted more than one.

During the restarting, while logged in to the web GUI and SSH, I was able to see that the memory (RAM) usage would skyrocket. Finally the kernel would panic and attempt to reduce memory usage once the swap file had filled up (keep in mind my DS1813+ has 4GB of memory).

Analyzing “top” as well as looking at processes, I noticed the Synology index service was causing excessive memory and CPU usage. On a fresh boot of the NAS, it would consume over 500MB of memory.

The fix (Please scroll down and see updates)

In my case, I only use my Synology NAS for an NFS/iSCSI datastore for my ESXi environment, and do not use it for SMB (Samba/File Shares), so I don’t need the indexing service.

I went ahead and SSH’ed in to the unit, and ran the following commands to turn off the service. Please note, this needs to be run as root (use “sudo su” to elevate from admin to root).

synoservice --disable pkgctl-SynoFinder

While it did work, and the memory was instantly freed, the setting did not stay persistant on boot. To uninstalling the Indexing service, run the following command.

synopkg uninstall SynoFinder

Doing this resolved the issue and freed up tons of memory. The unit is now stable.

Update May 31st, 2020 – Increased Stability

After troubleshooting I noticed that the majority of stability issues would start occurring when ESXi hosts accessing NFS exports on the Synology diskstation are restarted.

I went ahead and stopped using NFS, started using iSCSI with MPIO, and the stability of the Synology NAS has greatly improved. I will continue to monitor this.

I still have plans to hack the Synology NAS and put my own OS on it.

Update May 2nd, 2020 – It’s still crashing, and really frustrating me

Today I had to restart my 3 ESXi hosts that are connected to the NFS export on the Synology Disk Station. After restarting the hosts, the Synology device has gone in to a lock-up state once again. It appears the issue is still present.

The device is responding to pings, and still provides access to SMB and NFS, but the web GUI, SSH, and console access is unresponsive.

I’m officially going to start planning on either retiring this device as this is unacceptable, especially in addition to all the issues over the years, or I may try an attempt at hacking the Synology Diskstation to run my own OS.

Update April 21st, 2020 – What I thought was the fix

After a few more serious crashes and lockups, I finally decided to do something about this. I went ahead and backed up my data, deleted the arrays, performed a factory reset on the Synology Disk Station. I also zero’d the metadata and MBR off all the drives.

I then configured the Synology NAS from scratch, used Btrfs (instead of ext4), restored the backups.

The NAS now appears to be running great and has not suffered any lockups or crashses since. I’ve also been noticing that memory management is working a lot better.

I have a feeling that this issue was caused due to the long term chaining of updates (numerous updates installed over time), or the use of the ext4 filesystem.

Update March 20th, 2020

As of March 2020 this issue is still occurring on numerous new firmware updates and version. I’ve tried reaching out to Synology on twitter directly a few times about this issue as well as e-mail (indirectly regarding something else) and have still not received or heard a response. As of this time the issue is still occurring on a regular basis on DSM 6.2.2-24922 Update 4. I’ve taken production and important workloads of the device since I can’t have the device continuously crashing or freezing overnight.

Update – August 16th, 2019

My Synology NAS has been stable since I applied the fix, however after an uptime of a few weeks, I noticed that when restarting servers, the memory usage does hike up (example, from 6% to 46%). However, with the fixes applied above, the unit is stable and no longer crashes.

Jul 192019
 
King Creek Ridge Summit

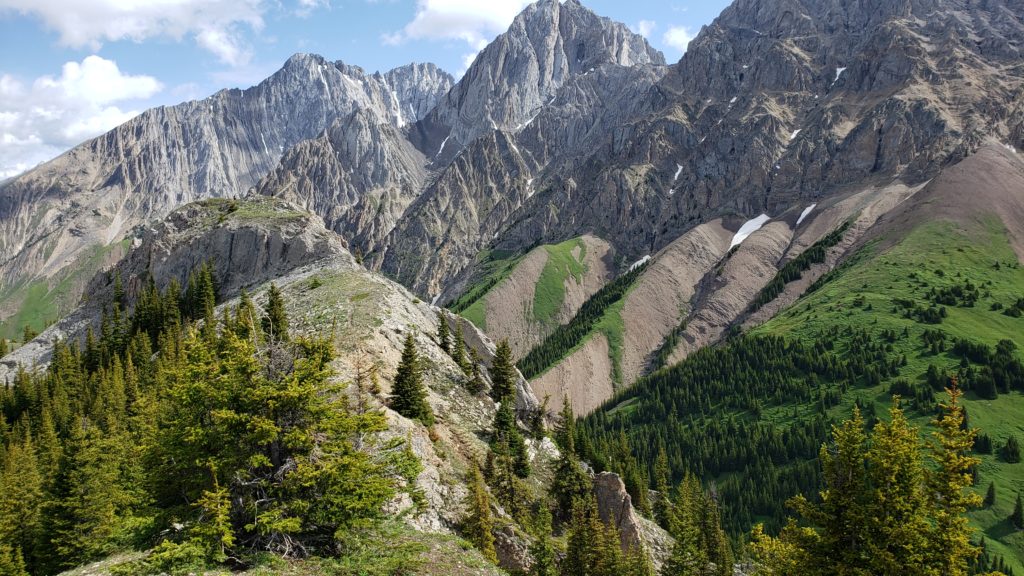
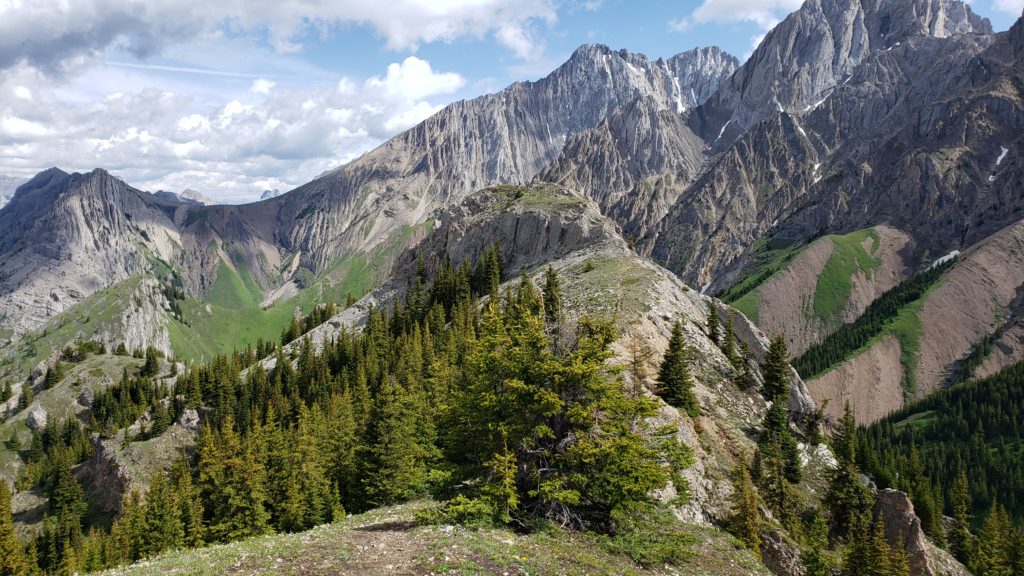
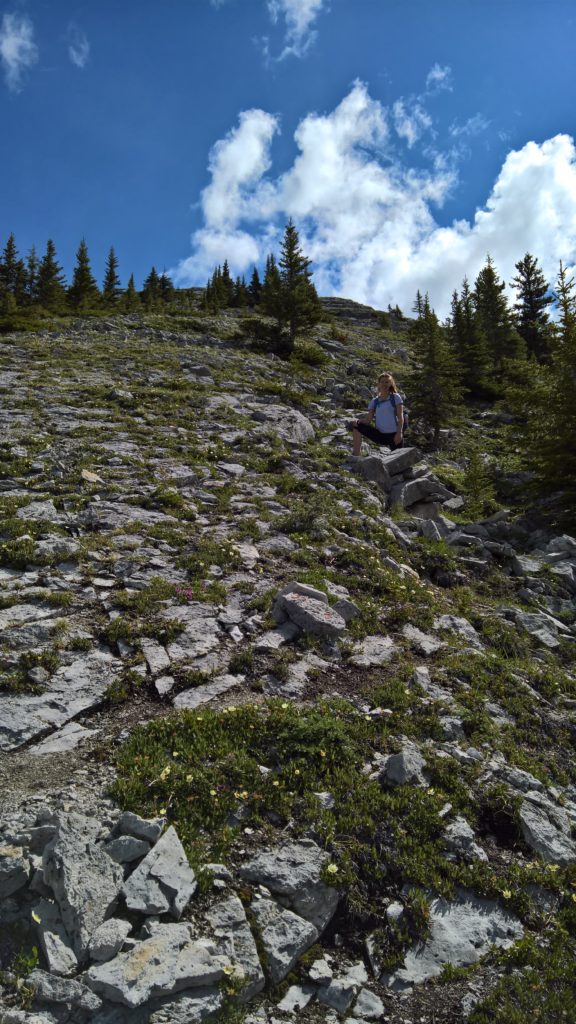
Sunday (July 14th, 2019) we had the opportunity to hike King Creek Ridge. I’d considering this hike a moderate hike, very steep, and can be completed in a short amount of time. Taking the traditional route to the summit, it took us around just under an hour. This hike is located in Kananaskis Country, and there is no cell reception anywhere on the trail.

There are other trails (and alternate trails) along this path. I do not recommend taking these or attempting these. Please read below to find out why.

AllTrails Link: https://www.alltrails.com/trail/canada/alberta/king-creek-trail

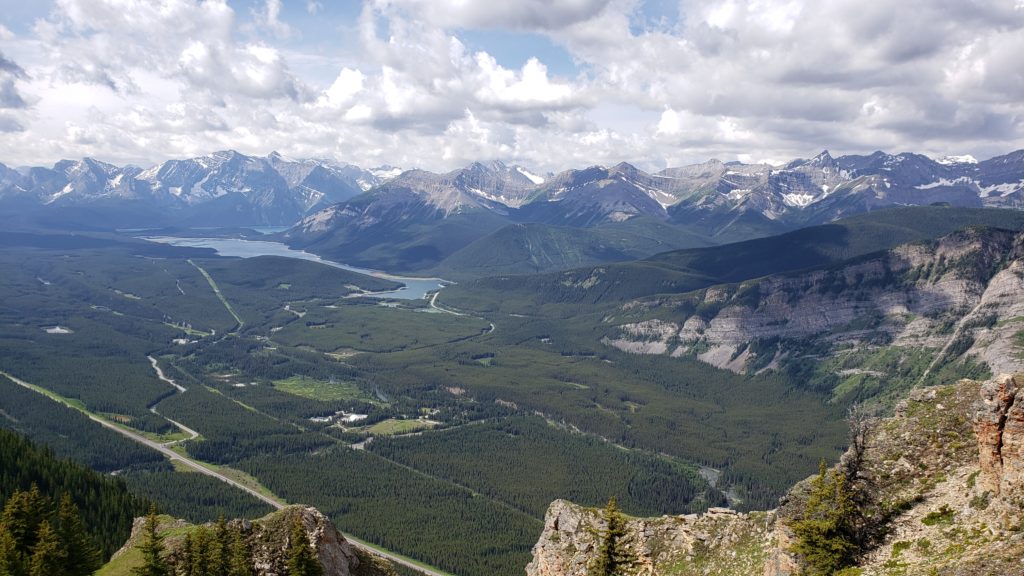
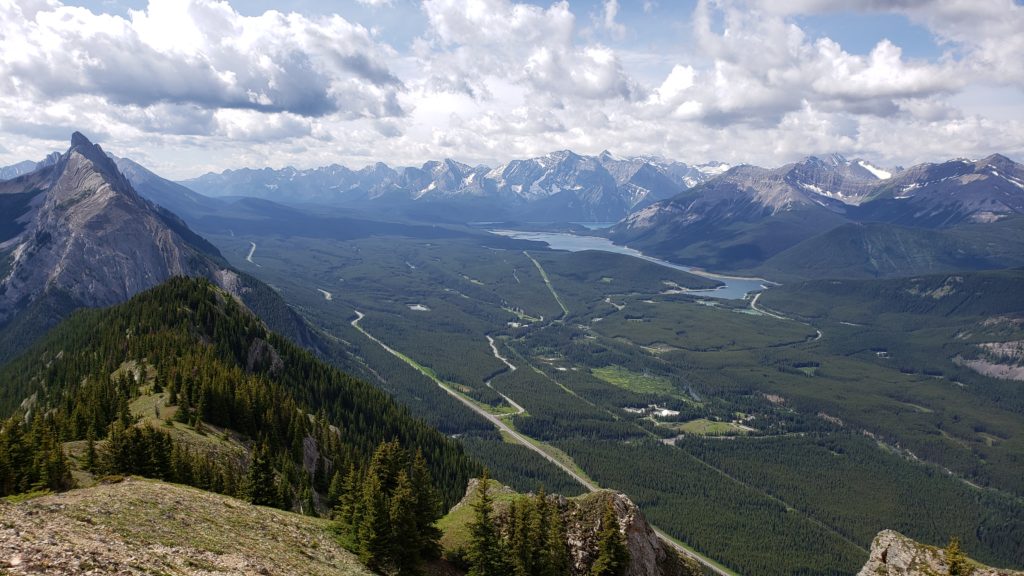
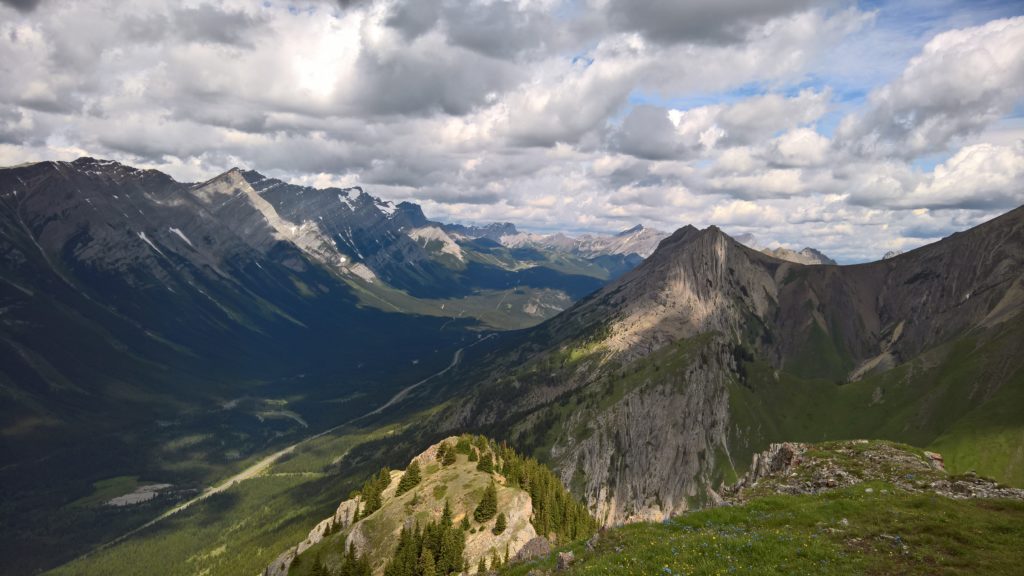
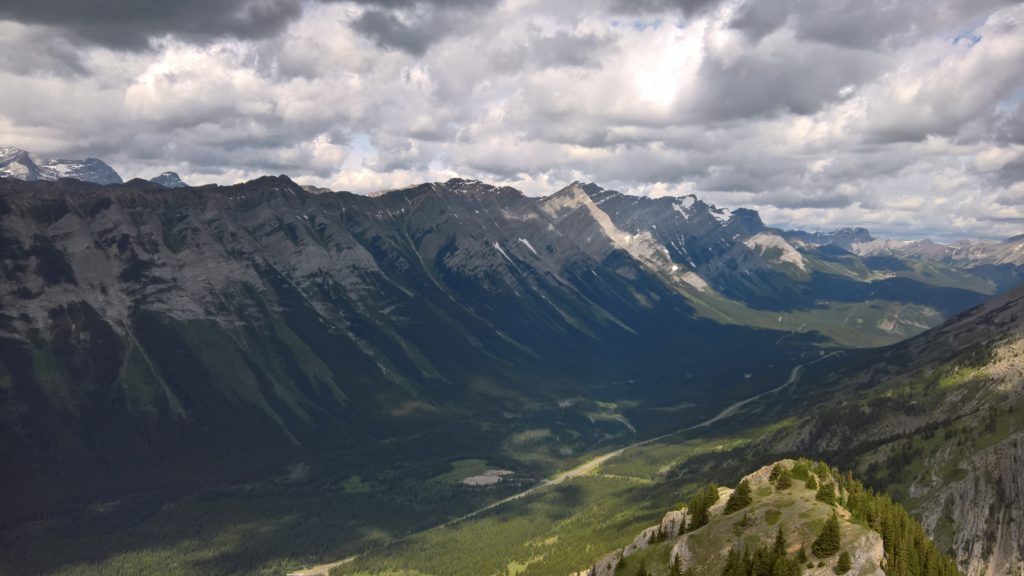
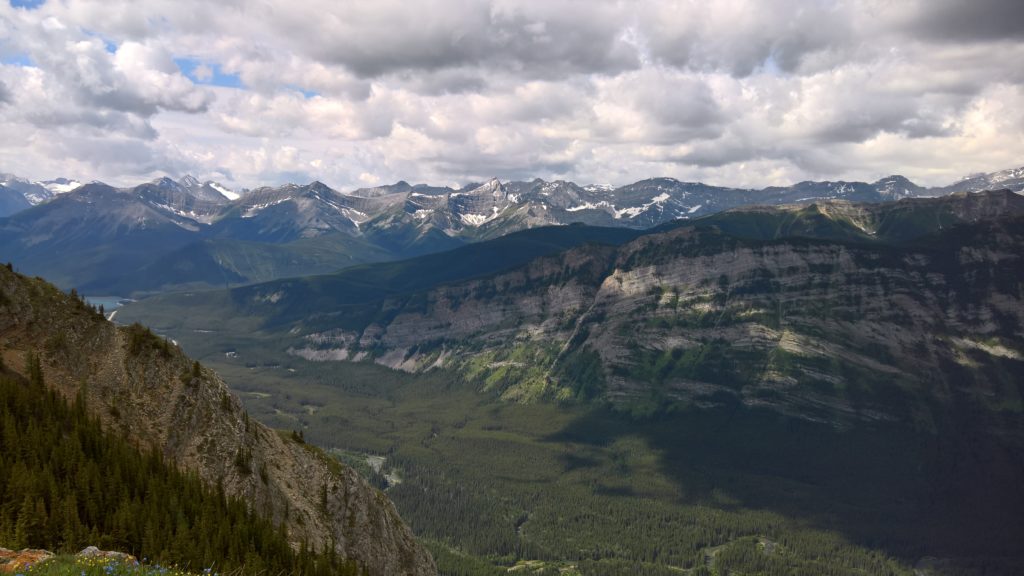
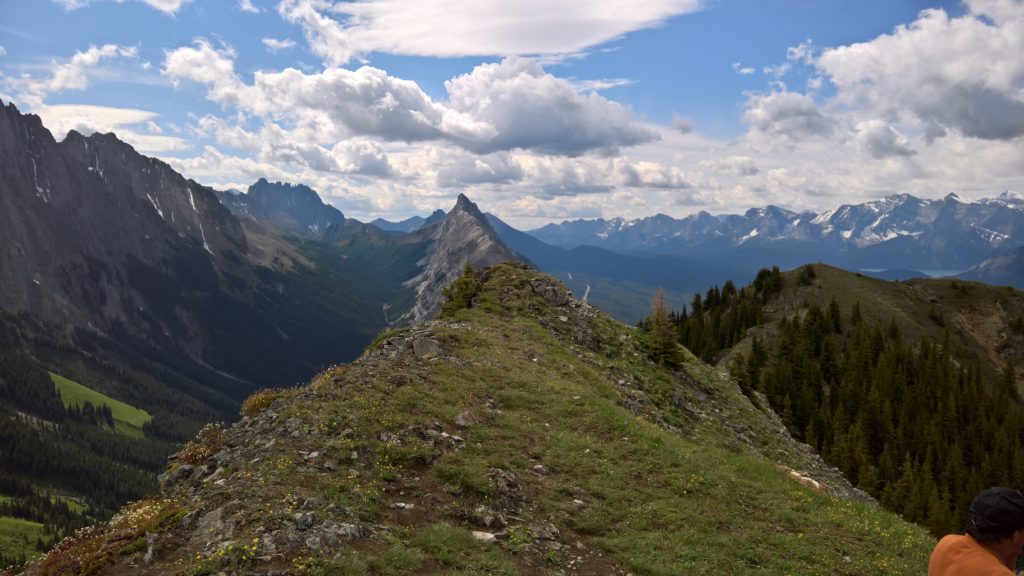
King Creek Ridge Summit View

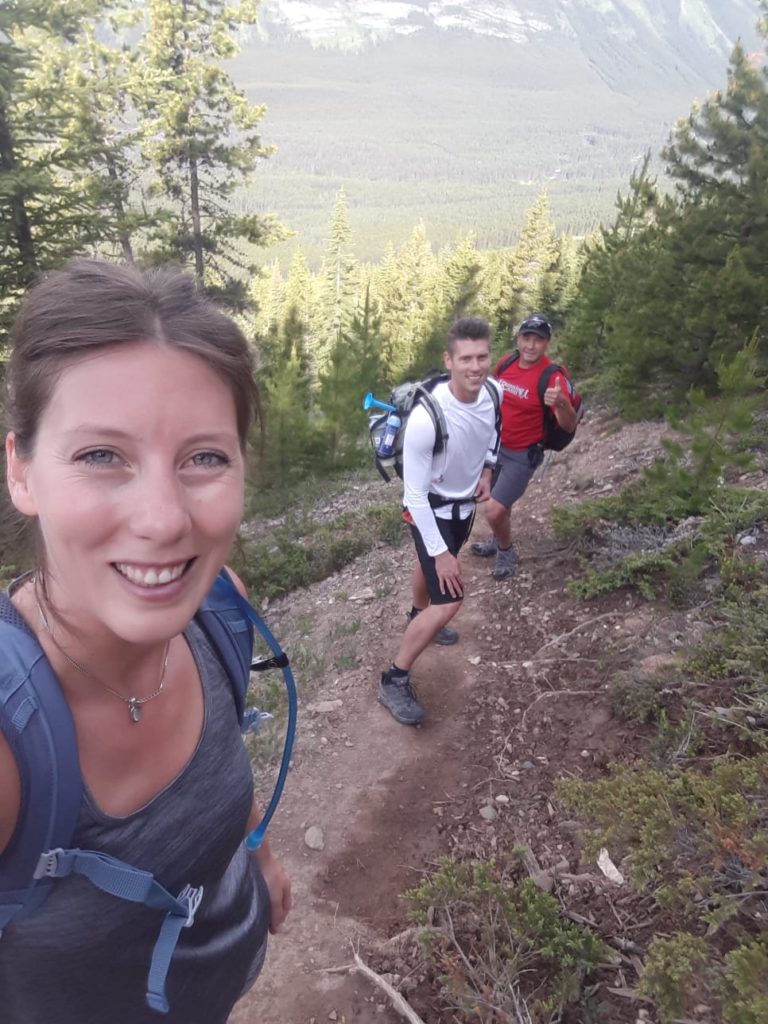
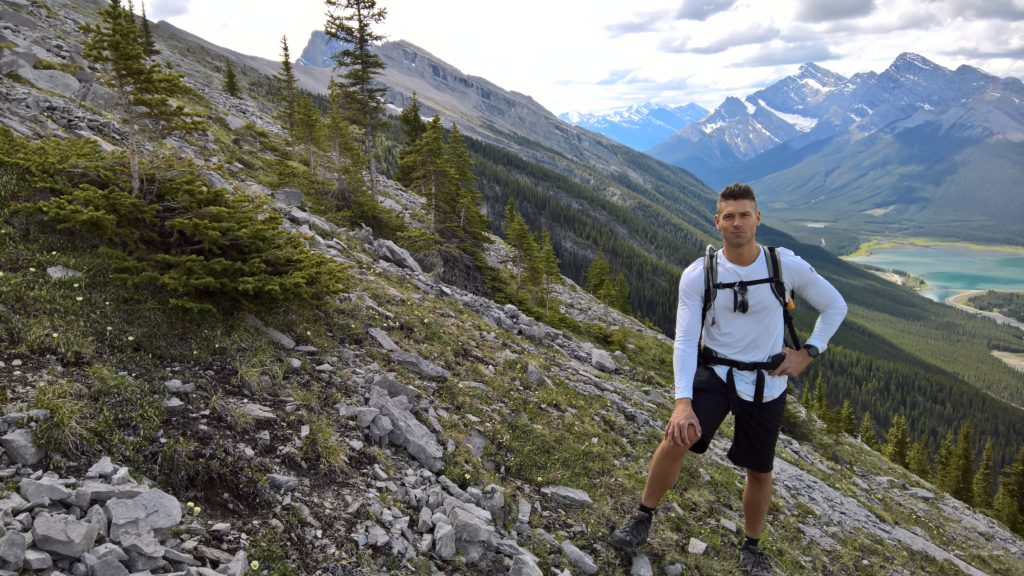
King Creek Ridge is a steep ascent to an altitude of around 2,400m (7,874ft), so it’ll require some cardio. I completed this hike with my friend Elisha, and her step-dad Tim!

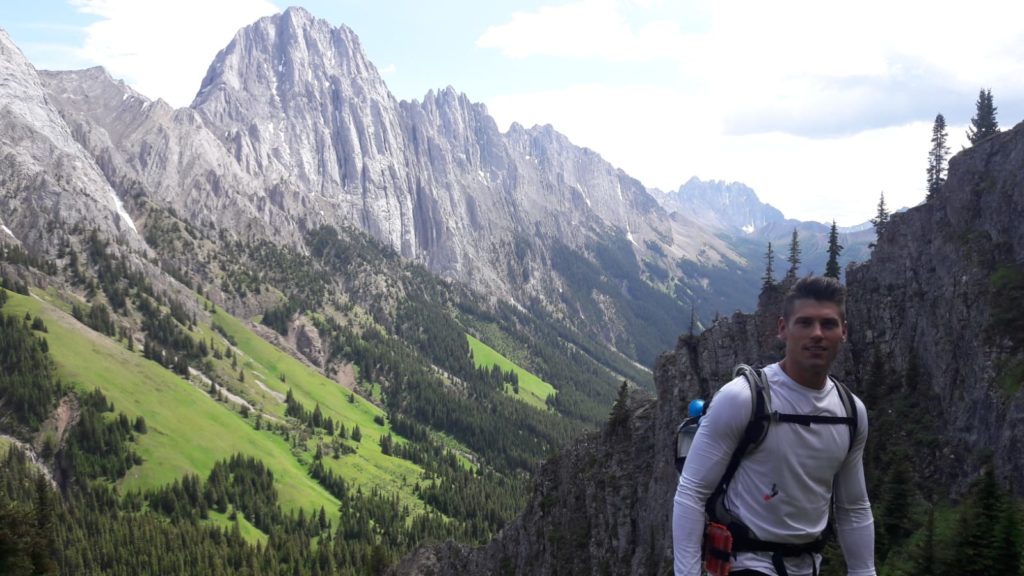
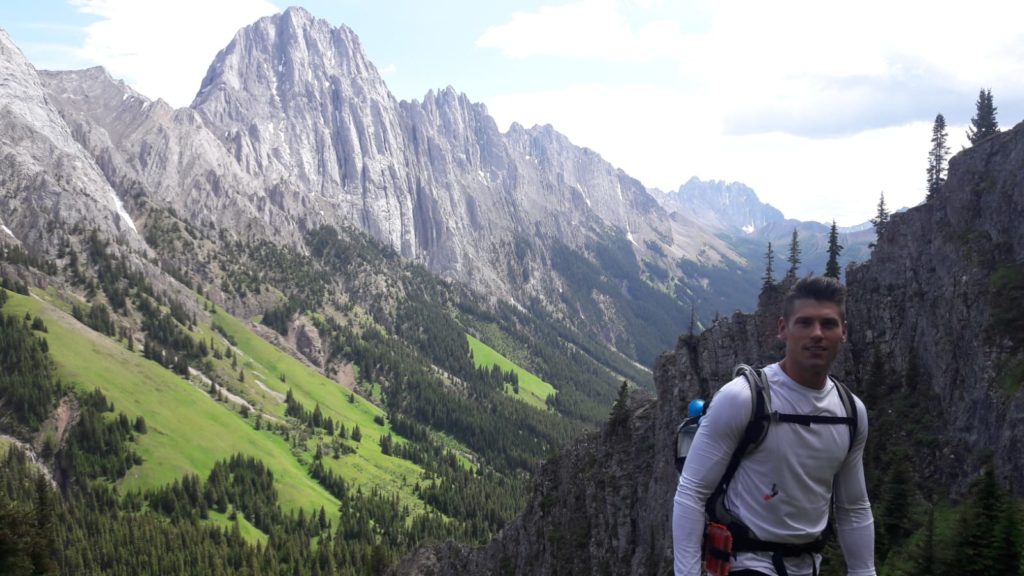
Stephen Wagner and Elisha posing on King Creek Ridge
Stephen Wagner and Elisha on King Creek Ridge
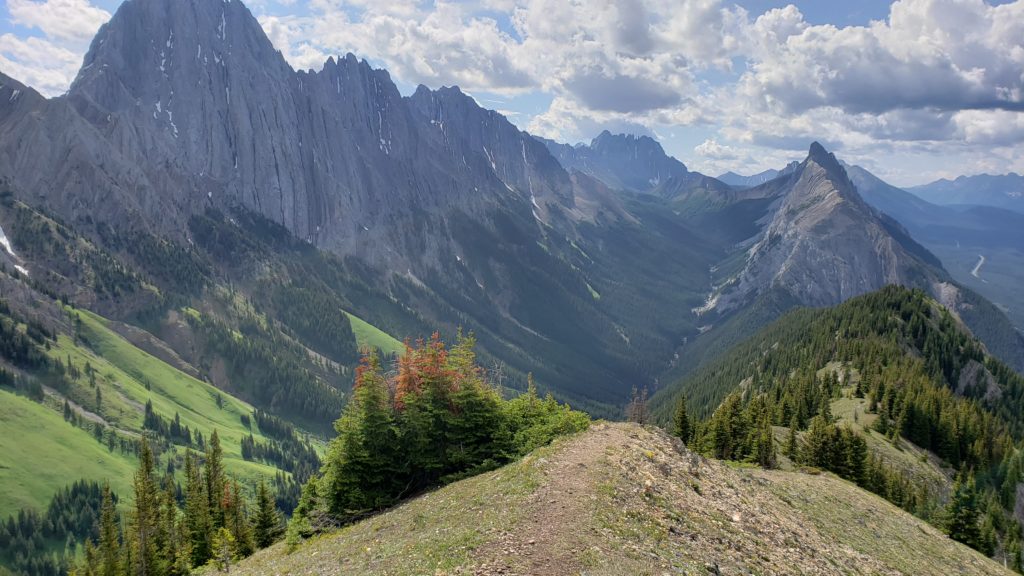
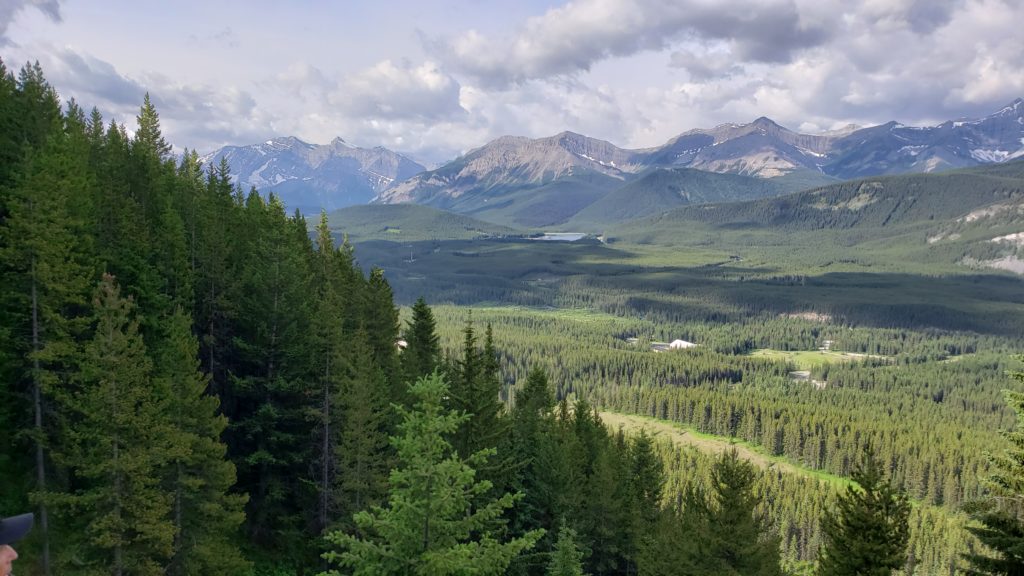
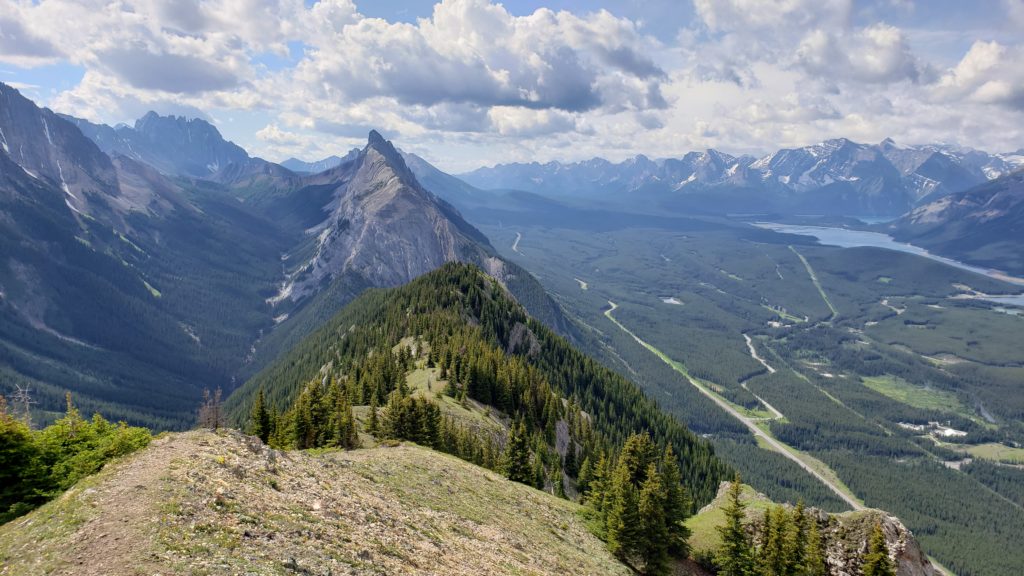
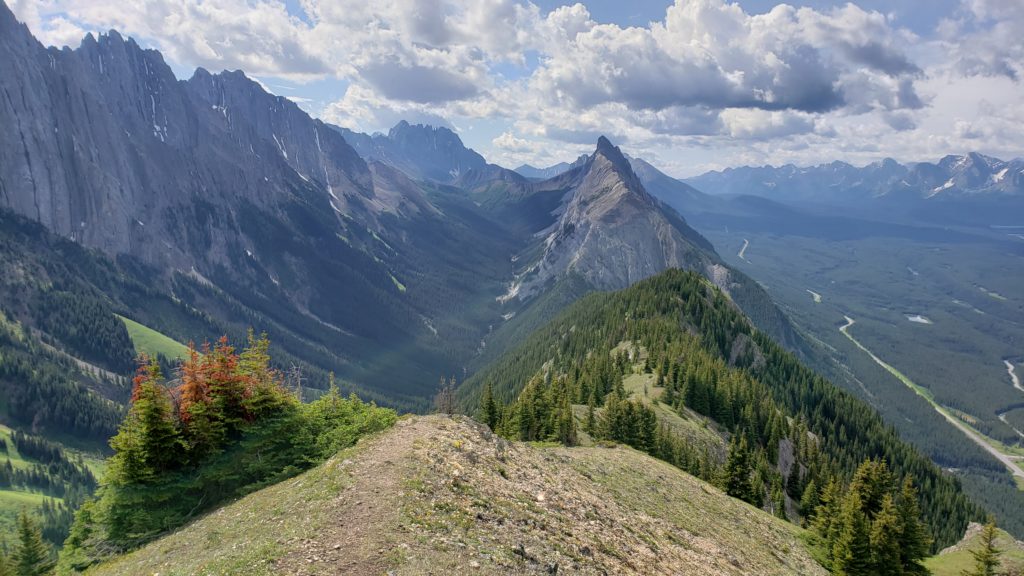
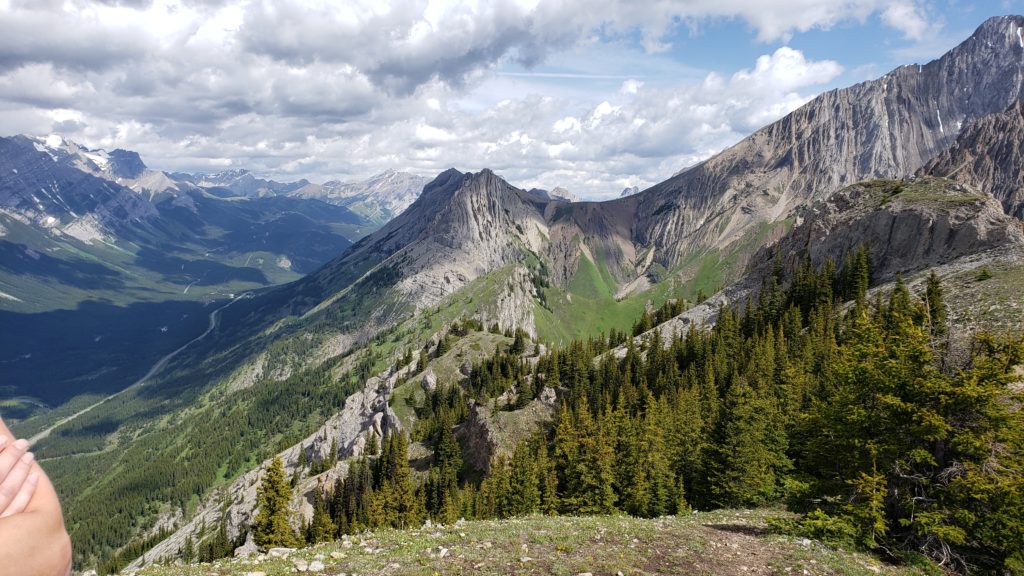
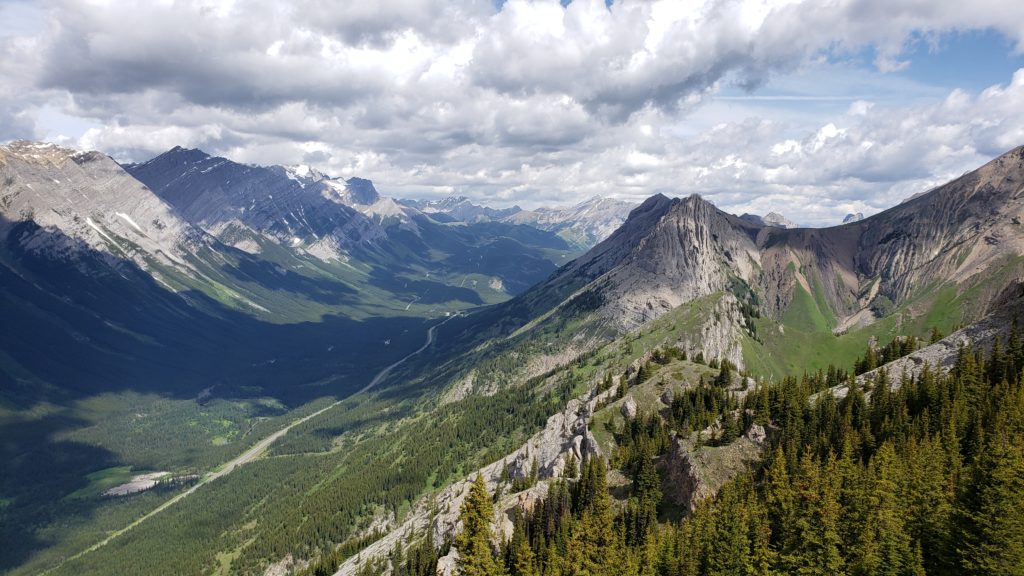
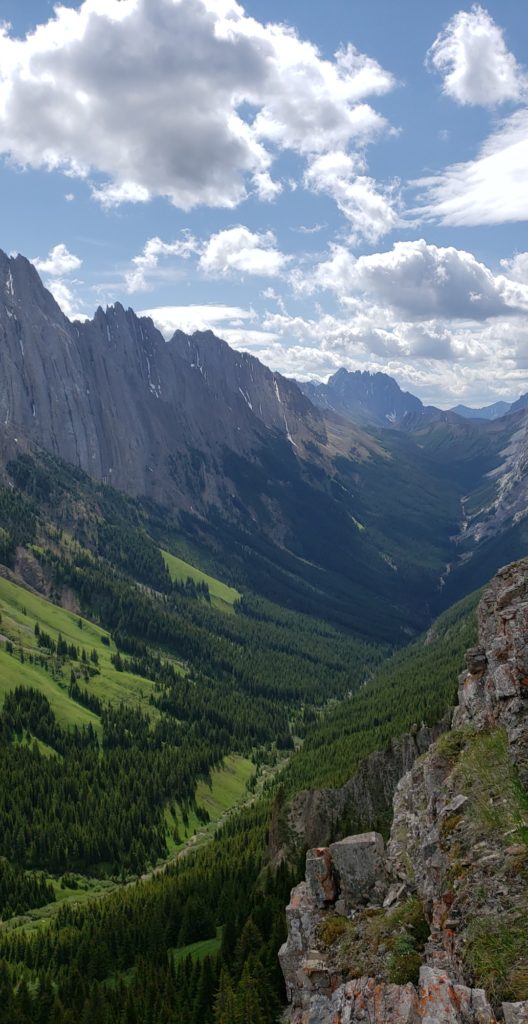
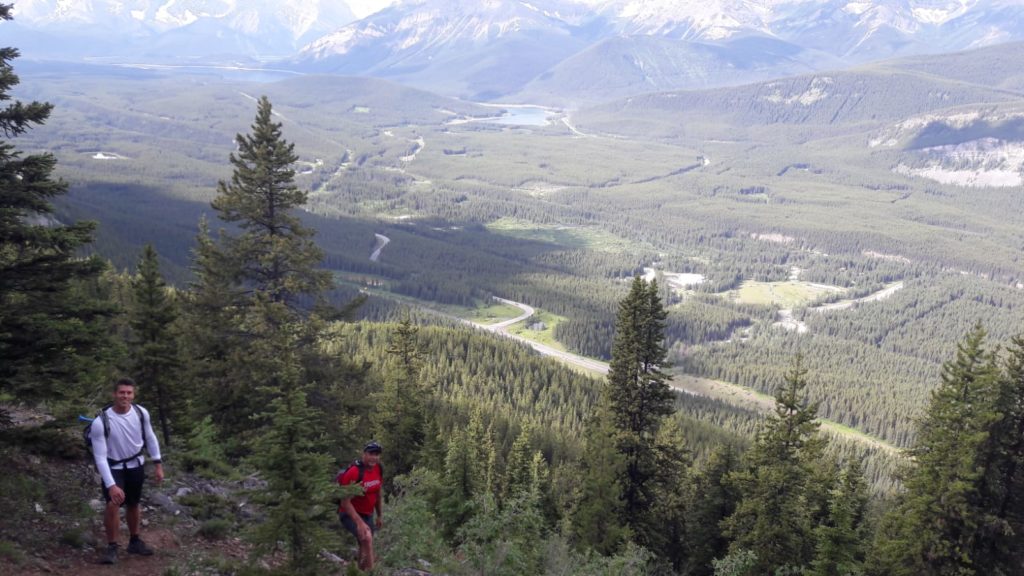
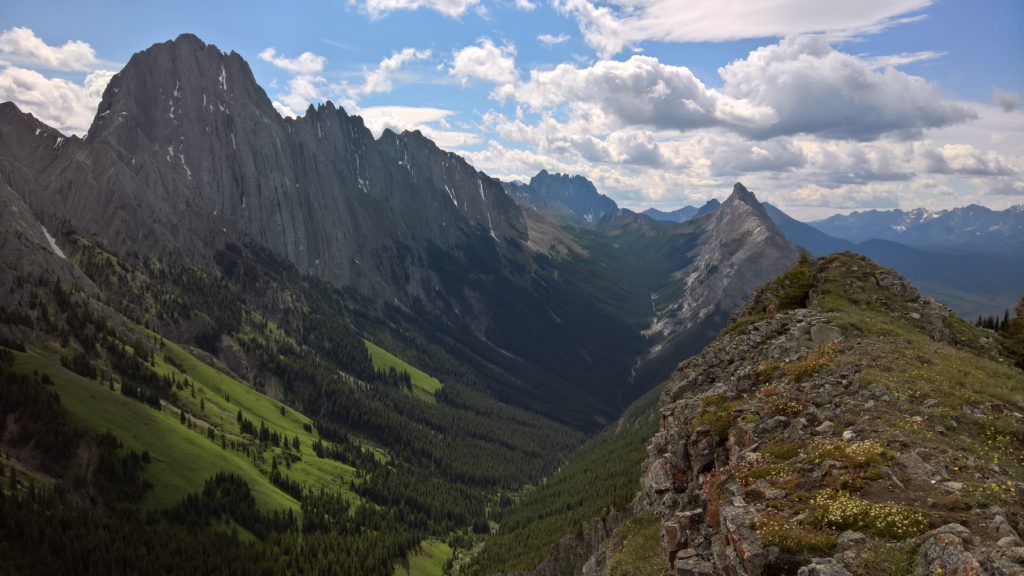
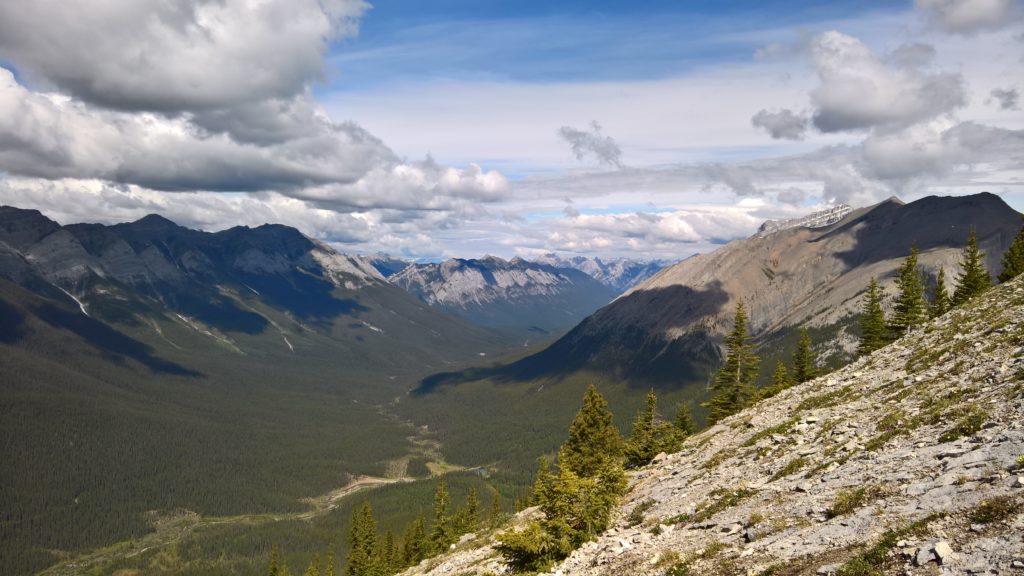
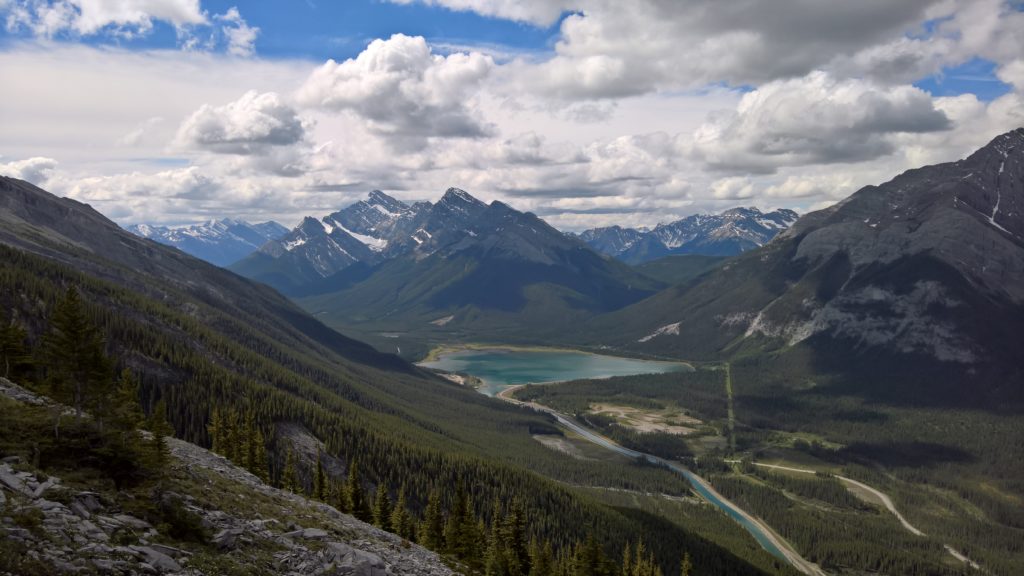
King Creek Ridge Valley View
King Creek Ridge Valley

On this hike, we met a nice group of other hikers who mentioned that they read in a book (that was 15 years old), about a loop on this trail. Once at the summit, they planned to go down the Mount Hood route to complete the loop. Using the map I had downloaded to my mobile, I actually had a copy of the Mount Hood route, so we figured we’d attempt it as well.

Mount Hood Route Detour

IMPORTANT: DO NOT ATTEMPT THE MOUNT HOOD ROUTE! IT IS AN OLD ROUTE AND THERE IS NO VISIBLE TRAIL. IT’S FULL OF DENSE BUSH, LIMITED VISIBILITY, AND HAS WILDLIFE (BEARS).

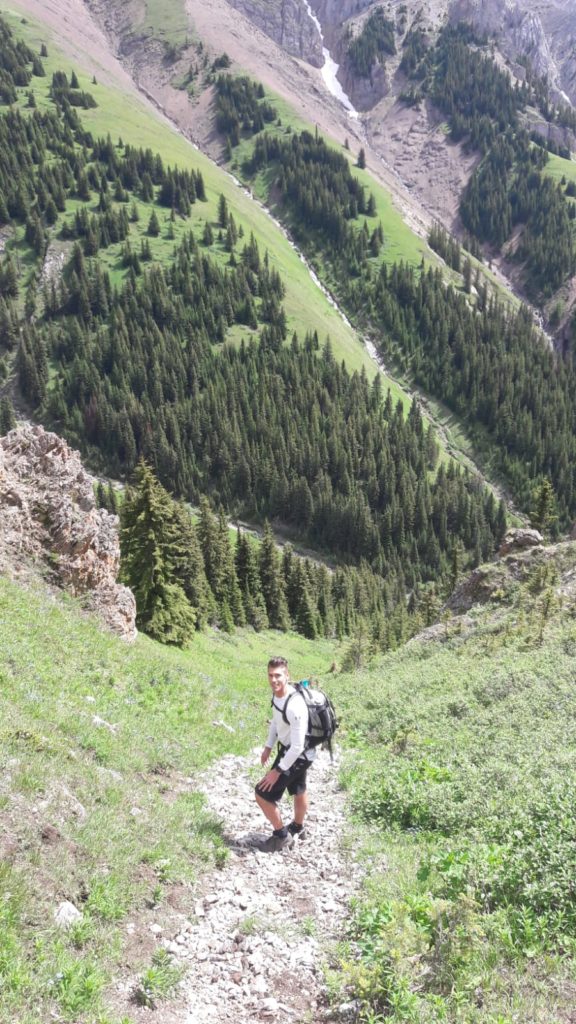
Once we had our time at the summit and relaxed (we flew up there pretty quick), we decided to try and locate the path down to the valley to complete the Mount Hood route. We located a small channel that was very steep and full of loose rocks (extremely dangerous). After navigating down, we noticed that an avalanche or weather related incident had damaged the path and it was simply a cliff. We proceeded to find a different way to go down in to the valley after doing a big of climbing down.

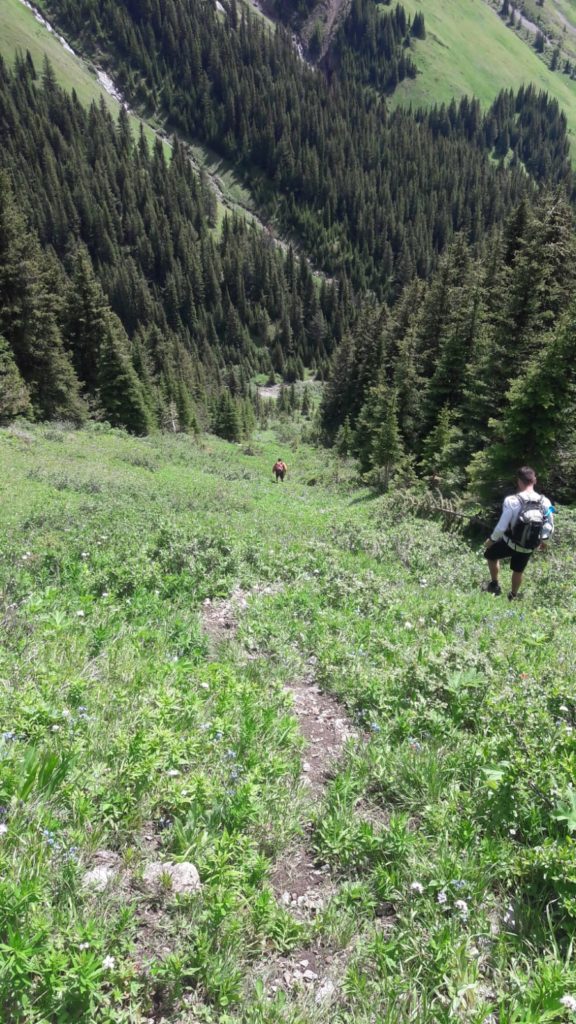
King Creek Ridge to Mount Hood Route

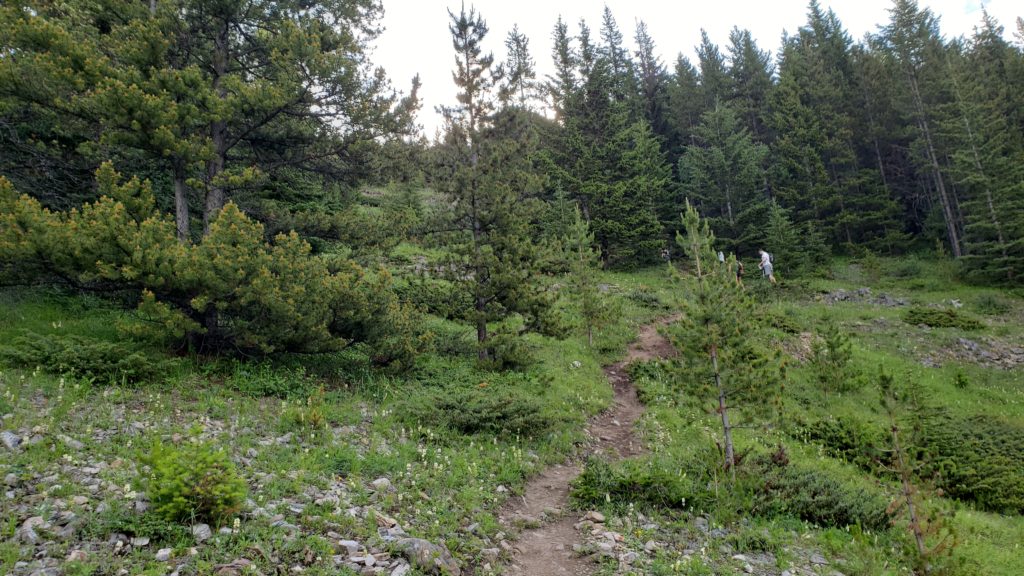
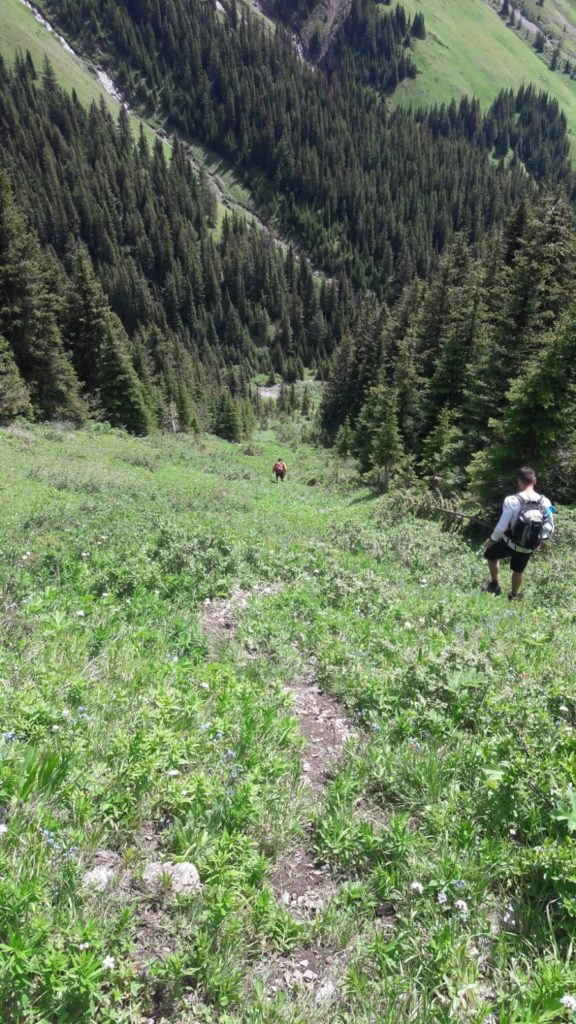
After the dangerous part, we found a steep path down (shown above) that we used to get in to the valley. Unfortunately this was short lived. Once getting in to the valley, we approached bush that was ~5 ft high, and numerous places to be ambushed by bears. We had to use boulders to throw in to the bushes ahead to make sure there were no bears further up (also using regular bursts of the air horn).

Finally once we made it to the creek, we realized using the GPS that the Mount Hood Route was extremely old and grown over. There was no visible trail for Mount Hood Route. We continued along the creek (walking in/over it) for some time until it became so difficult and dangerous that we decided we had to turn around and go back.

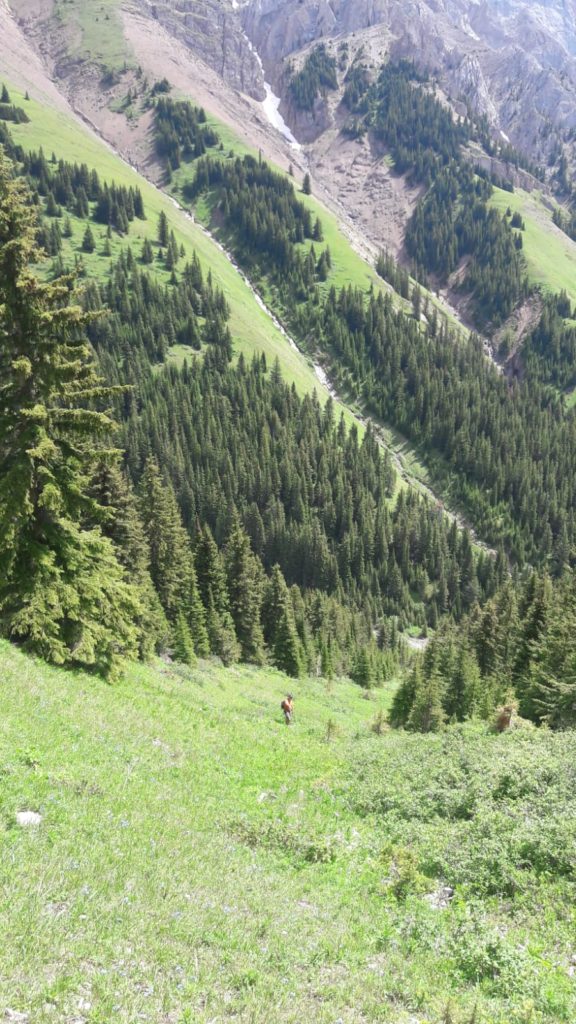
Back to King Creek Ridge from Mount Hood Route

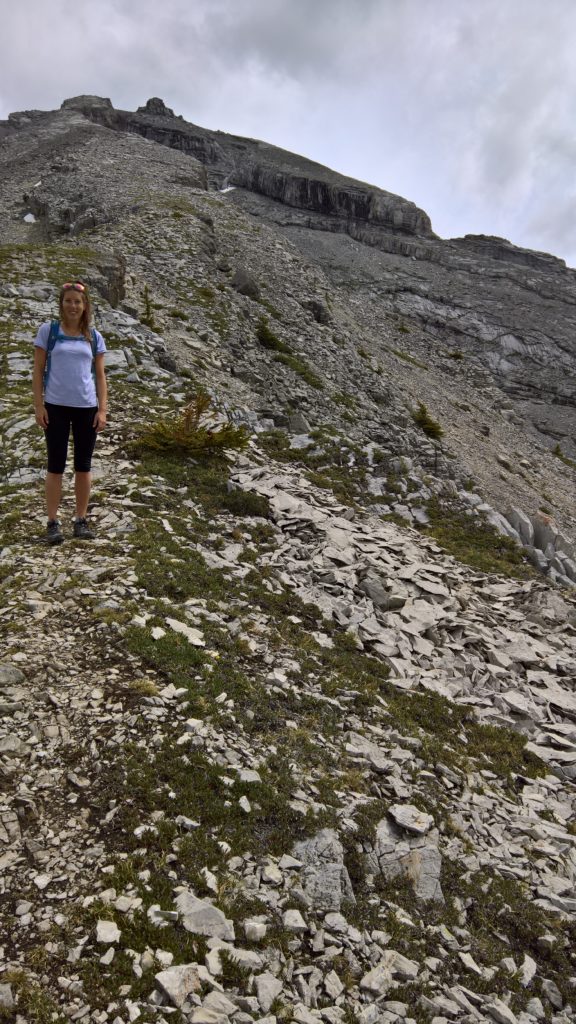
The hike/climb back up to the summit of the King Creek Ridge hike was grueling. It was one of the steepest hikes I’ve done, and finished with sections that we actually had to climb (using our hands) to get back to the King Creek Ridge summit.

Back on to King Creek Ridge

So the detour, while extremely dangerous and unnerving, actually made the hike as long as we had originally wanted it, and as fun as we had hoped, so it turned out pretty good (after we realized we weren’t going to be stuck in the valley all night, lol).

We finally descended down the way we had originally came up, and all in all the day turned out to be amazing! The hiking trail actually was extremely busy later on in the afternoon by the time we went down.

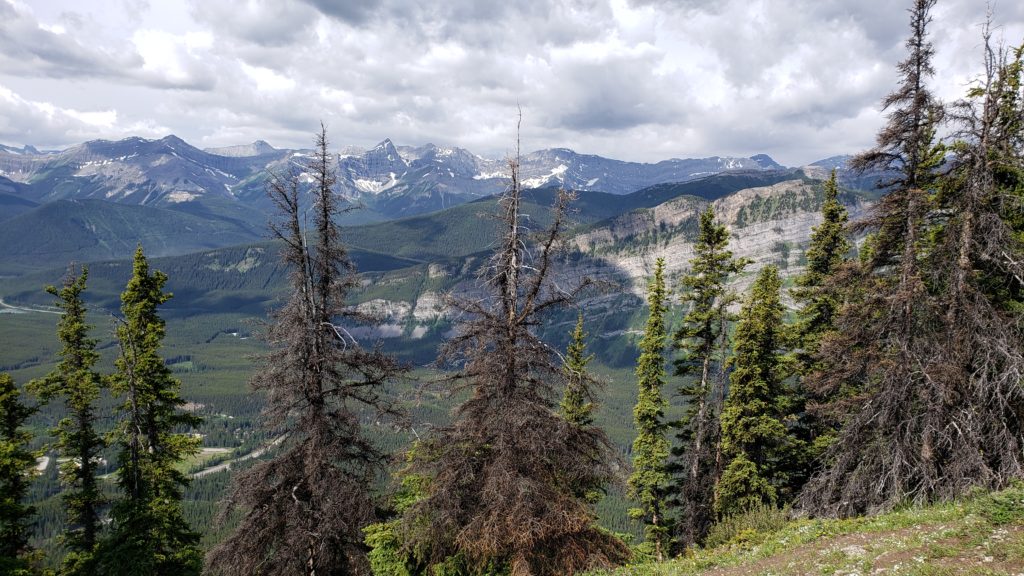
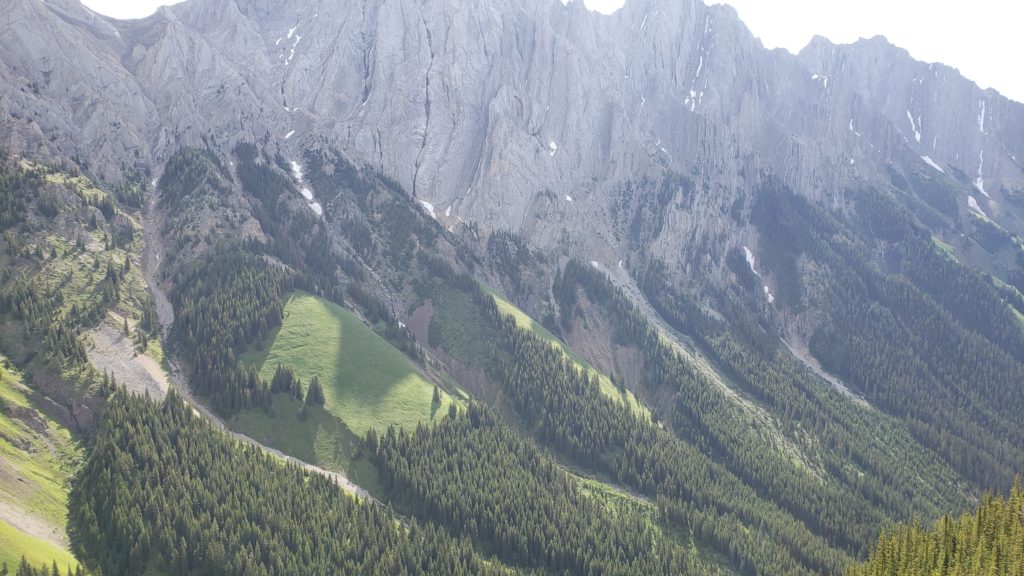
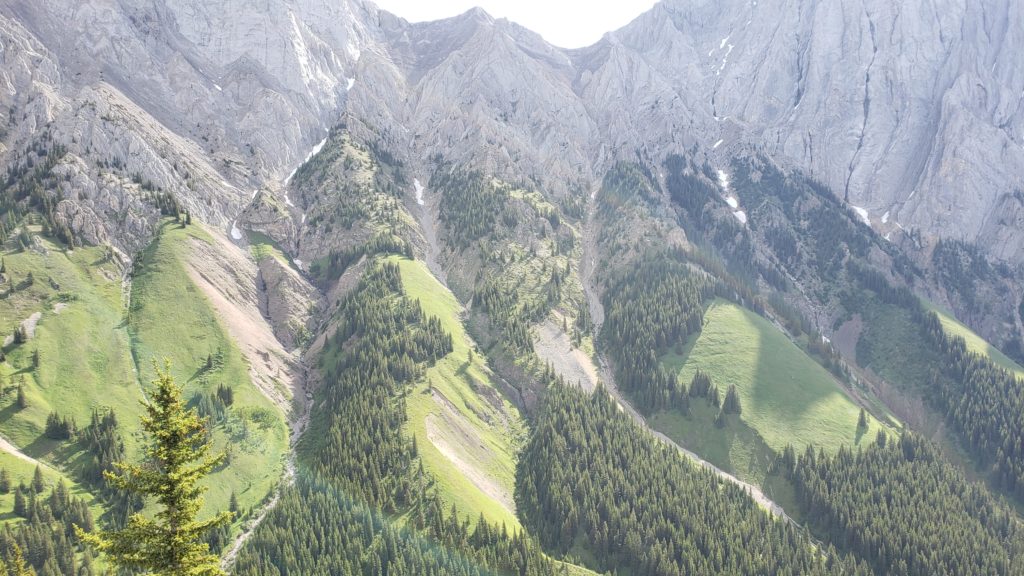
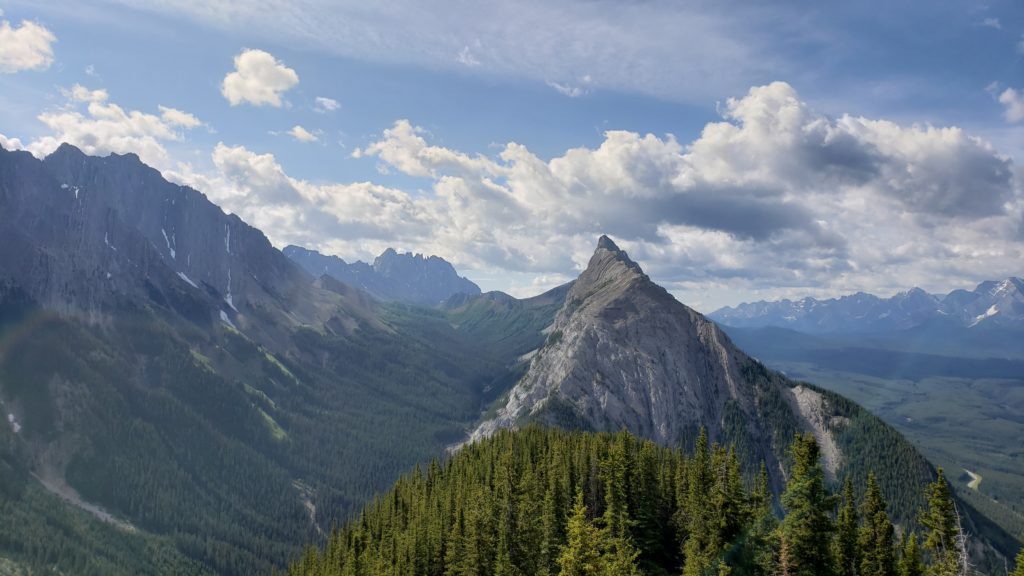
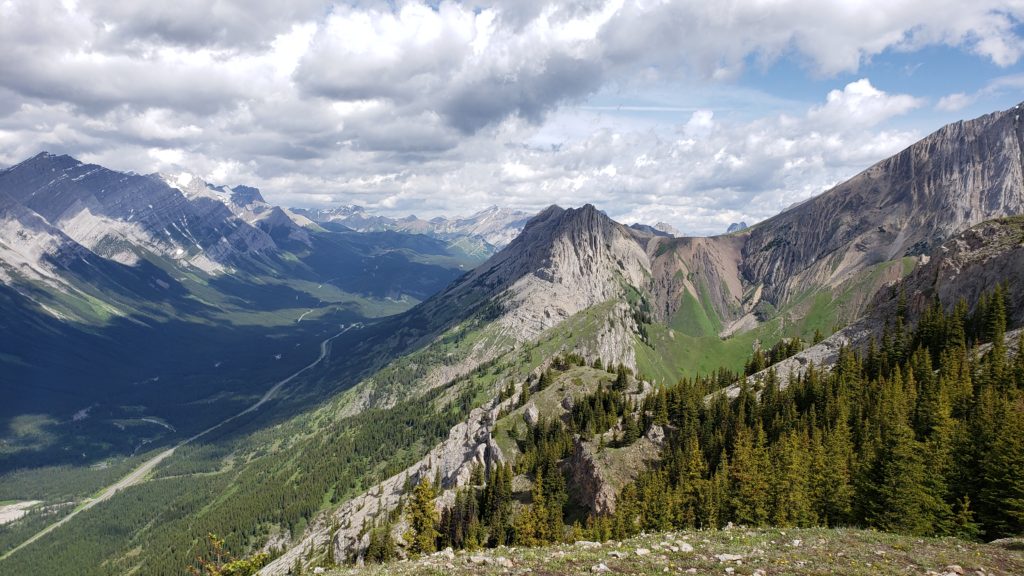
King Creek Ridge Hike Pictures

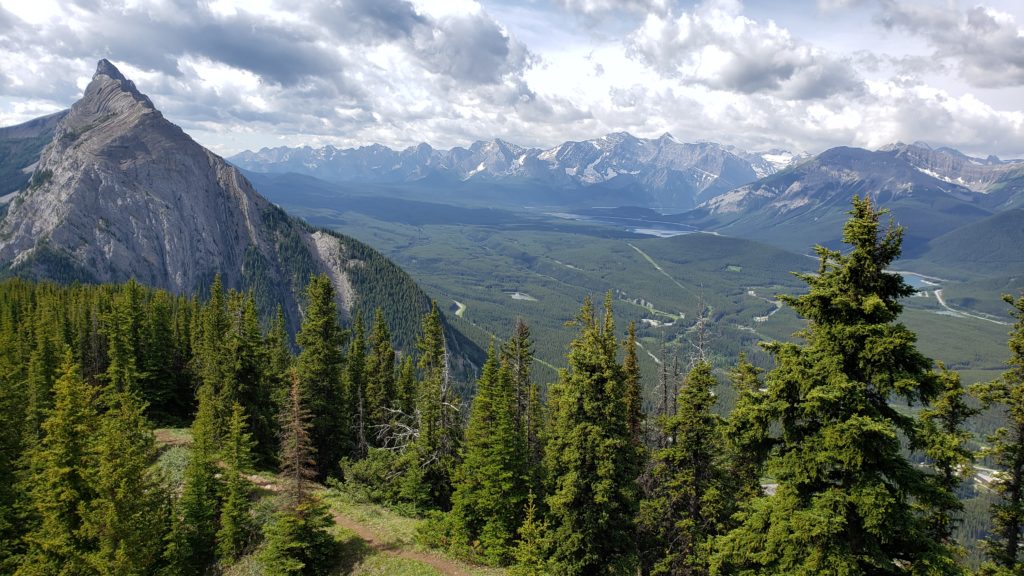
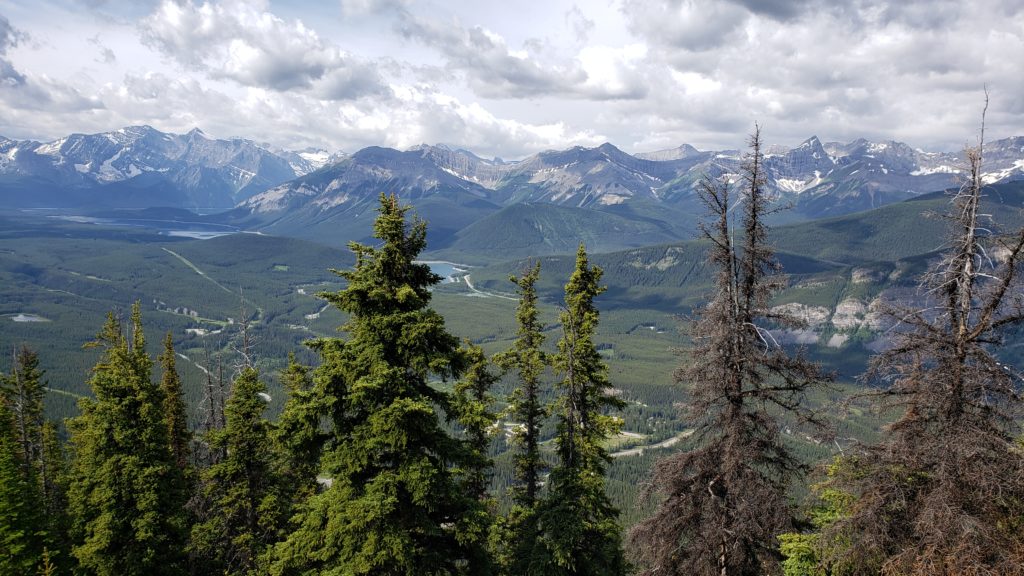
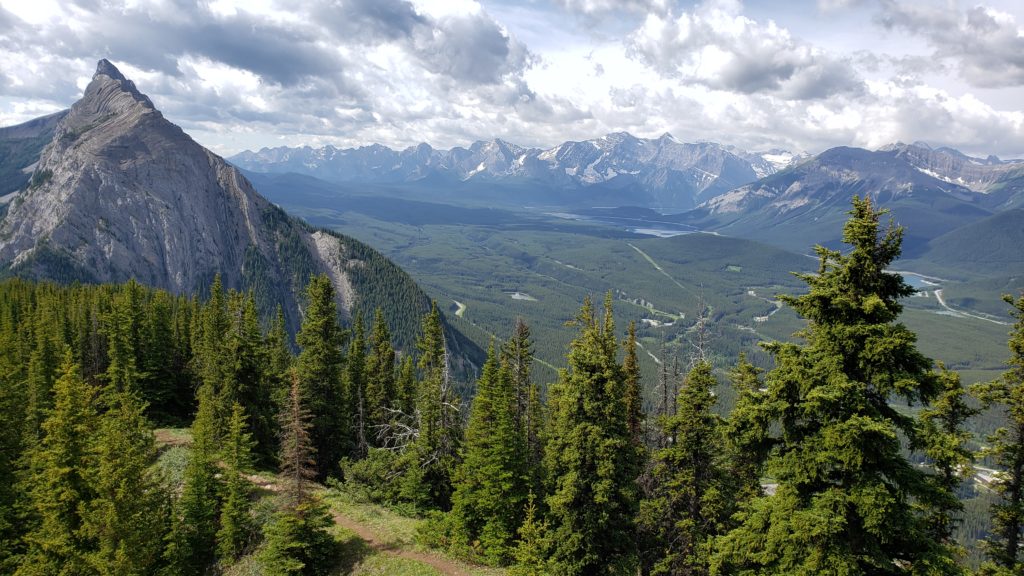
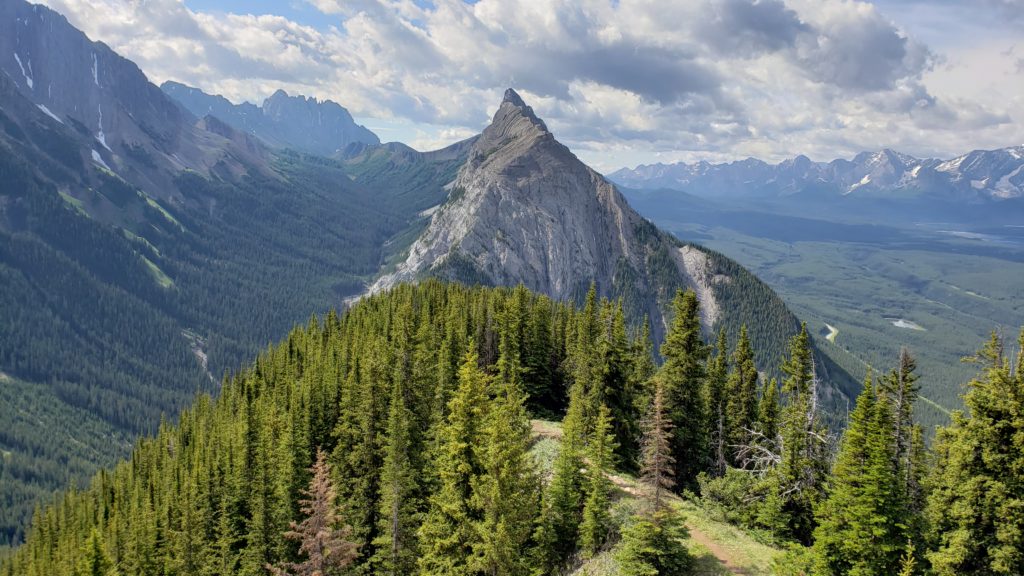
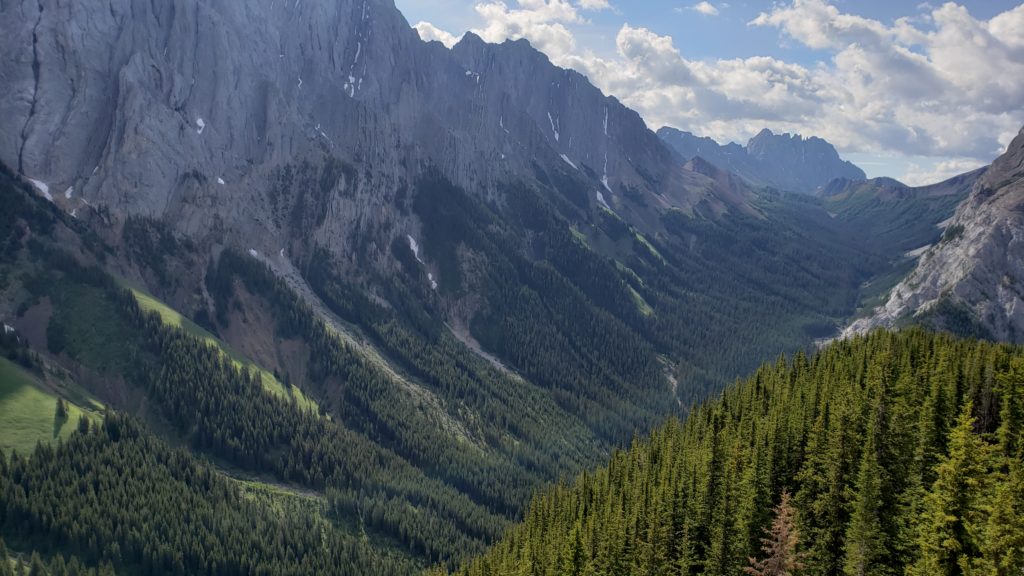
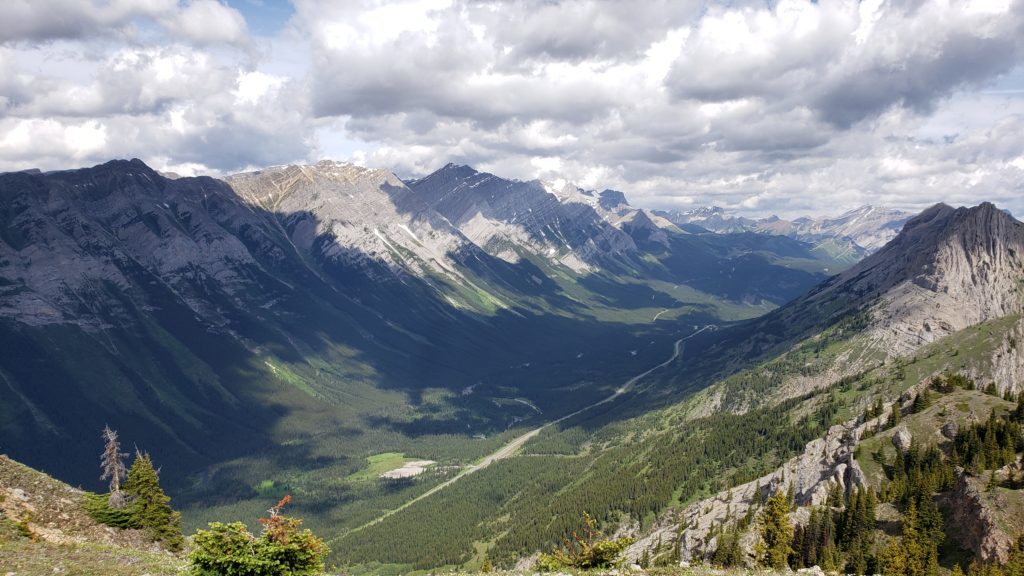
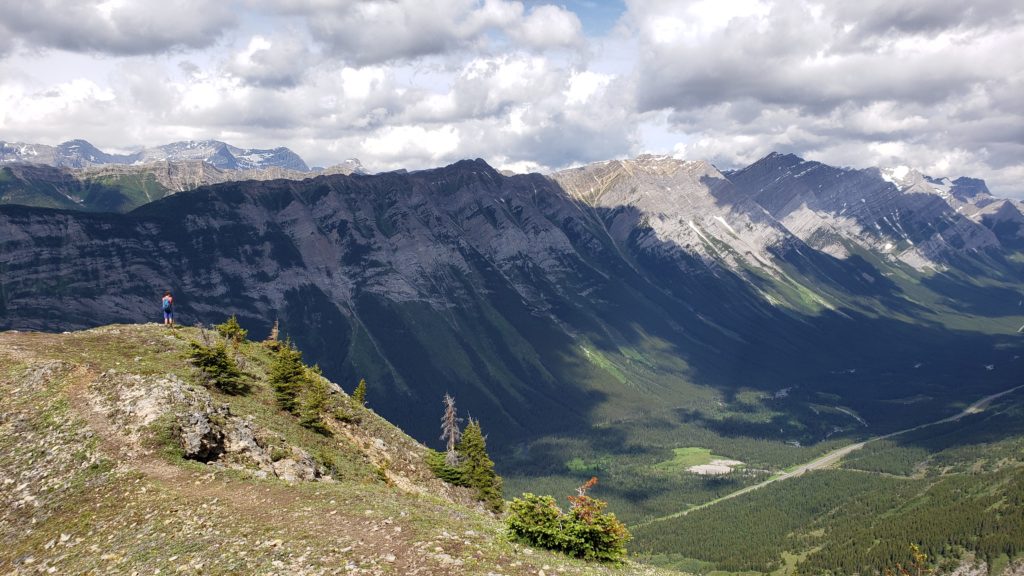
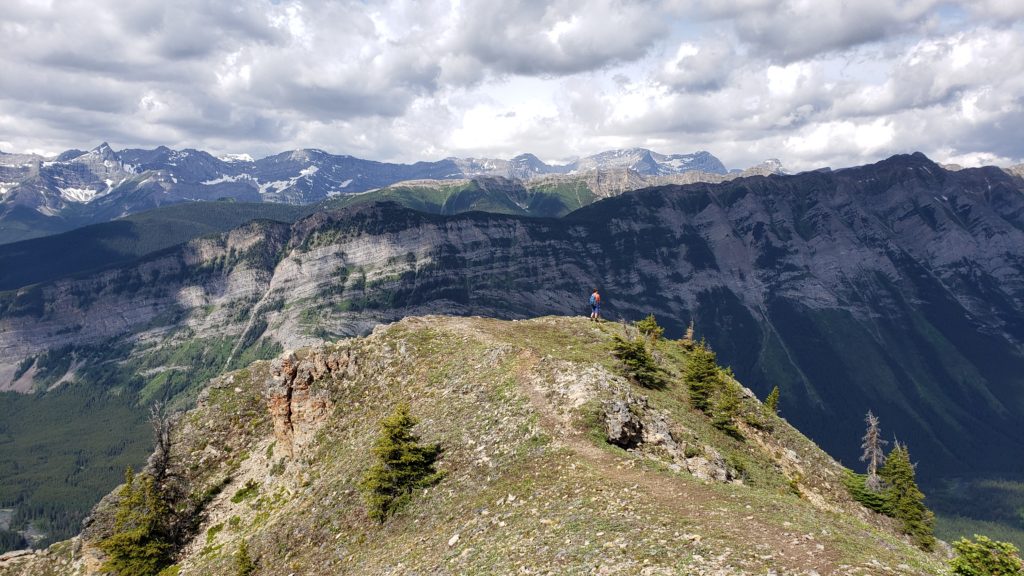
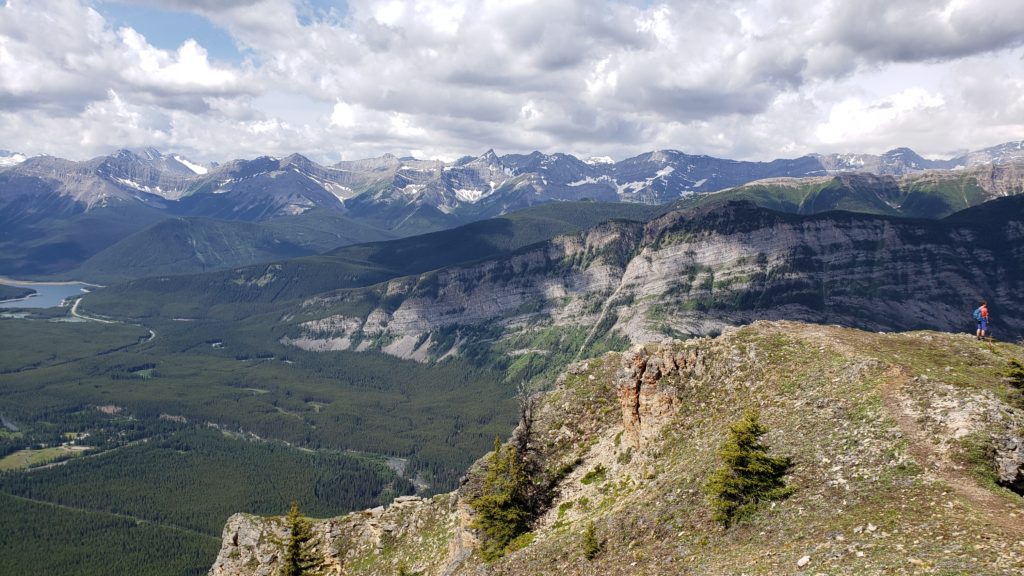
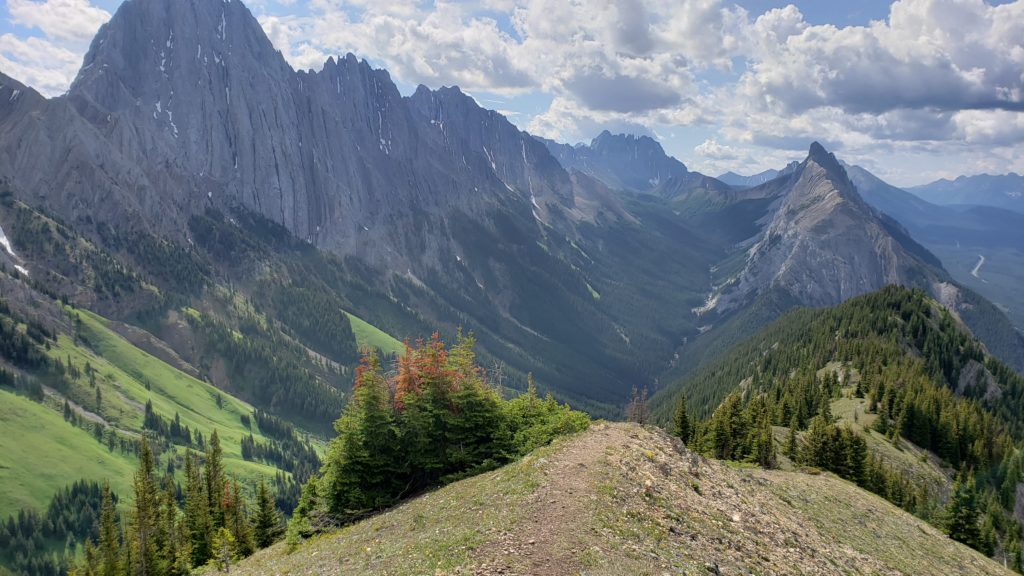
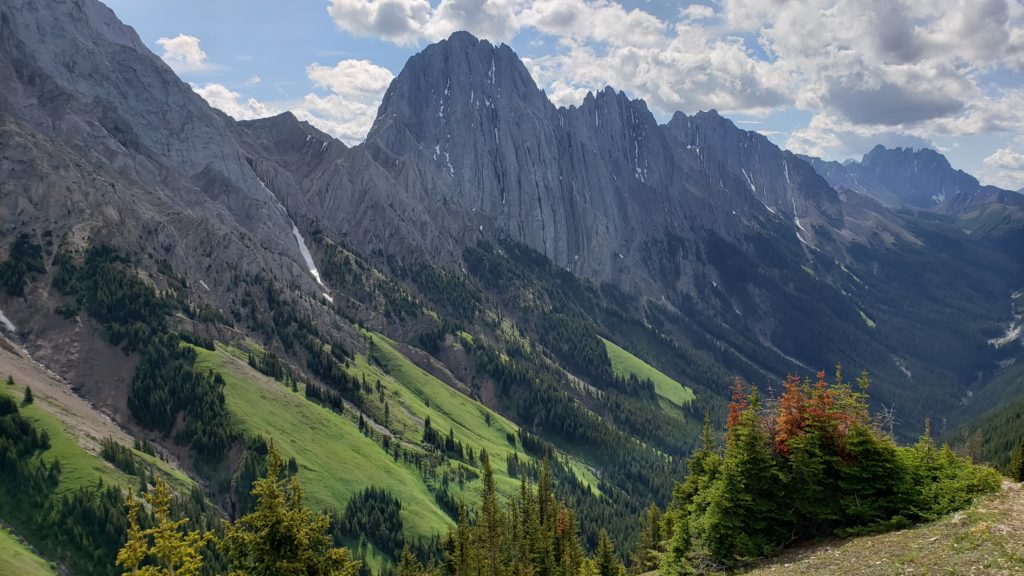
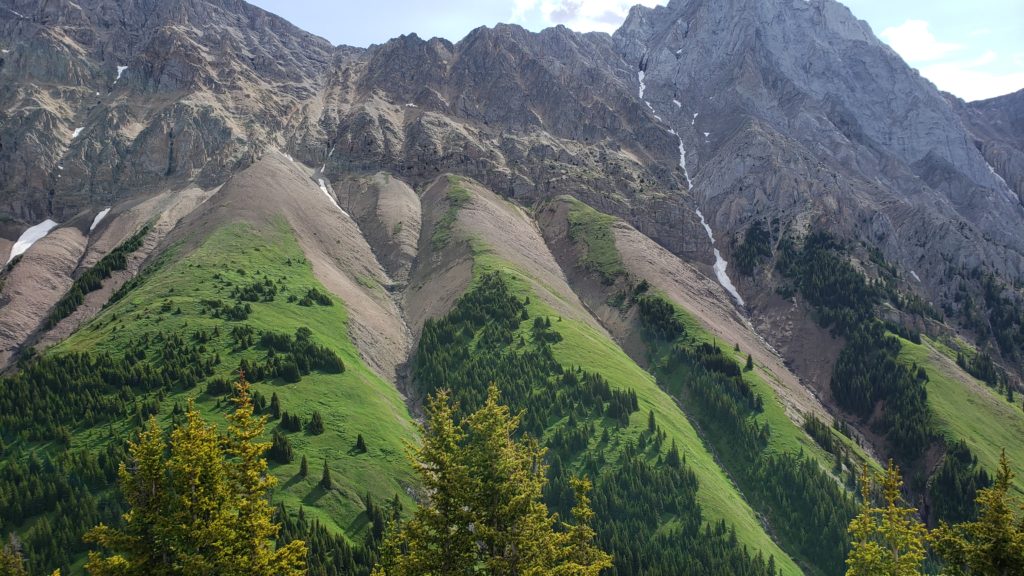
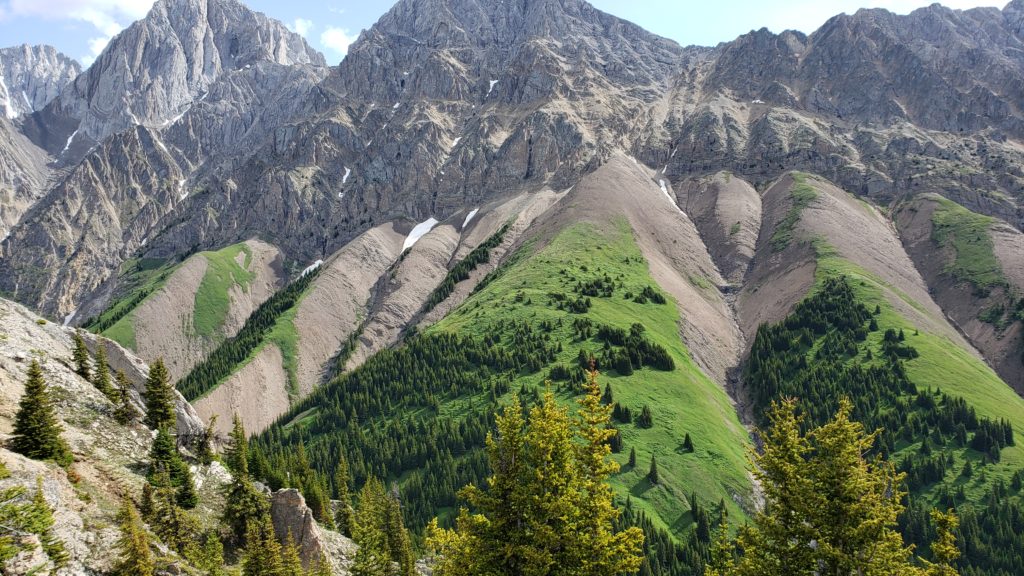
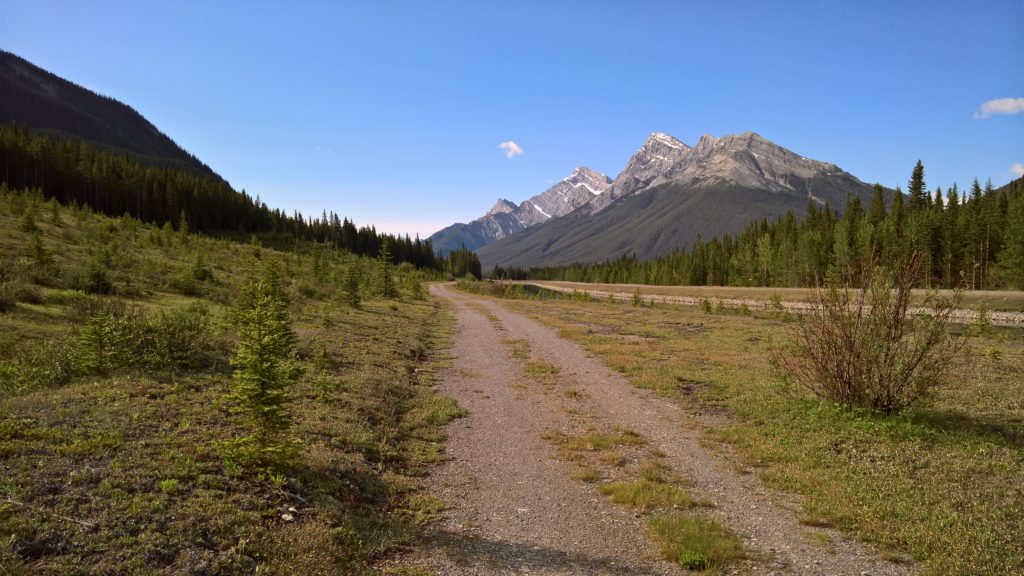
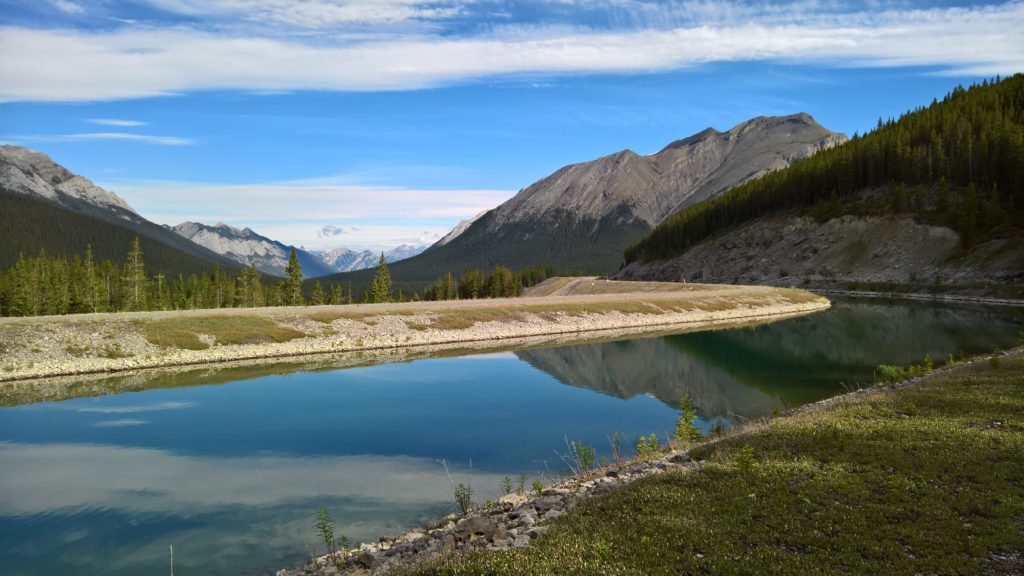
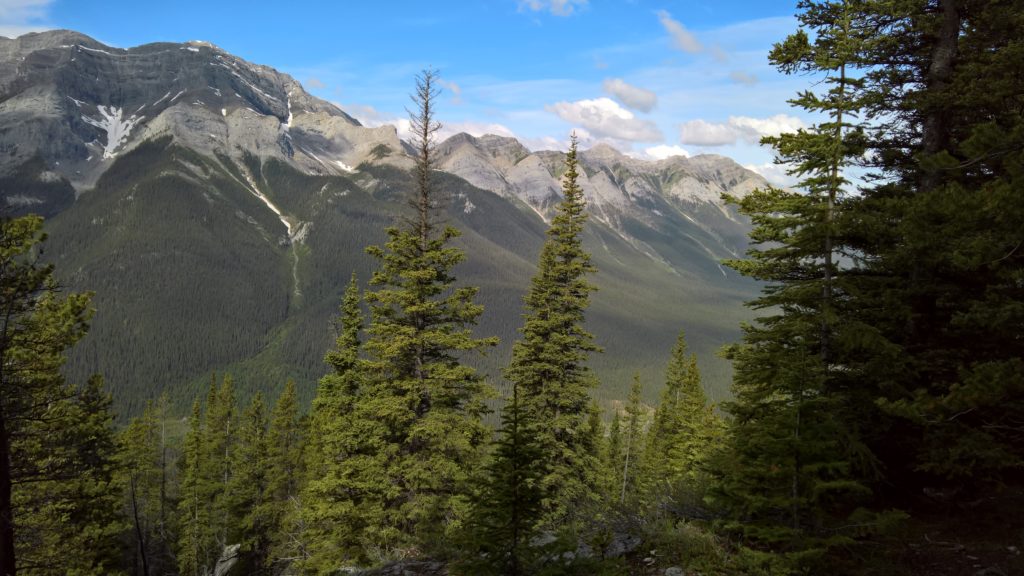
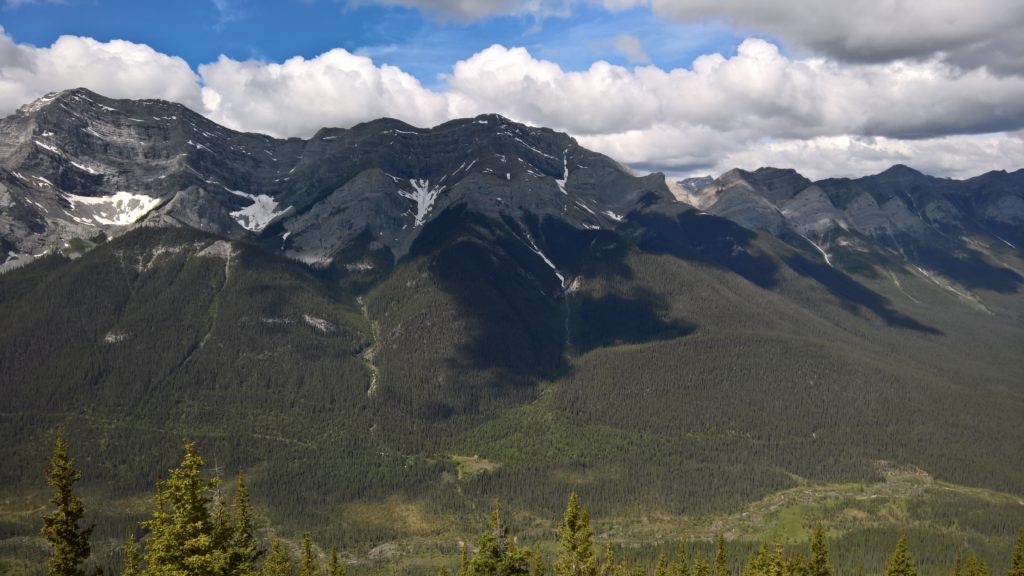
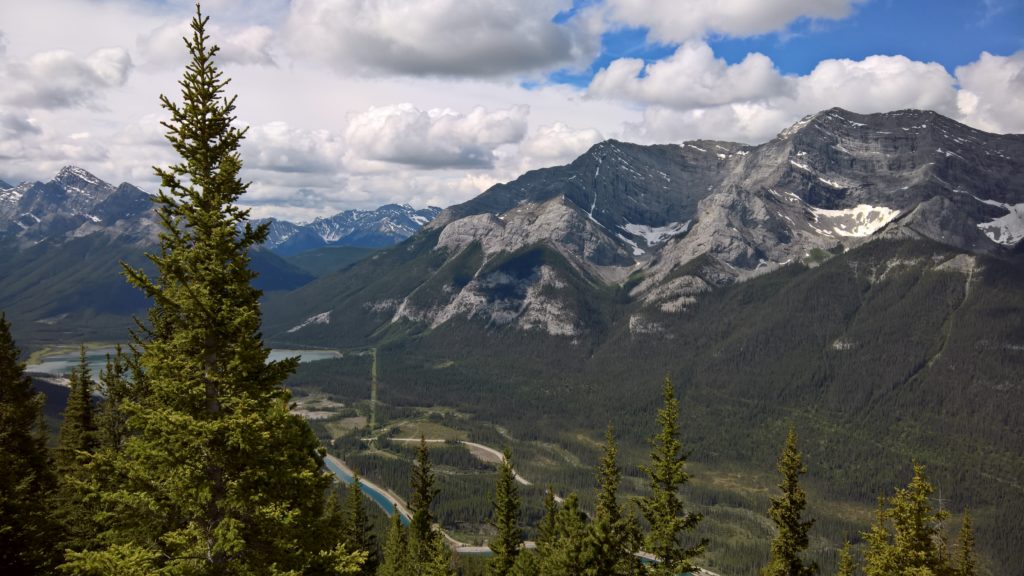
Below are pictures from the hike, please click to enter the attachment page, and then click again to enlarge. The below are low quality thumbnails, when you click on the image it will open the high-resolution image.

Stay safe, be bear aware, and always verify trails exist before you head out on to them!

Jul 122019
 

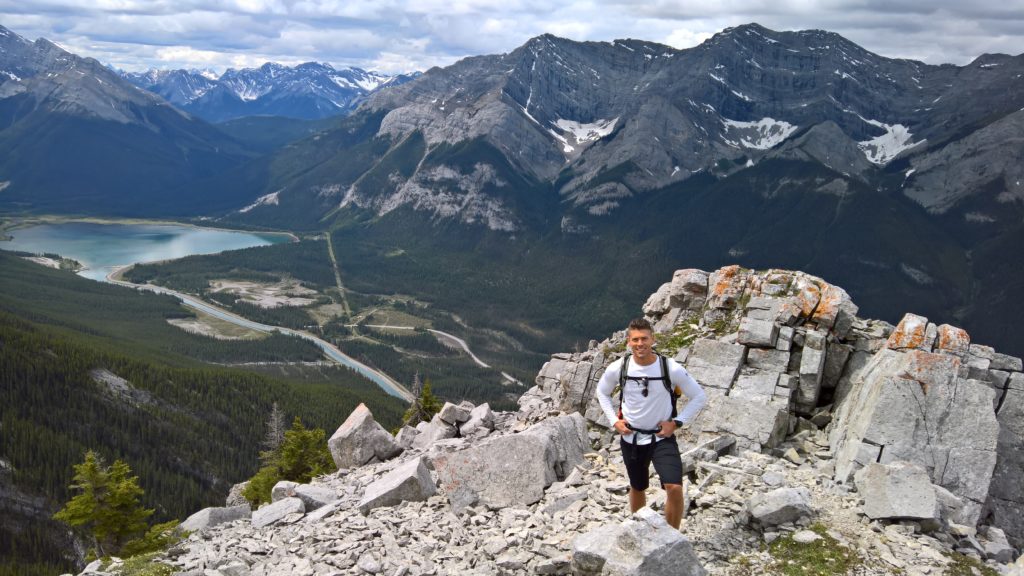
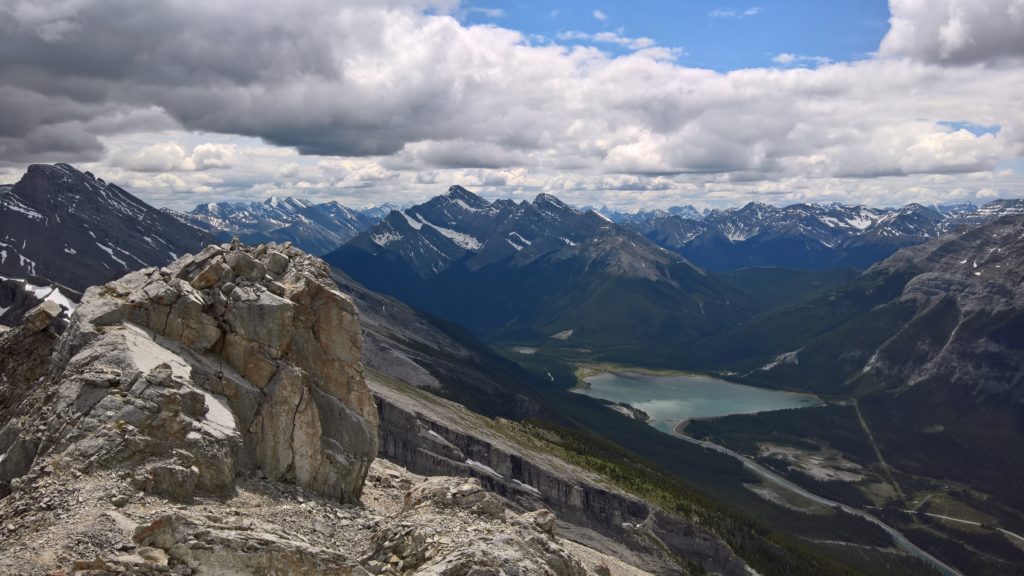
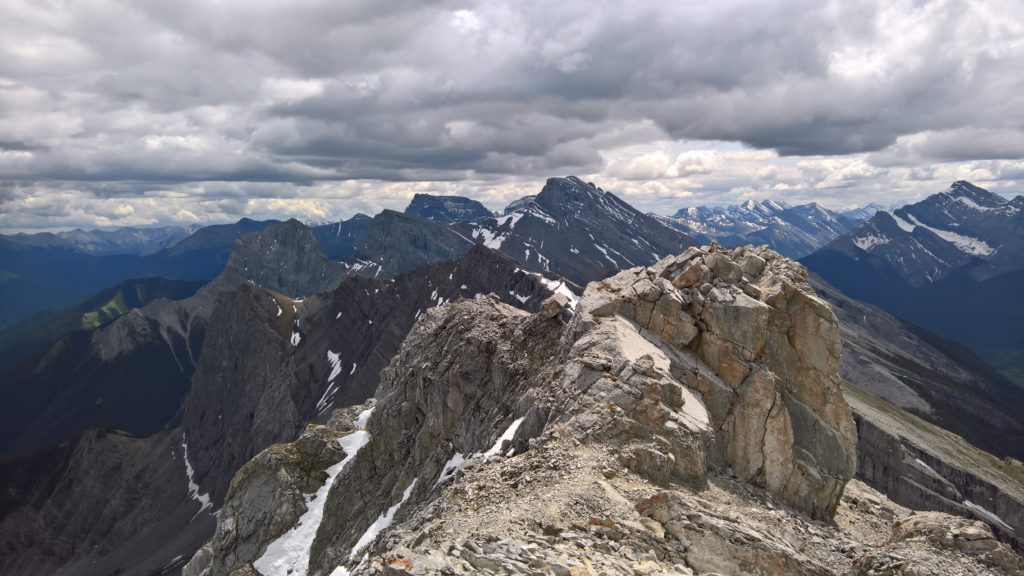
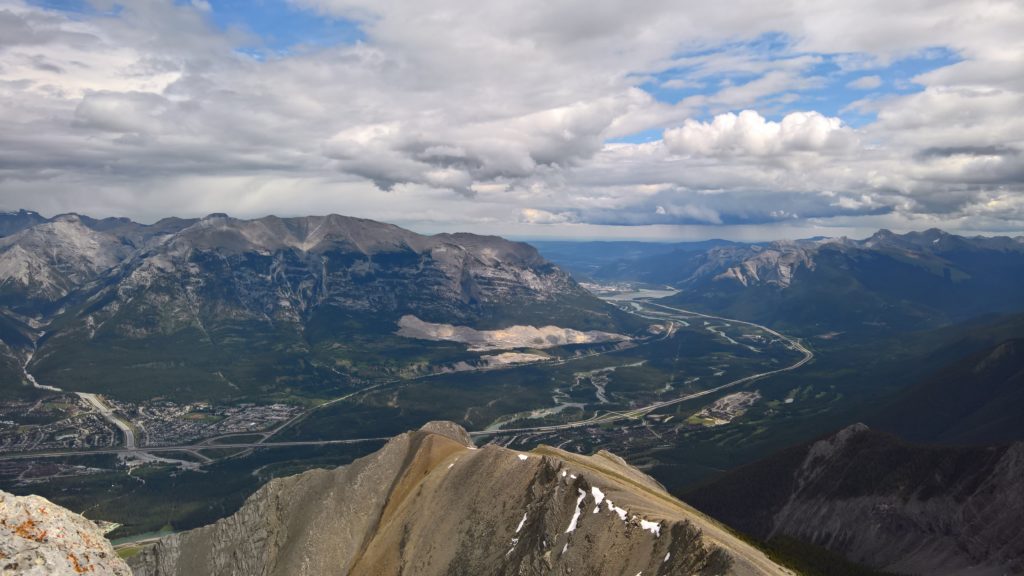
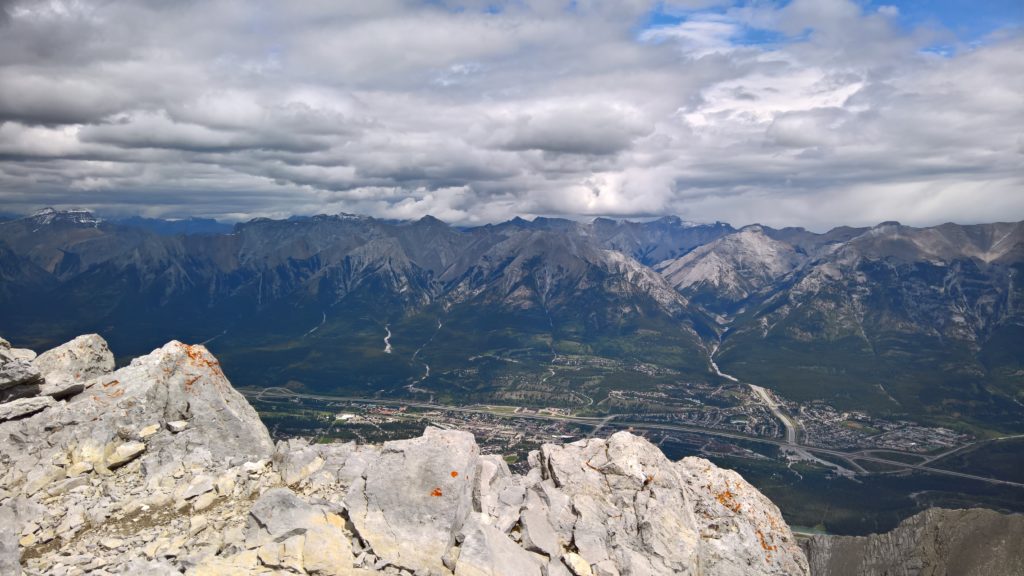
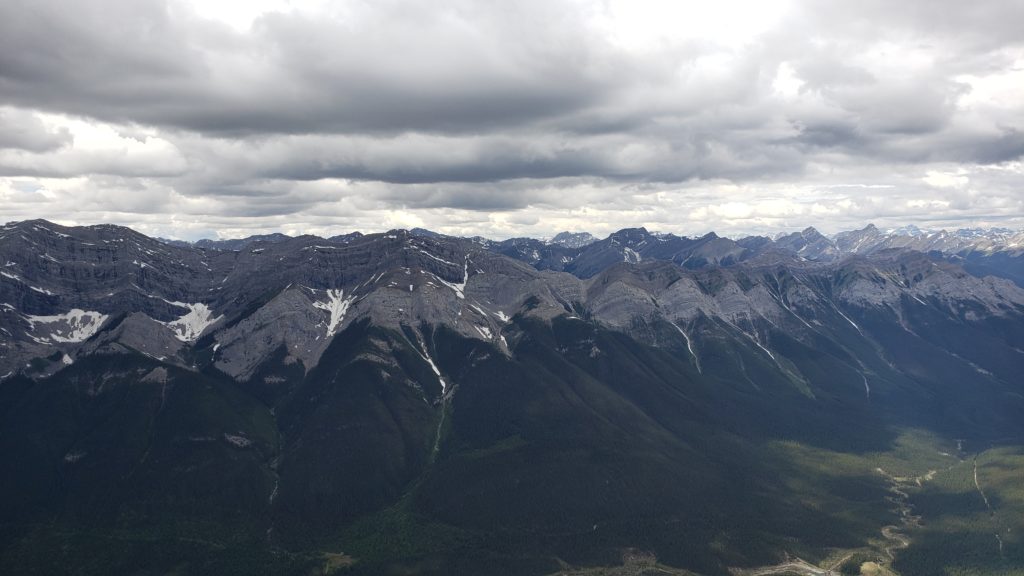
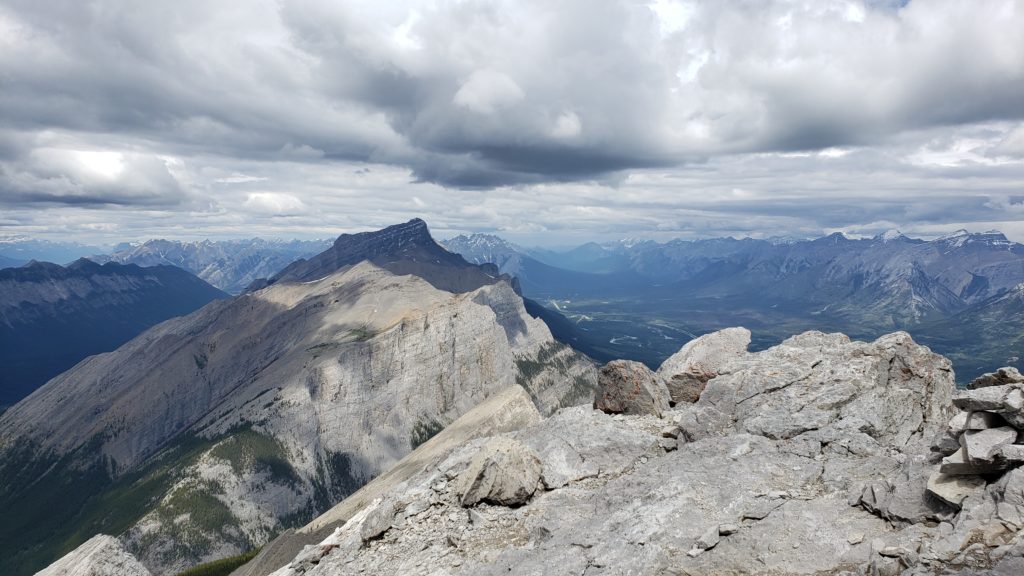
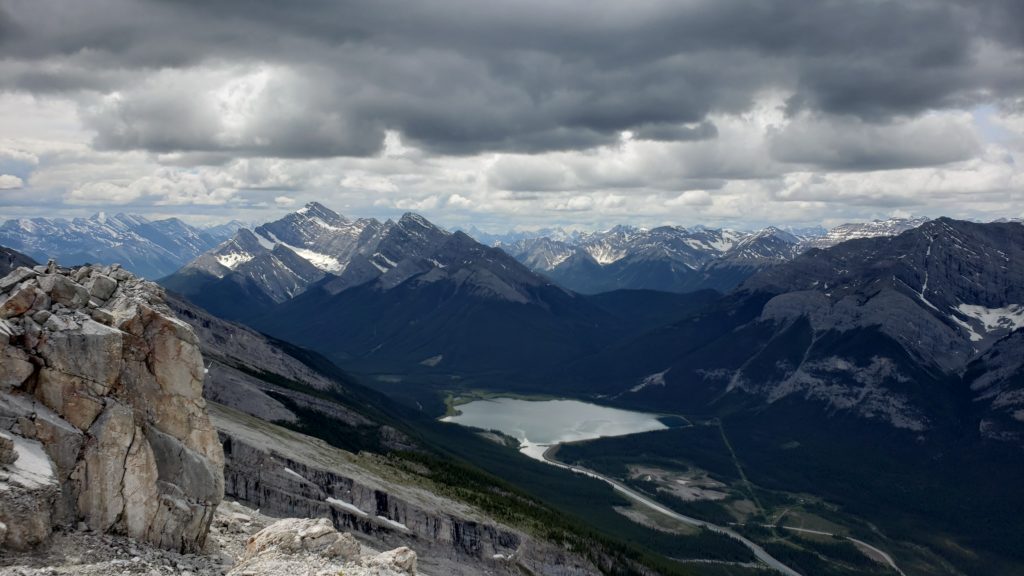
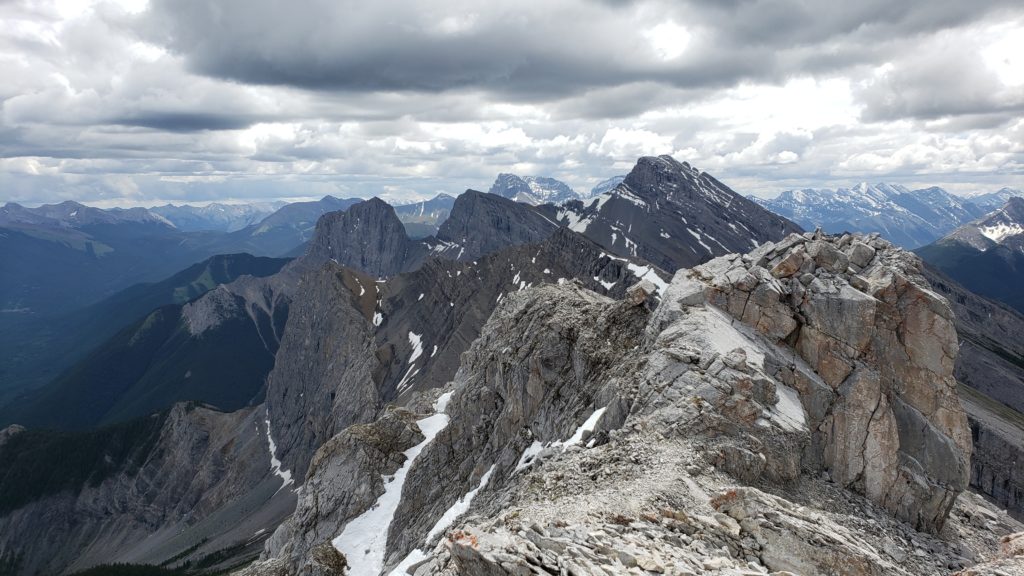
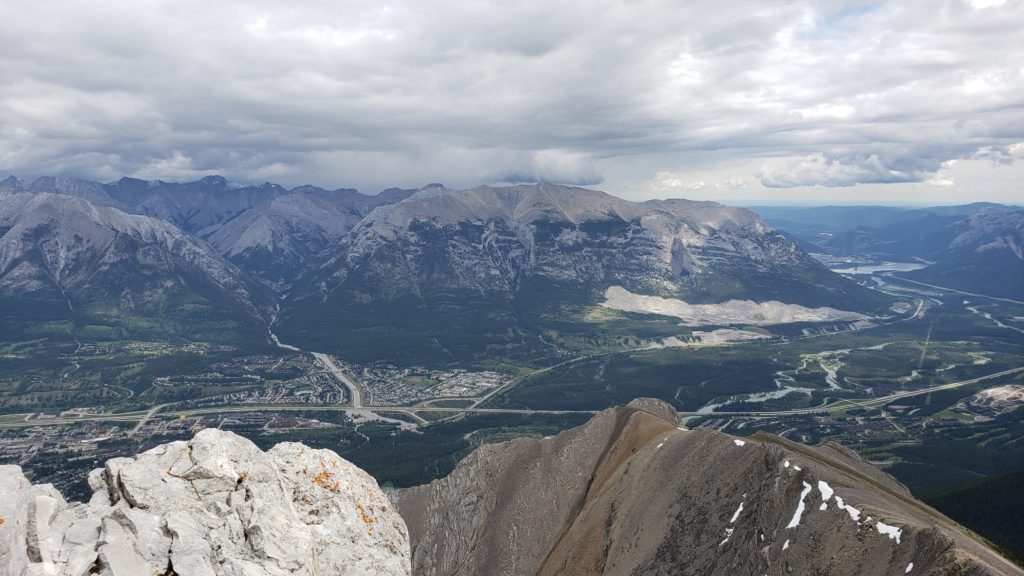
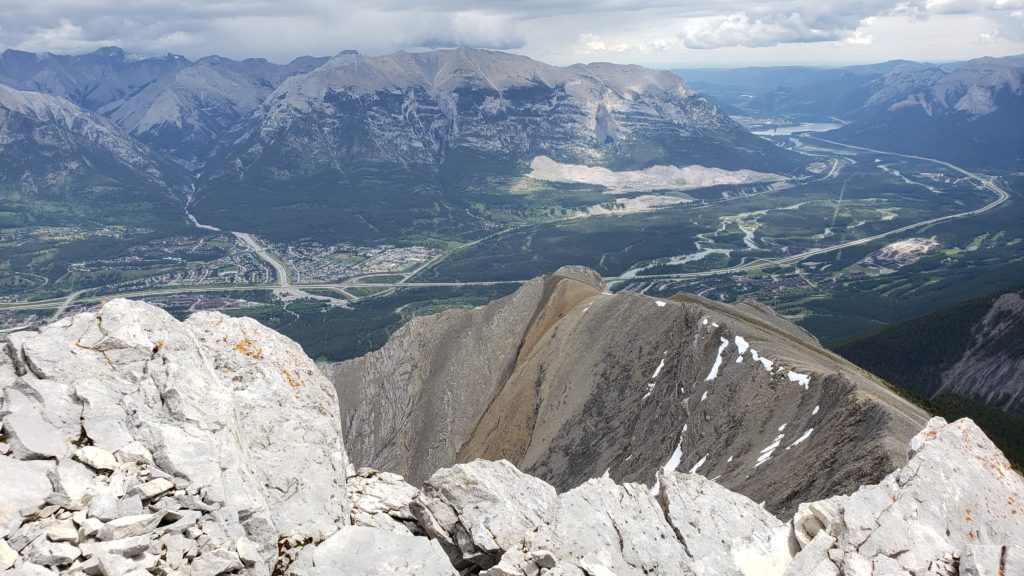
Last week (July 3rd, 2019), I hiked and climbed Mount Lawrence Grassi with my friend Elisha. It was a very aggressive hike, ascending very quickly to an altitude of 2,685 meters (8,809 feet).

It took us around 7 hours and 45 minutes, with a total moving time of 4 hours and 43 minutes. We completed a total elevation gain of 1,177m. My cardio has been horrible this year as I’ve been focusing on strength training so I slowed us down a little bit.

Picture gallery is below of the hike.

I’d only recommend this hike only for advanced hikers as the last 100 feet can be extremely dangerous (risk of slipping, sliding off cliff on both sides). Cell phone reception (for emergencies) is available for most of the hike.

Stephen Wagner Posing on Mount Lawrence Grassi while Hiking
Stephen Wagner on Mount Lawrence Grassi

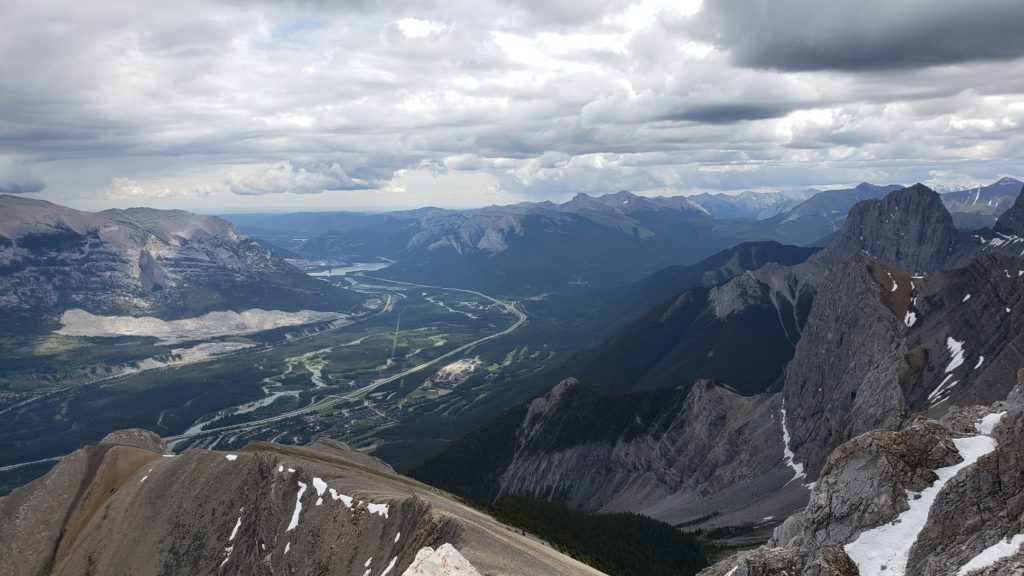
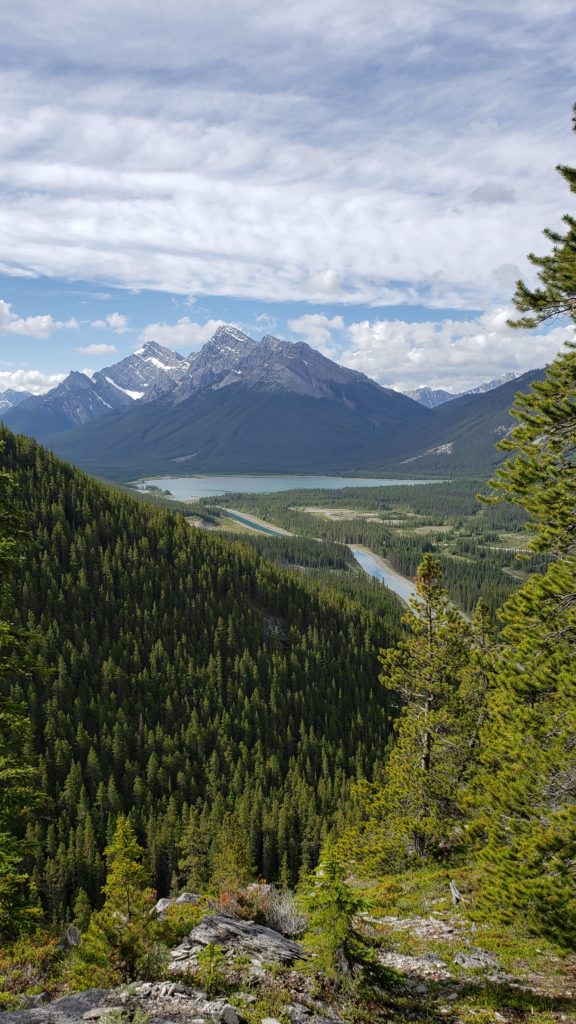
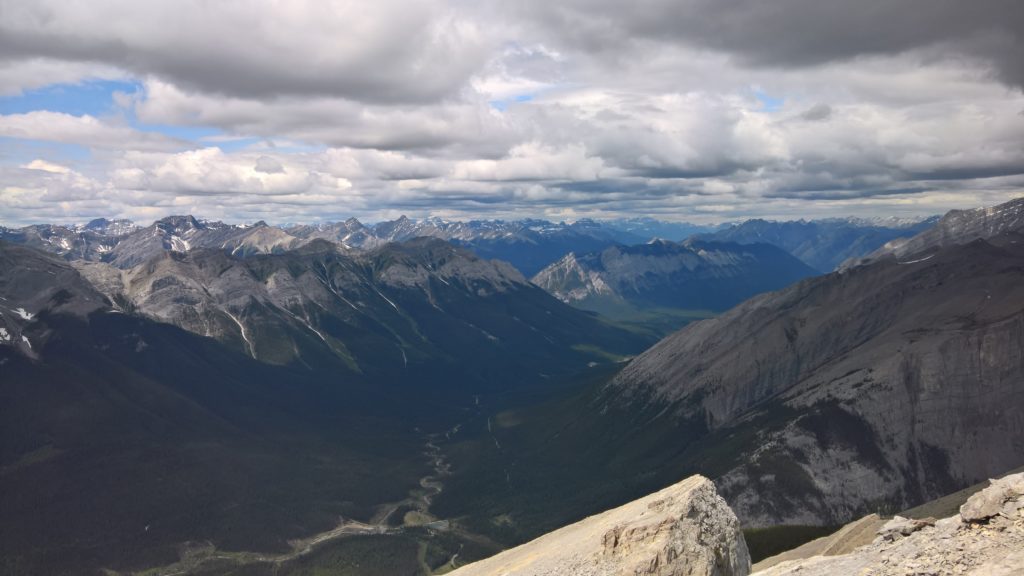
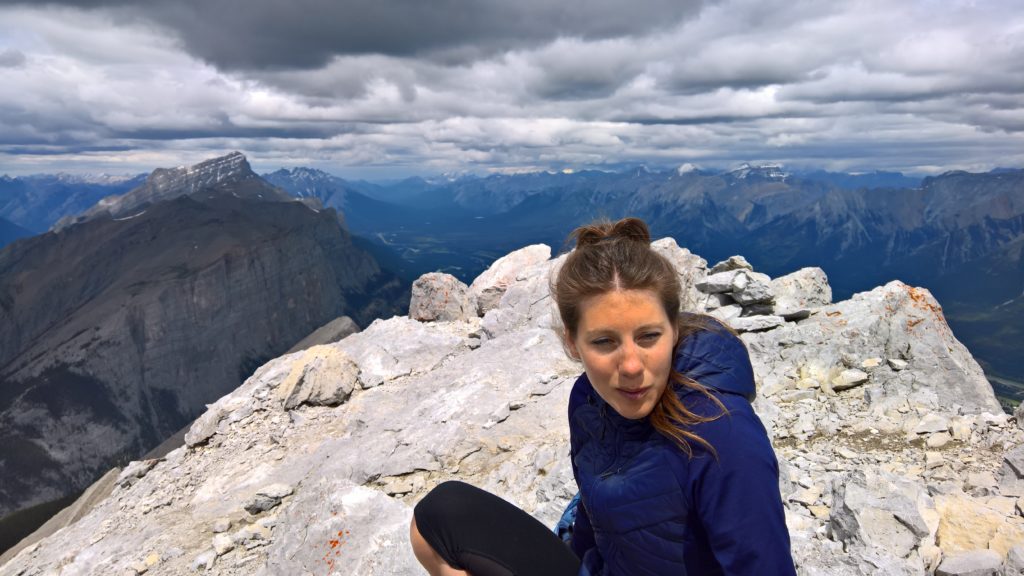
We’ve had issues with weather this year, but fortunately for us we chose the perfect day. It was a bit chilly at the top, but it turned out perfectly! The views from the summit were amazing!

View from Summit at Mount Lawrence Grassi

Other than the sketchy 100ft at the top, the only other issue we had was a bear encounter on the way back to the vehicle. Once we got back to the bottom of the mountain, starting our 2km walk to the vehicle, we crossed paths with a black bear. We immediately prepped our bear counter-measures (we always carry bear mace, bear bangers, air horn, etc), however two chirps of the air horn caused it to retreat in to the forest.

AllTrails Link: https://www.alltrails.com/trail/canada/alberta/mount-lawrence-grassi

Mount Lawrence Grassi Hike Pictures

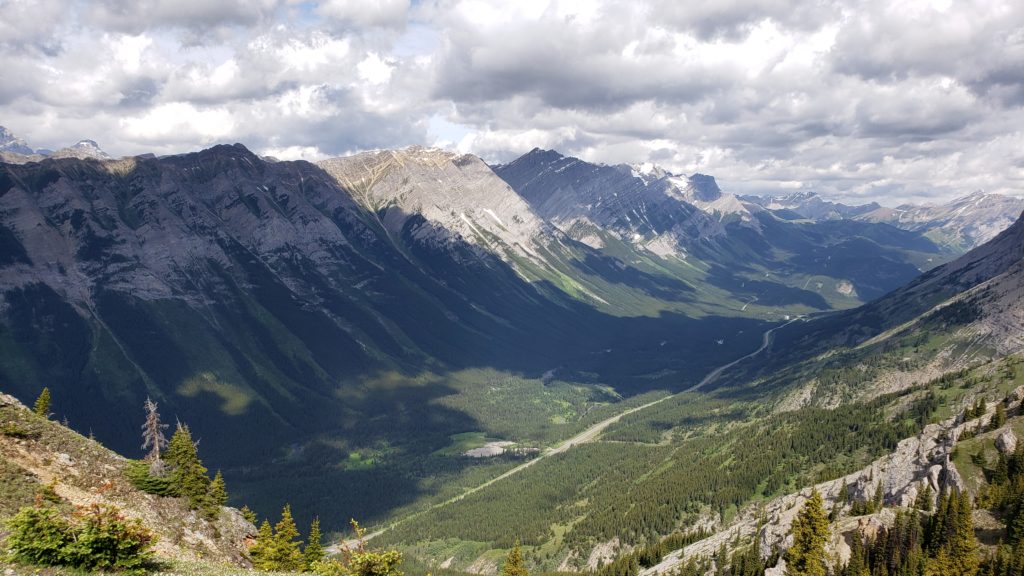
Below are pictures from the hike, please click to enlarge. The below are low quality thumbnails, when you click on the image it will open the high-resolution image.

The best photos are at the end of the album when we reached the summit!
Stay safe and be bear aware!