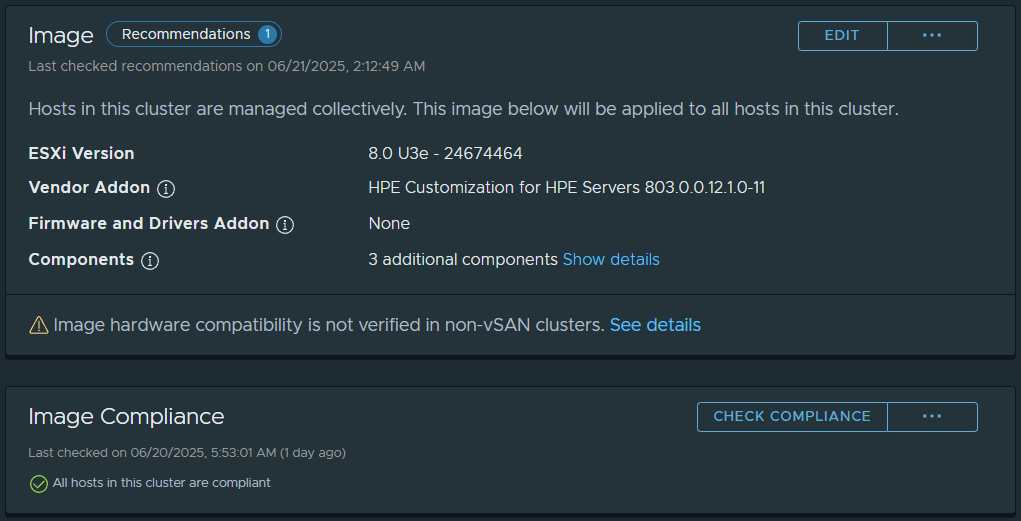
Recently I came across a new issue and scenario in an environment where when trying to perform a vLCM function like remediation or staging, resulted in vLCM Remediation Stuck at 2%.
When this occured, all the systems on the VMware vCenter Appliance were functioning with no errors or failed tasks. If you start the process and it gets stuck on 2%, it can sit there for over an hour without failing.
Before we jump in to this issue, let’s first review the process that occurs with vLCM. I will simply this for purposes of explaining what occurs.
Normally, when kicking off a vLCM action such as remediation, you’d see a workflow similar to this when starting vLCM remediation:
- VMware vSphere Task Created: “Remediate Cluster” (if remediating a cluster)
- Compliance Check on vSphere cluster
- Remediation of Hosts
- ESXi Host VM Evacuation (Requires DRS)
- ESXi Host Enters Maintenance Mode
- ESXi Host updates applied
- Restart (if required)
- ESXi Host Exits Maintenance Mode
- Compliance Check
- vLCM continues to remaining hosts in the cluster or completes if no hosts remaining
The Issue
When this issue occurs, both vLCM Remediation and vLCM Staging will result in the task (item #1) listed above “Remediate Cluster” or “Staging Cluster” getting stuck at 2%, and none of the steps in the workflow after that occur.
The process gets stuck before compliance check, or even maintenance mode.
The Solution
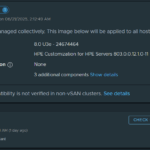
After troublehsooting, reviewing logs, all I could see was some timeouts inside of the vLCM logs on the vCenter Server appliance (vCSA).
Seeing timeouts with no additional information to work with, I turned to reviewing the network configuration on the vCenter server and ESXi hosts.
It turns out that the vCenter server was pointed to the single DNS server that was offline. After correcting and updating the DNS settings on the vCenter appliance, the issue was completely resolved.
“It’s always DNS”