Jun 172020
 

One thing I love doing is mixing technology with sport.

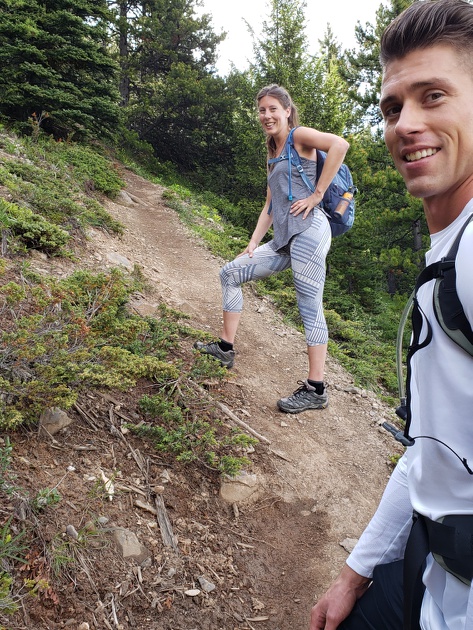
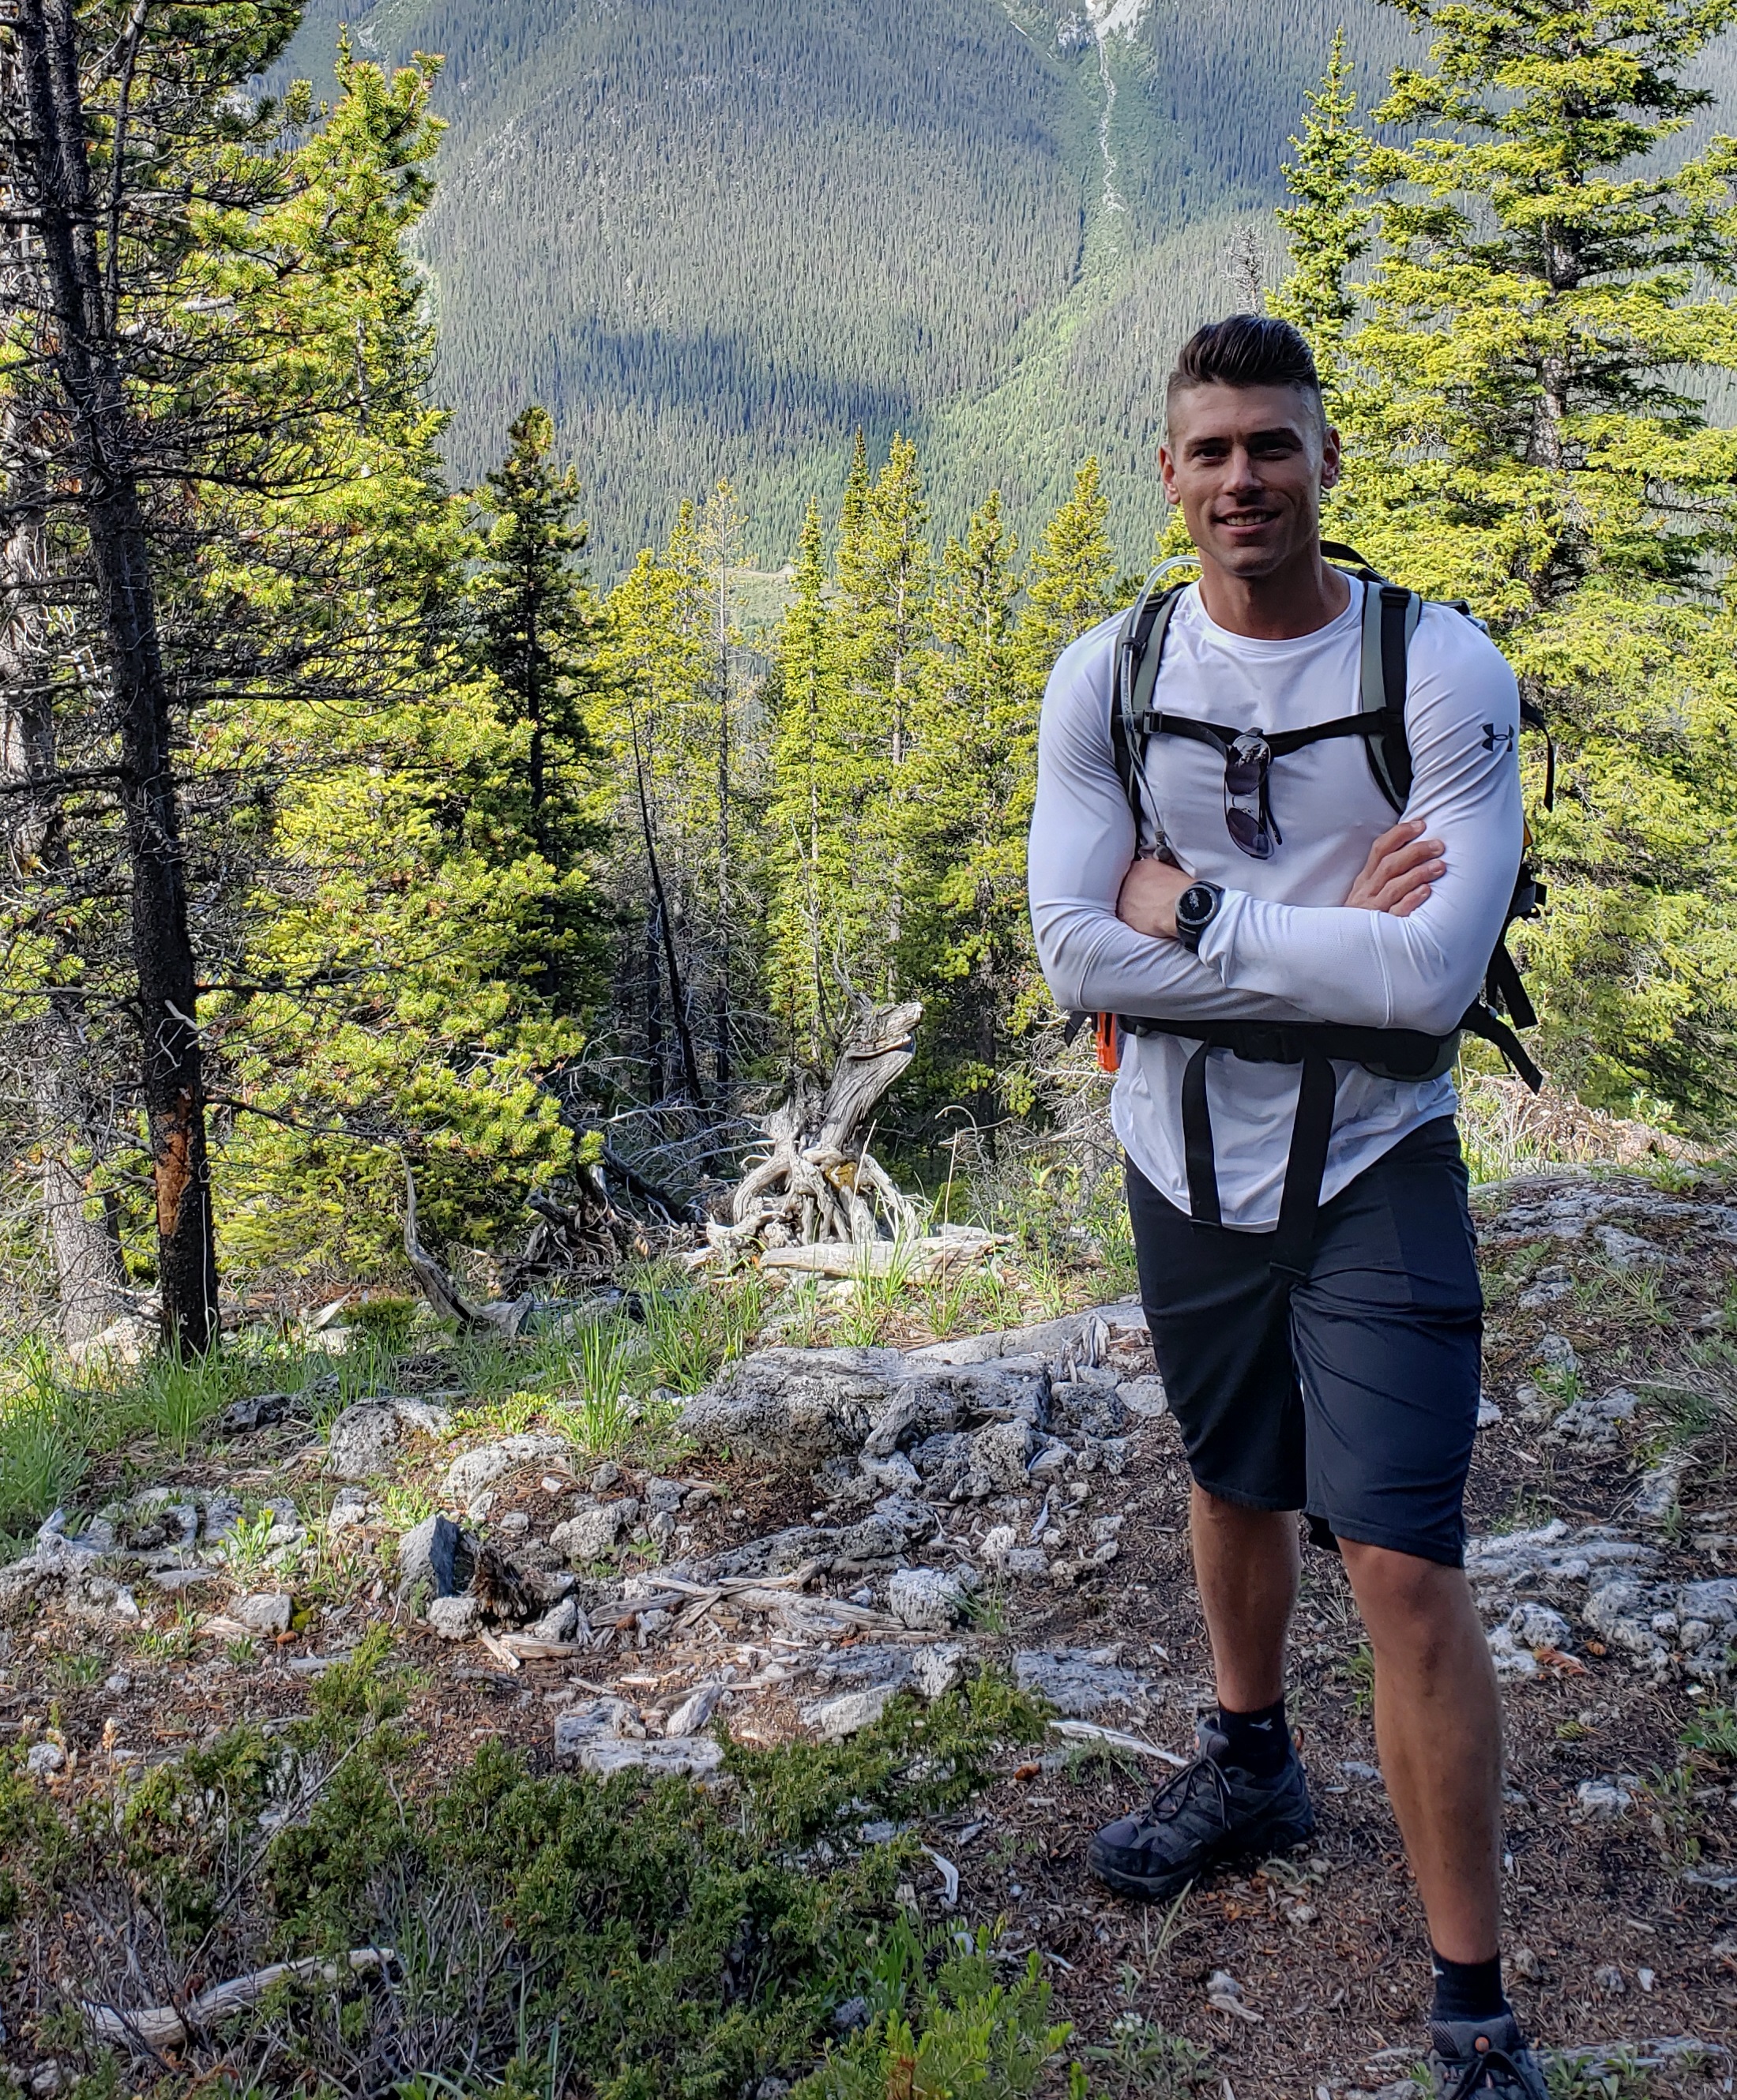
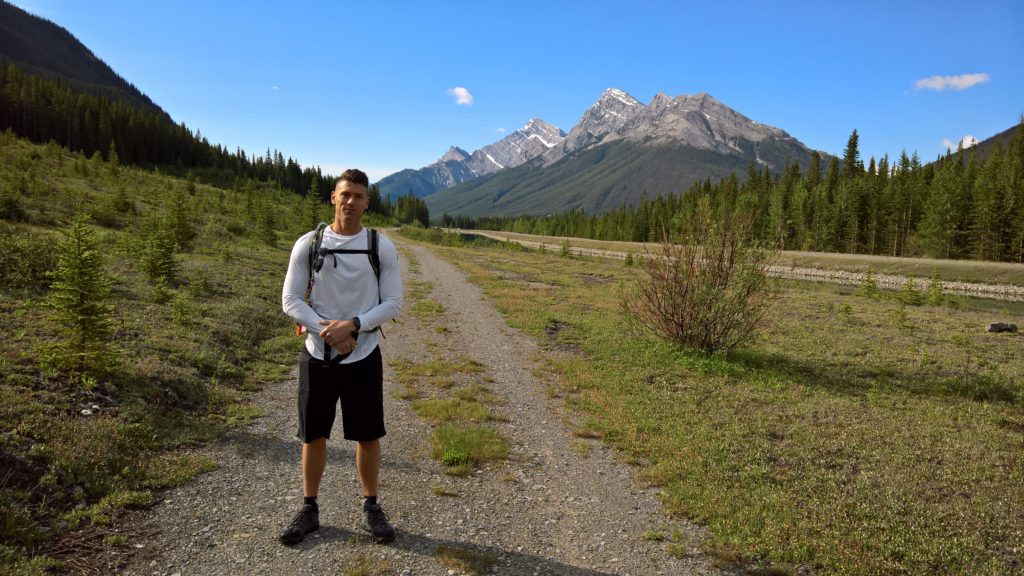
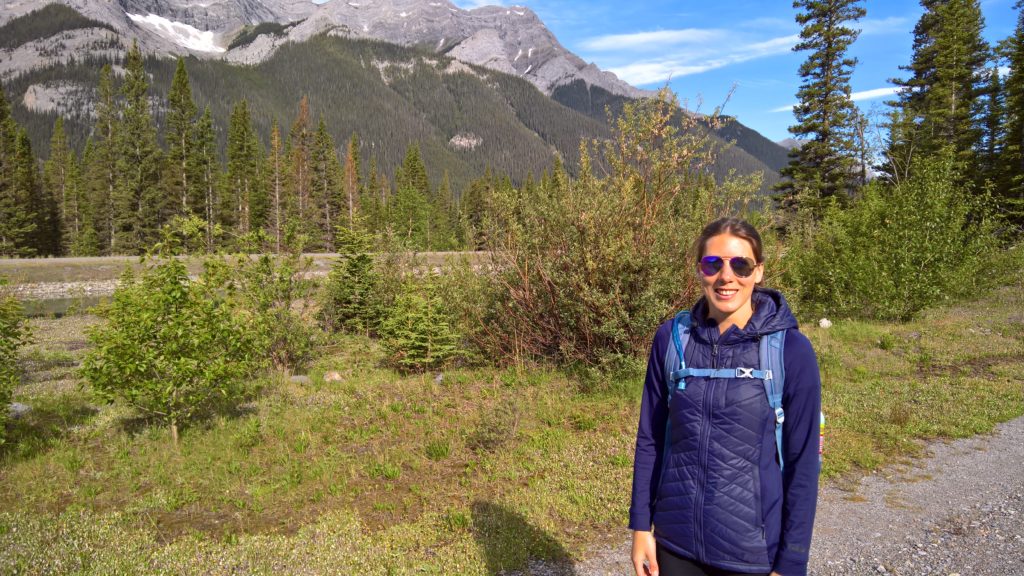
In my free time I’m often hiking, cycling, running, or working out. I regularly use technology to supplement and track my activities. It helps to record, remember, track, and compete with myself.

I use a combo of hardware and software to do so, including watches, phones, software, etc but today I wanted to put emphasis on the Snapchat Spectacles.

The Snapchat Spectacles

Picture of Snapchat Spectacles and Charging Case
Snapchat Spectacles

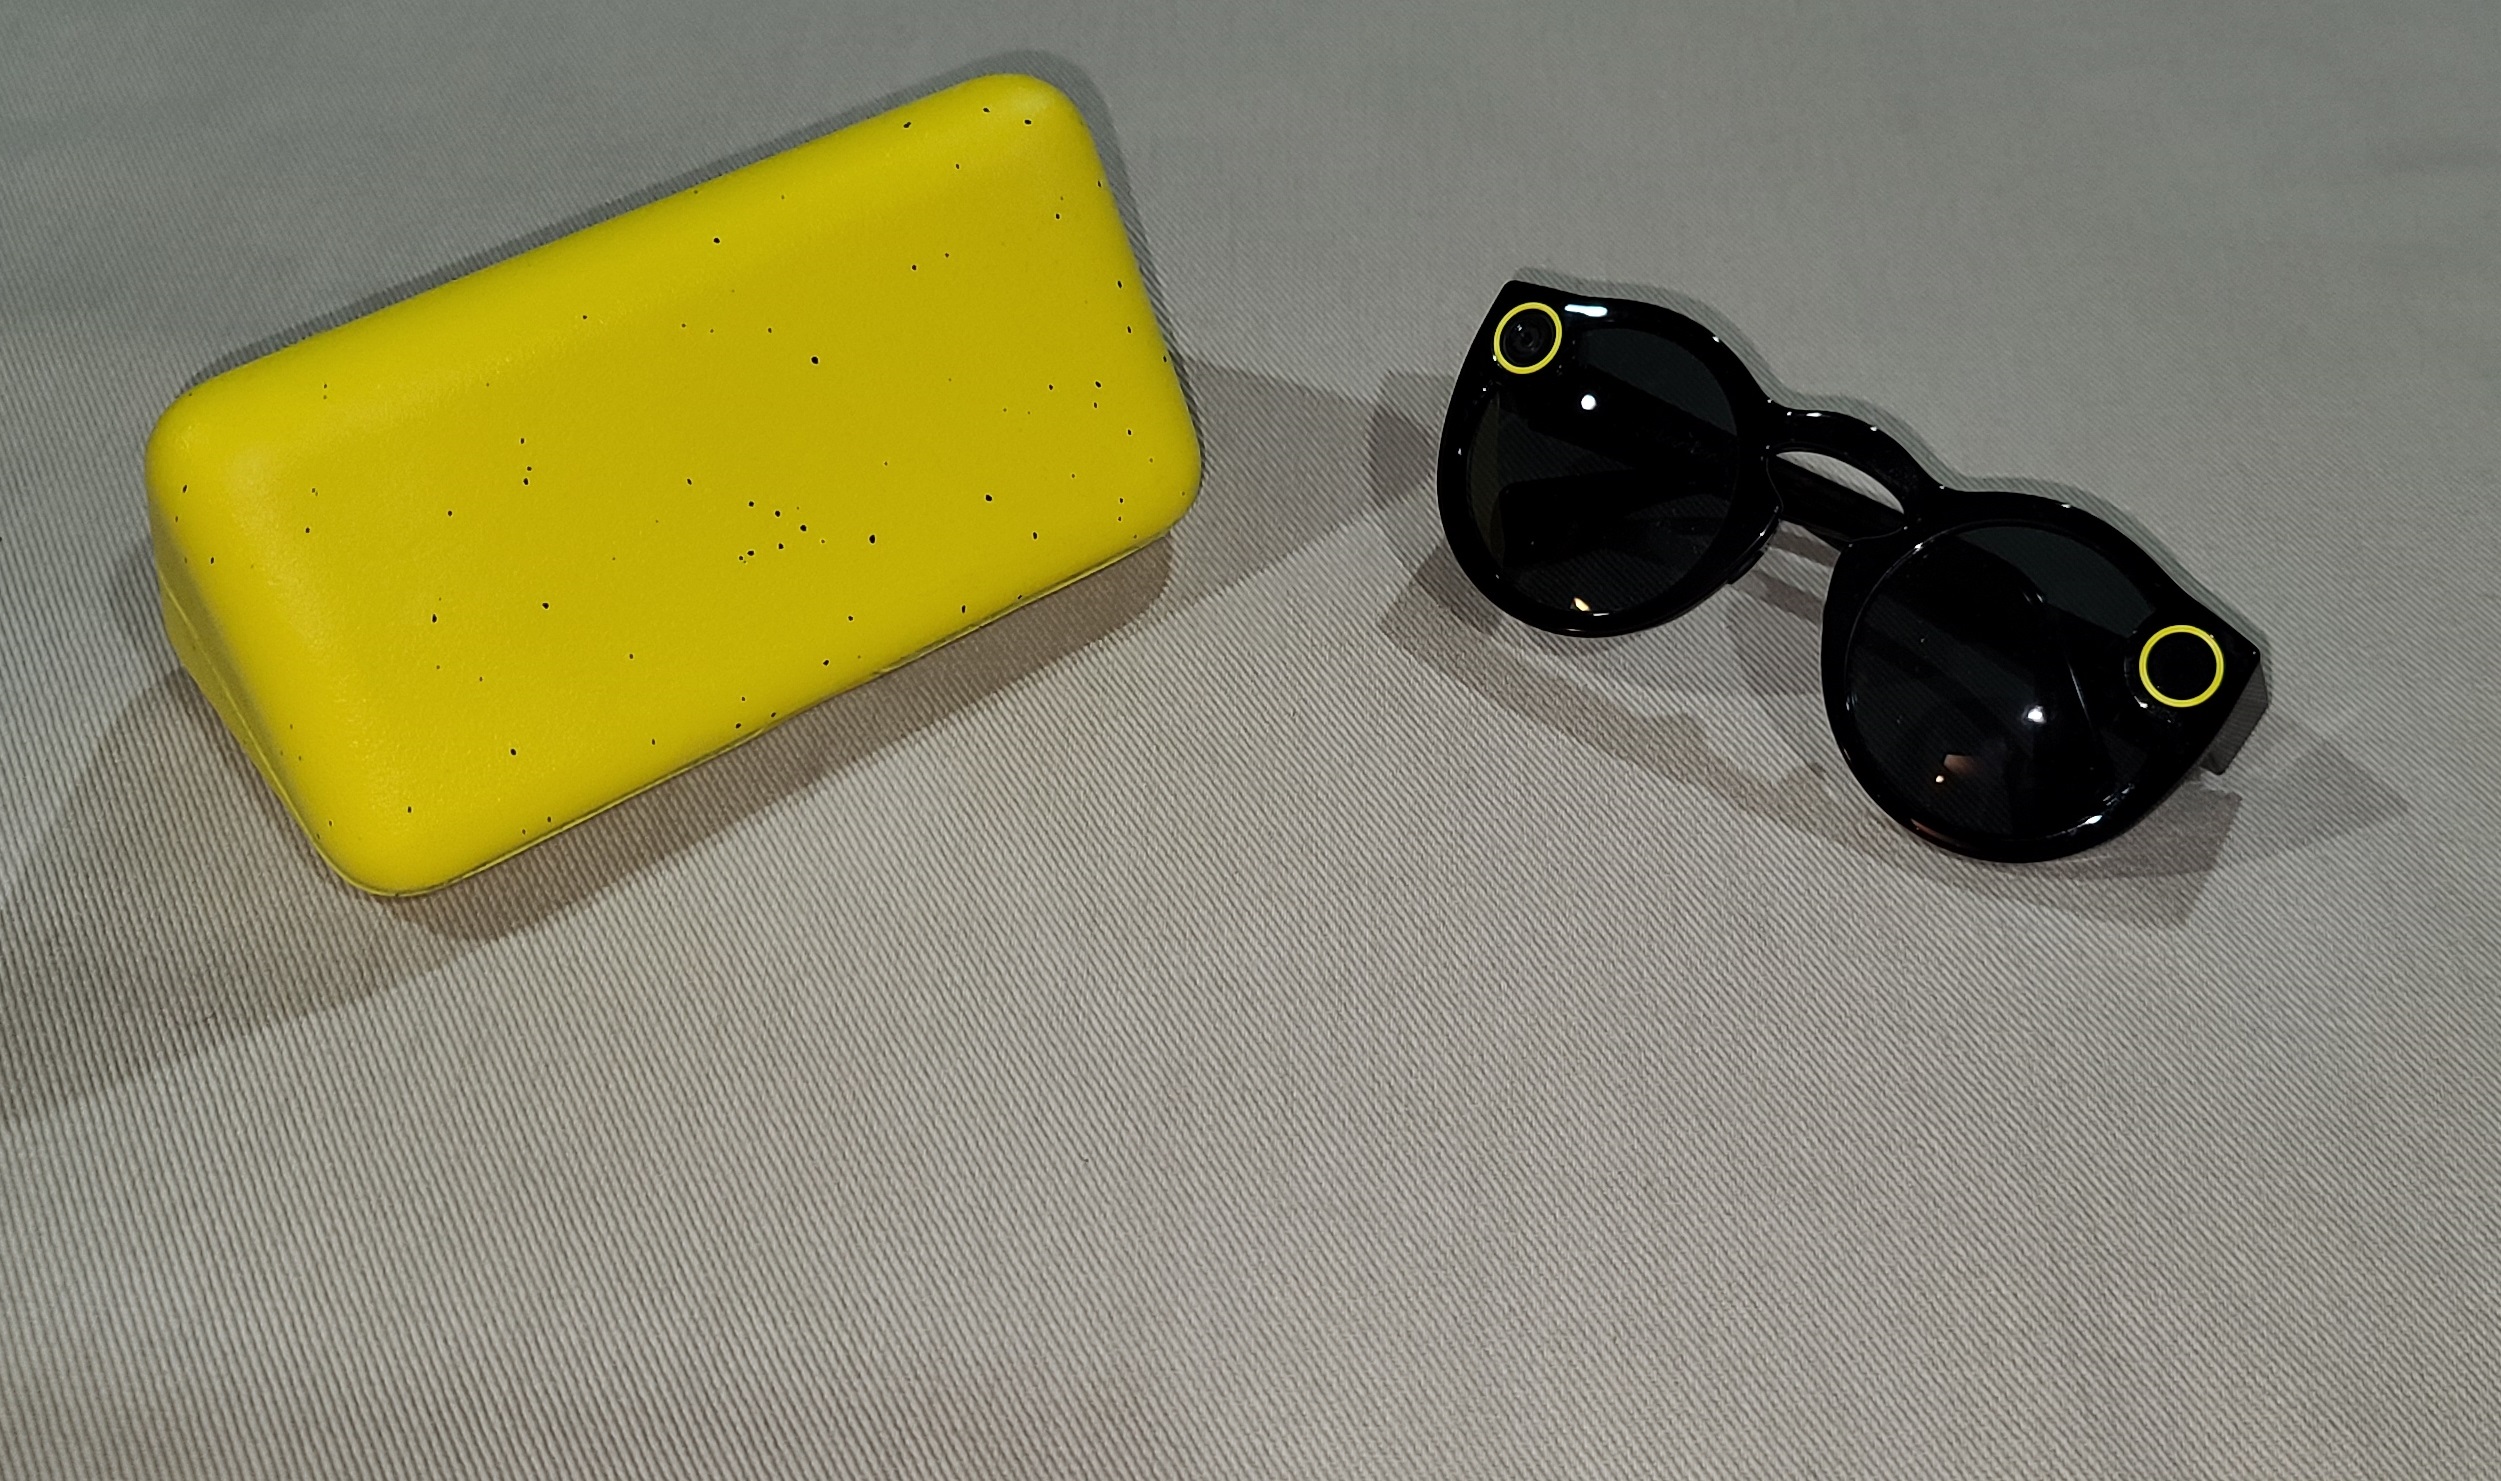
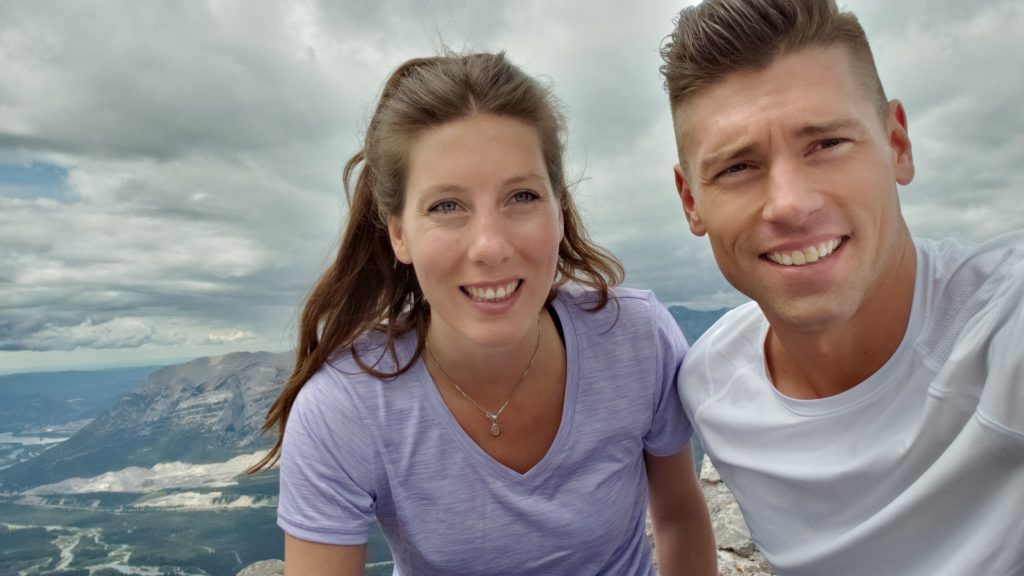
I’ve had a pair of the 1st generation Snapchat Spectacles since they were released (I had to use my US shipping address to bring them over to Canada). Over the years I’ve used them to collect videos and haven’t really done much with them, with the exception of sending snaps to friends.

Thankfully I save everything I record and as of the past year, incorporating my new hobby with video, I’ve been able to use some of the old footage to generate some AMAZING videos!

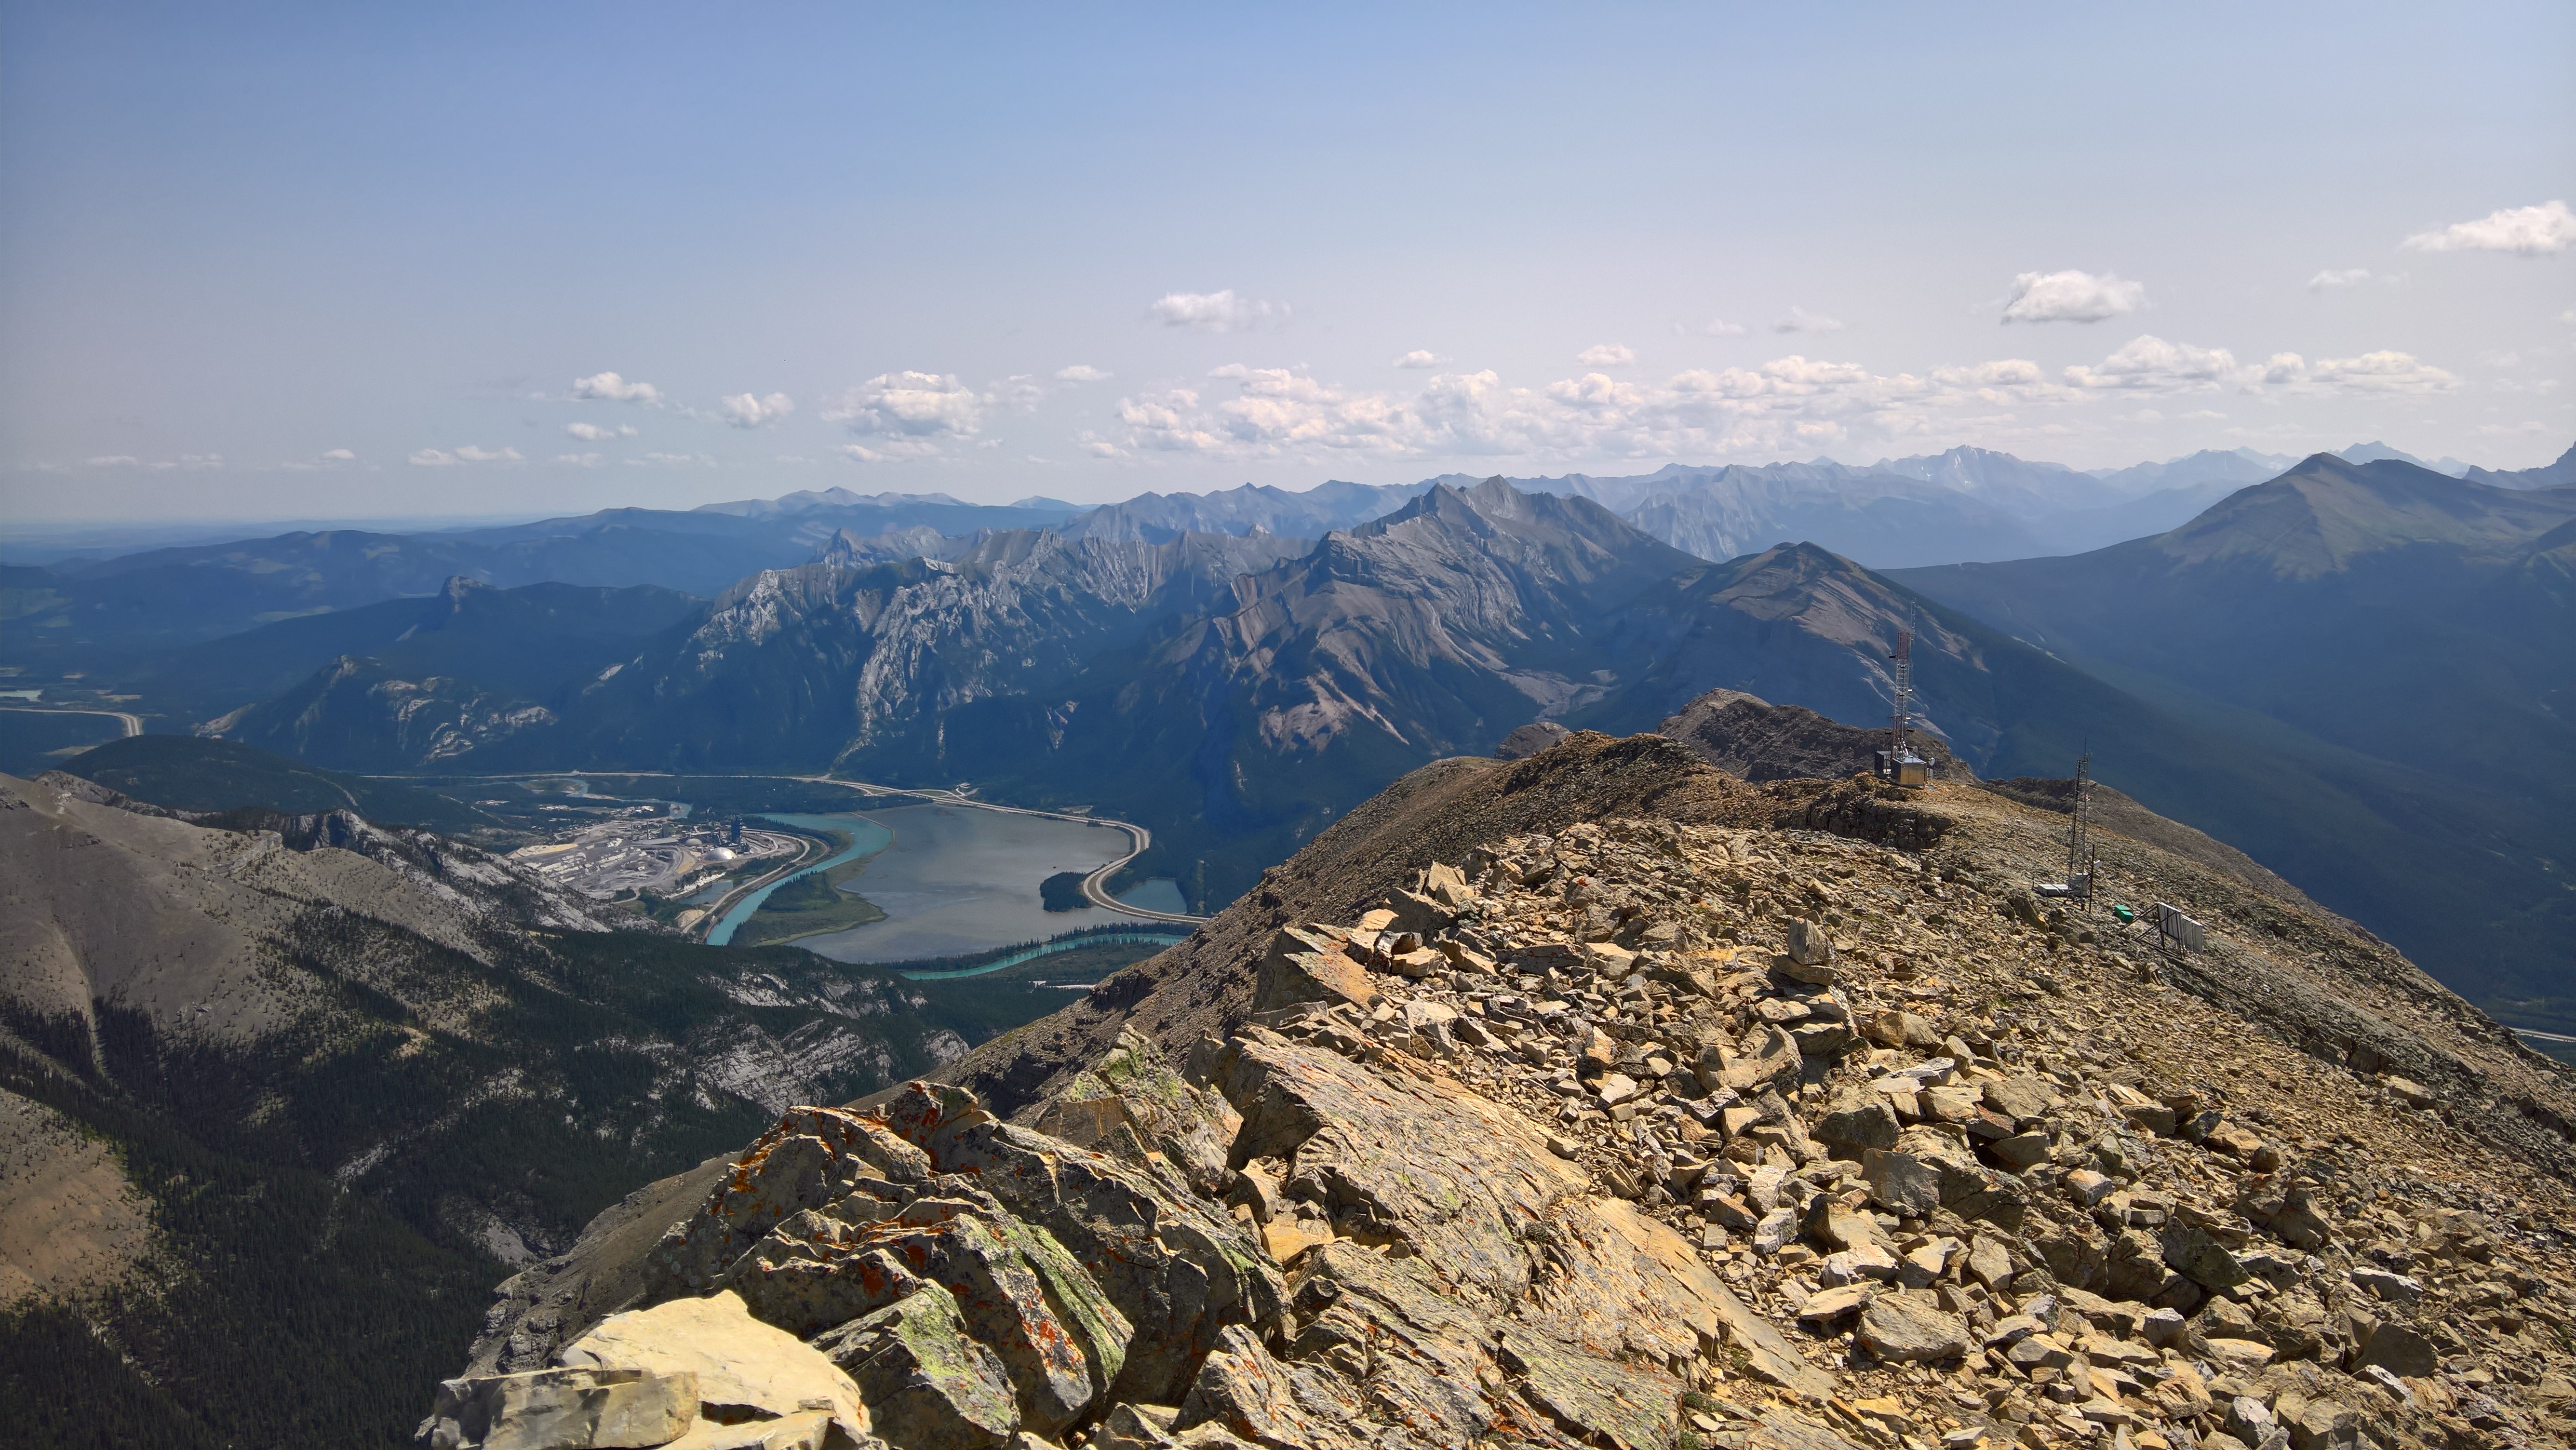
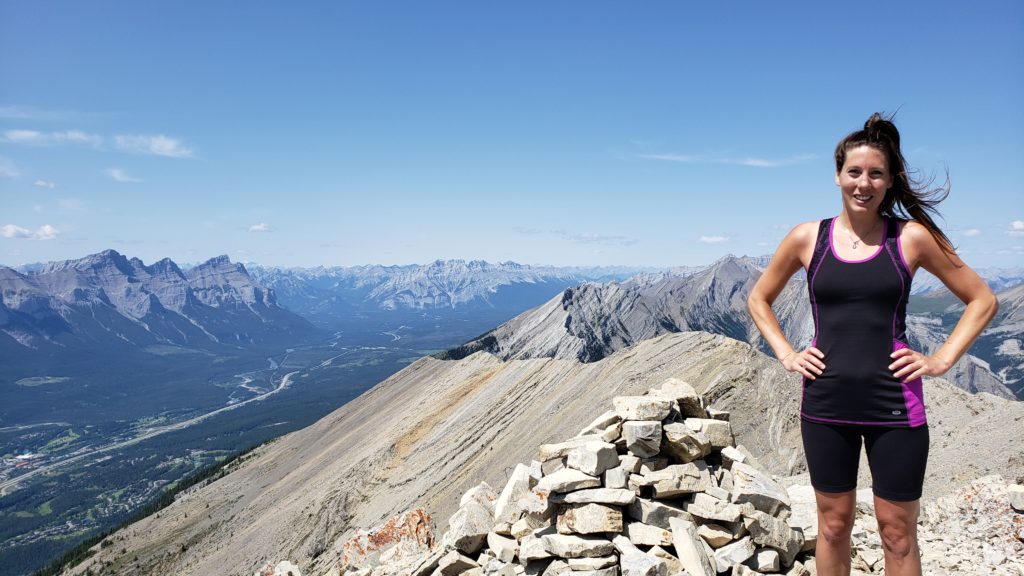
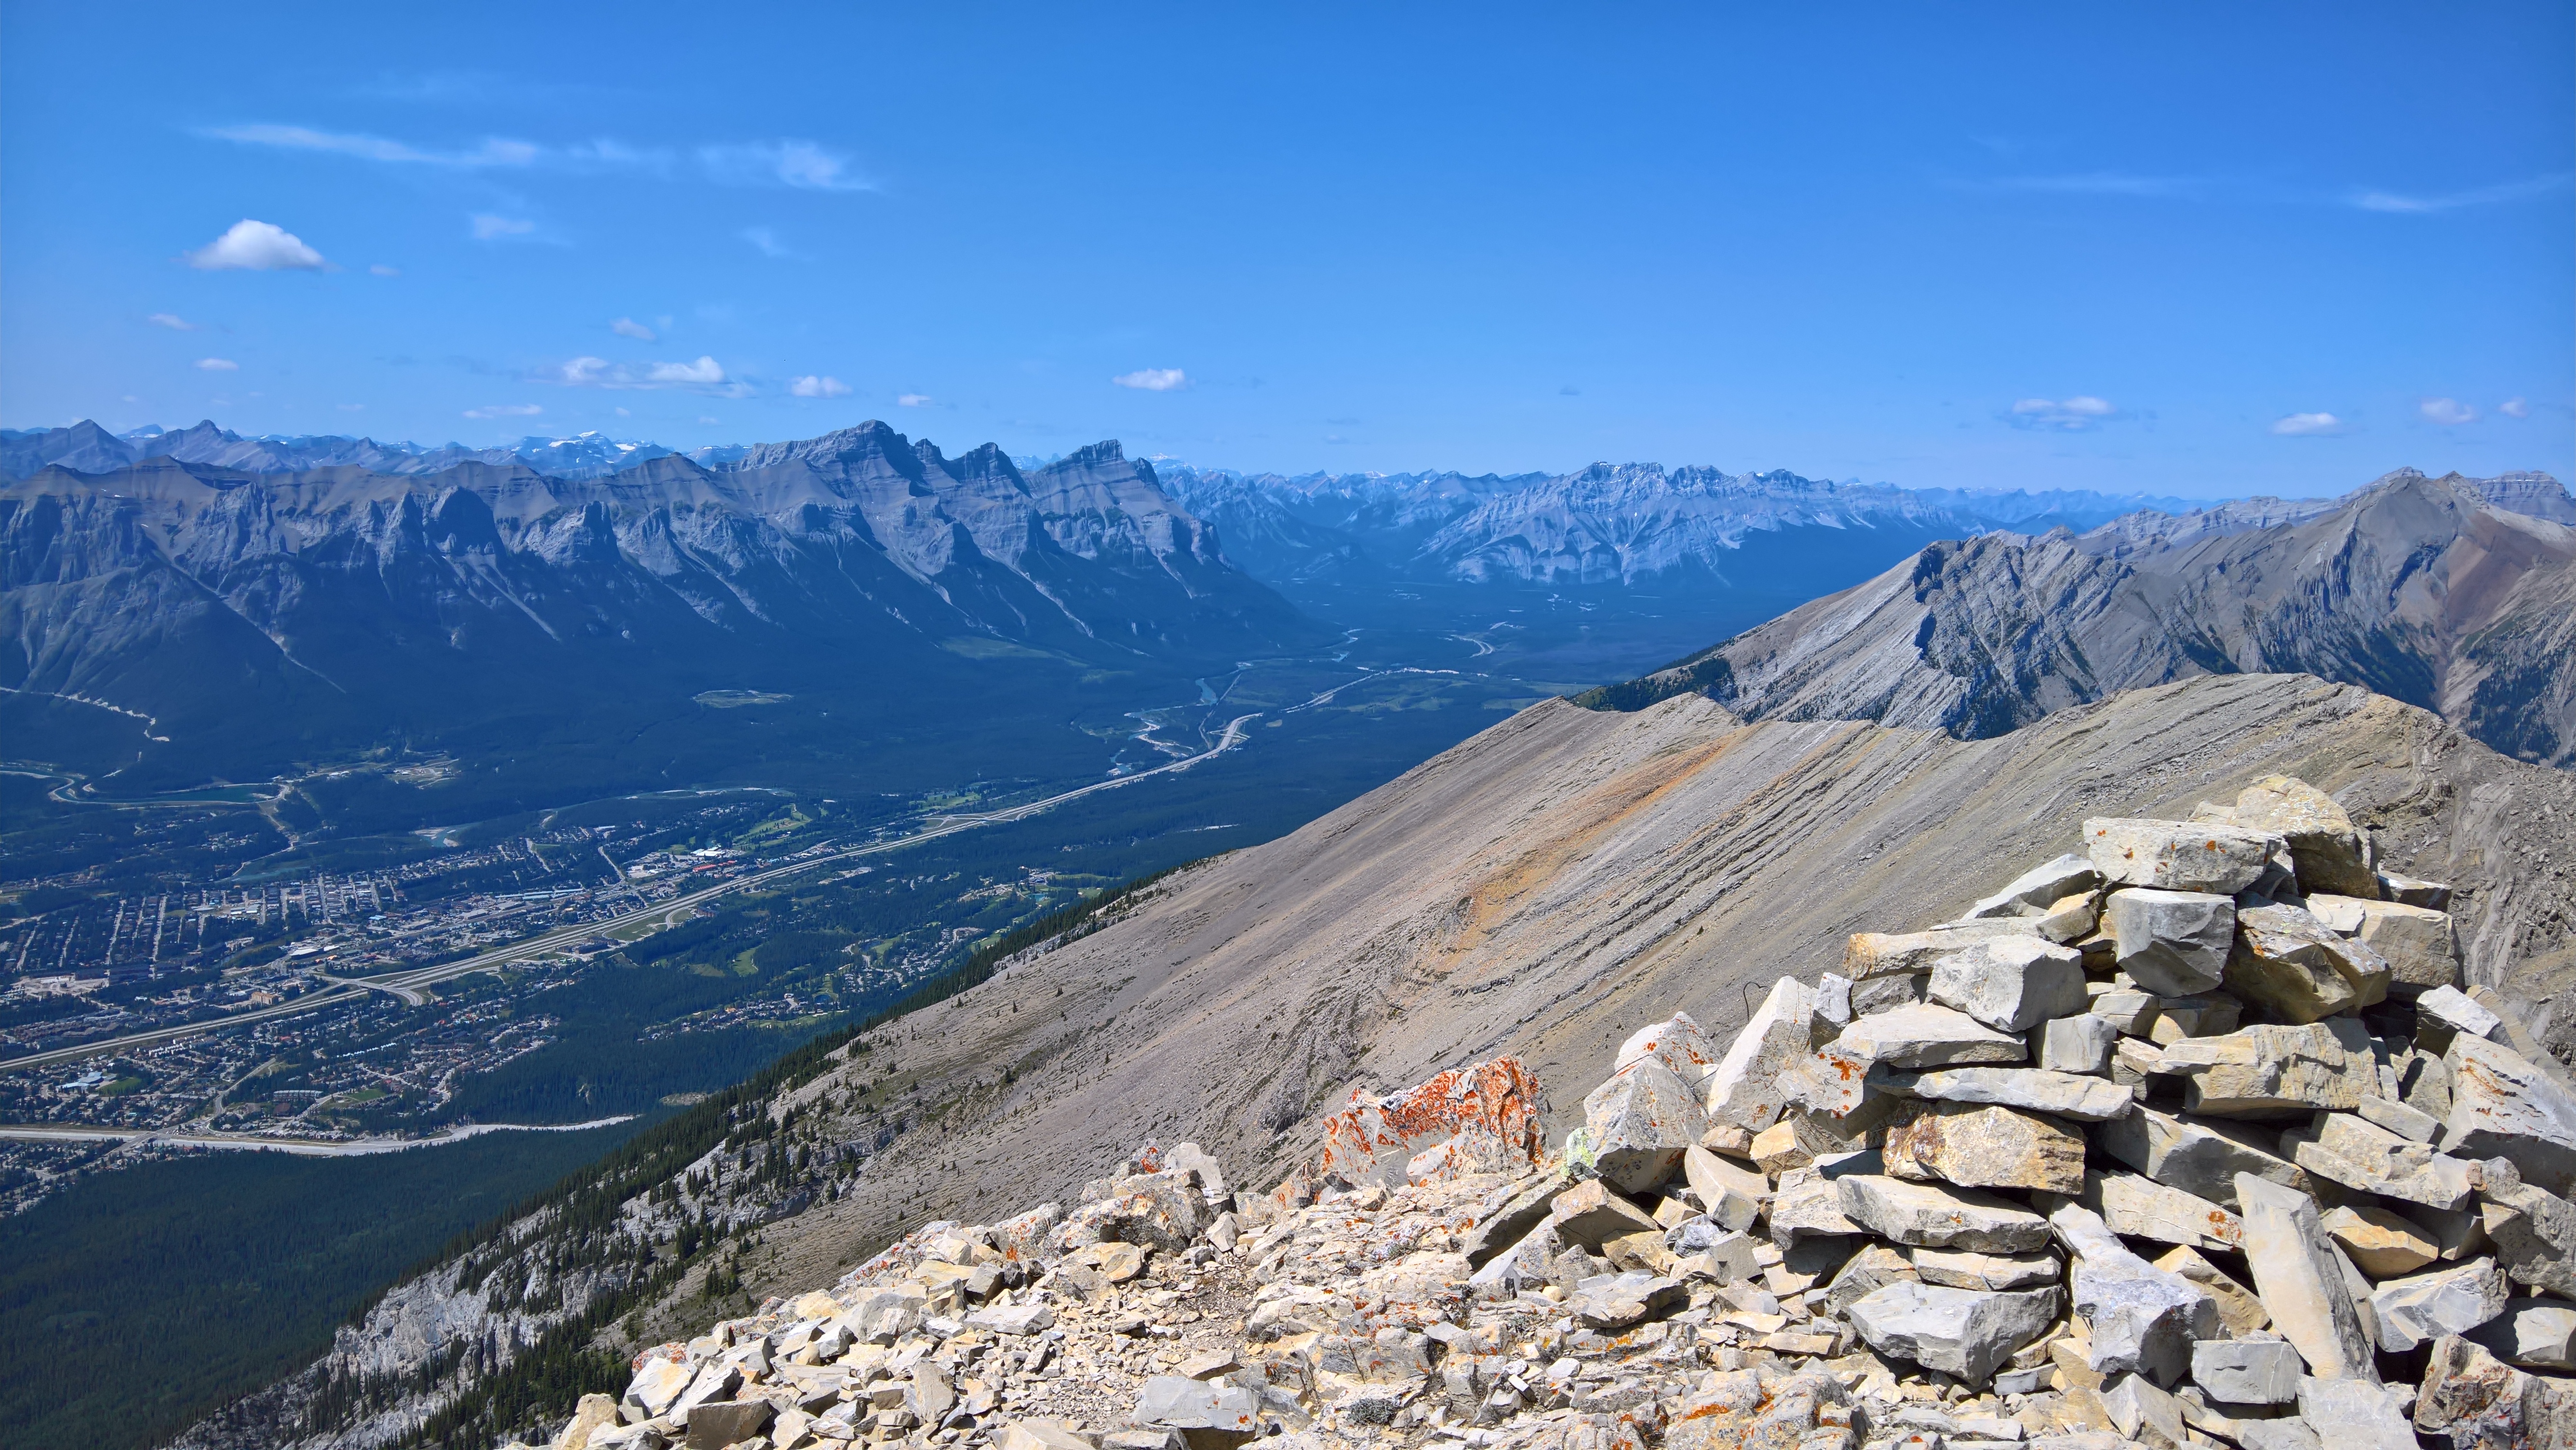
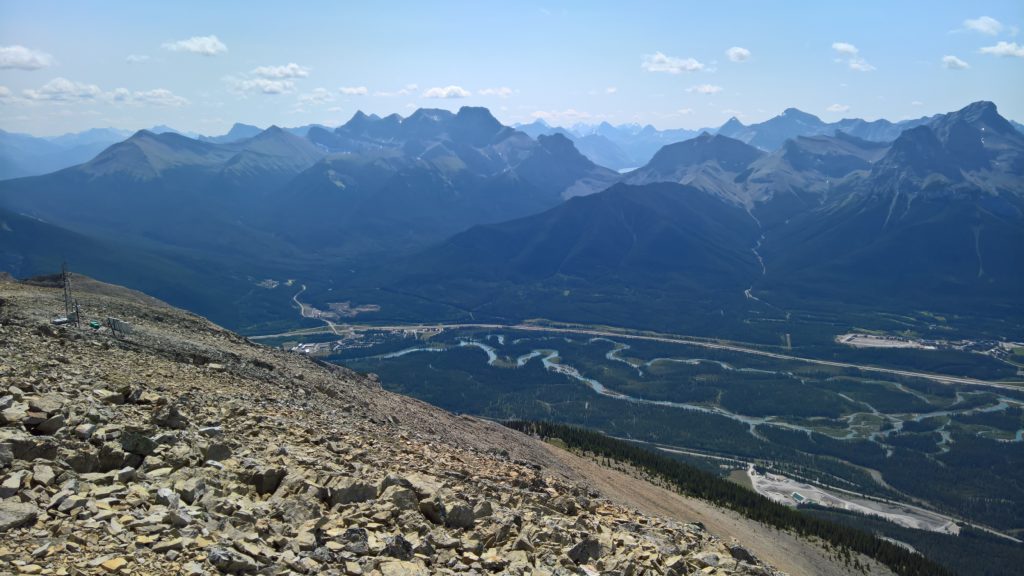
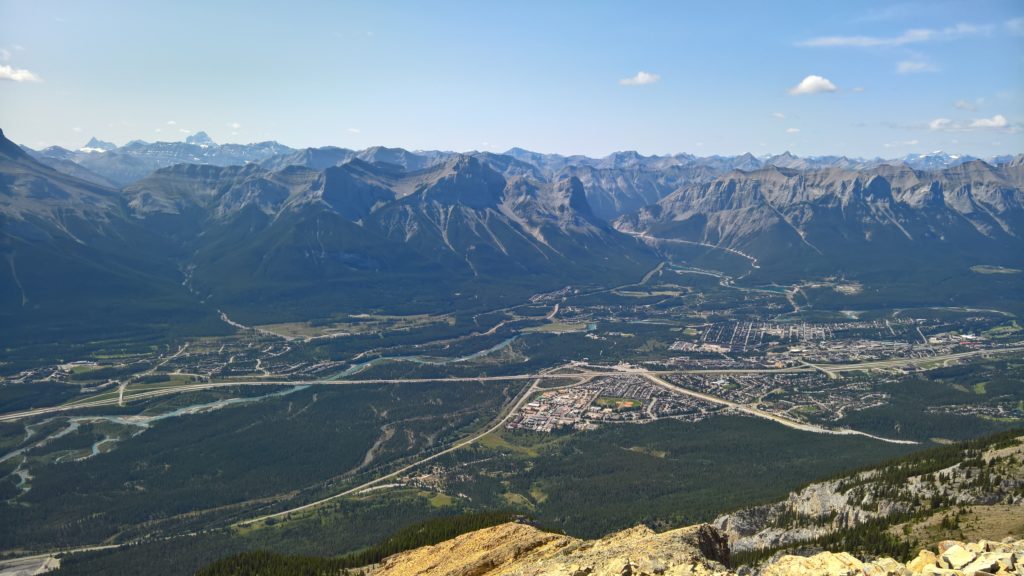
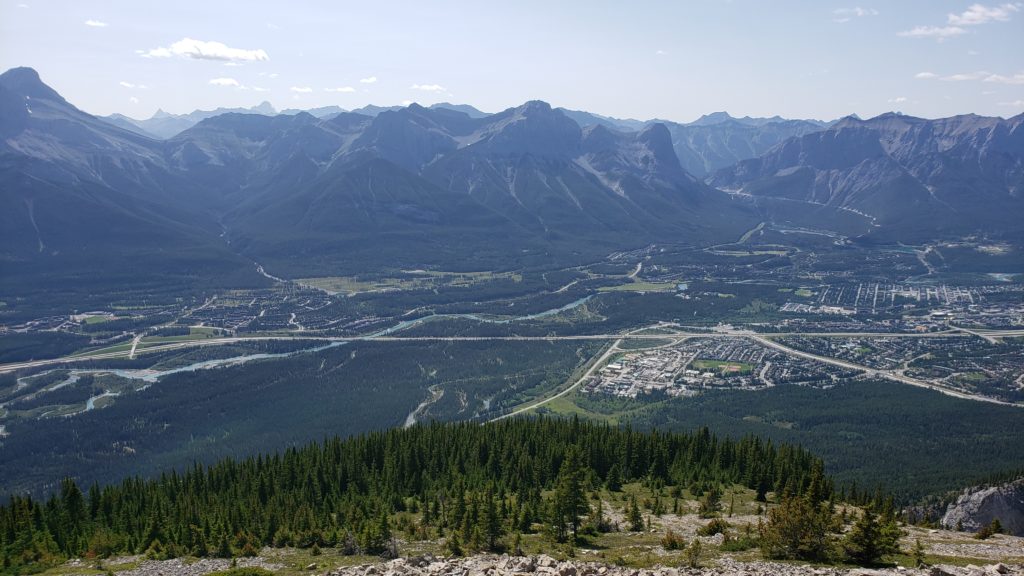
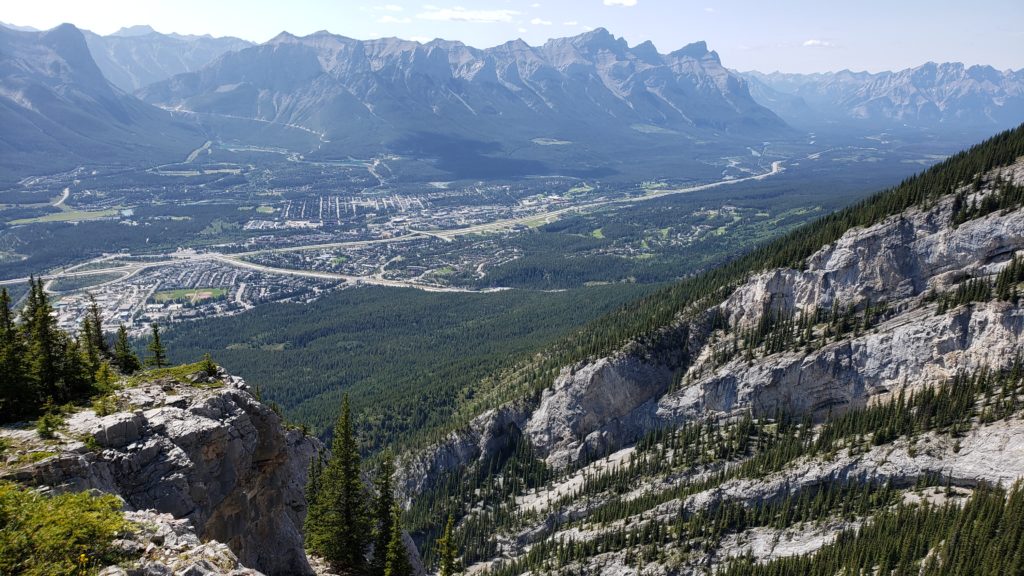
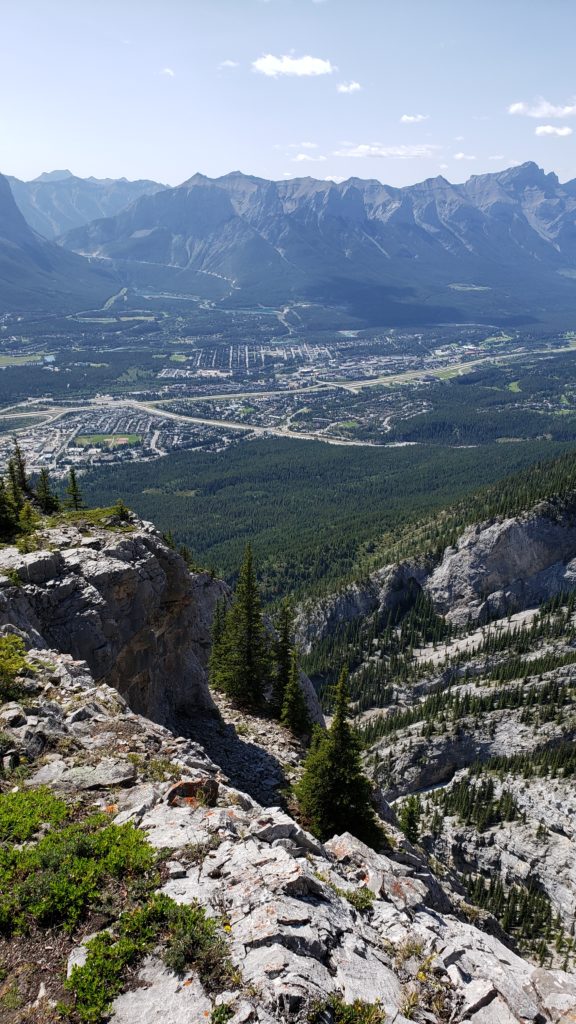
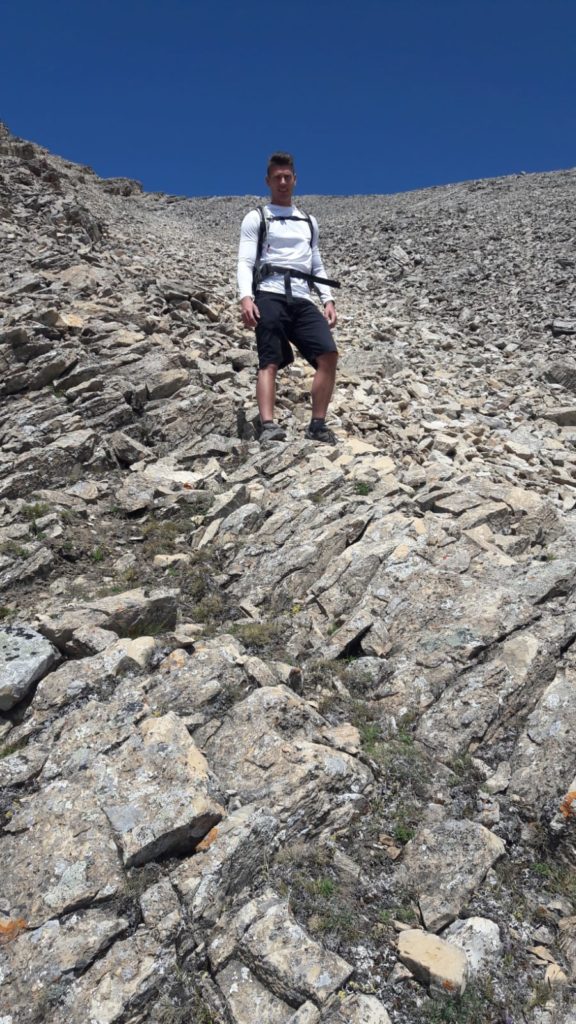
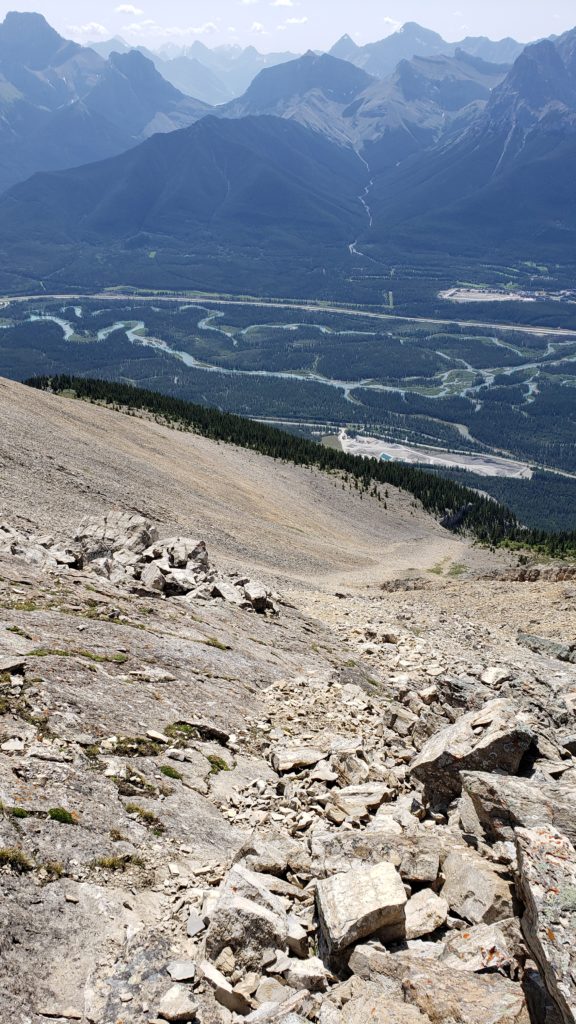
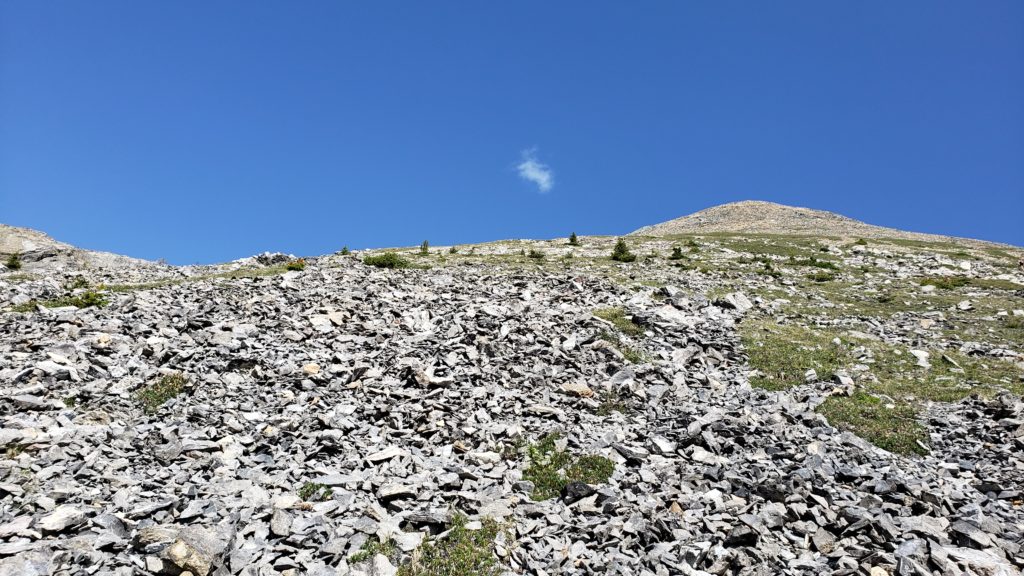
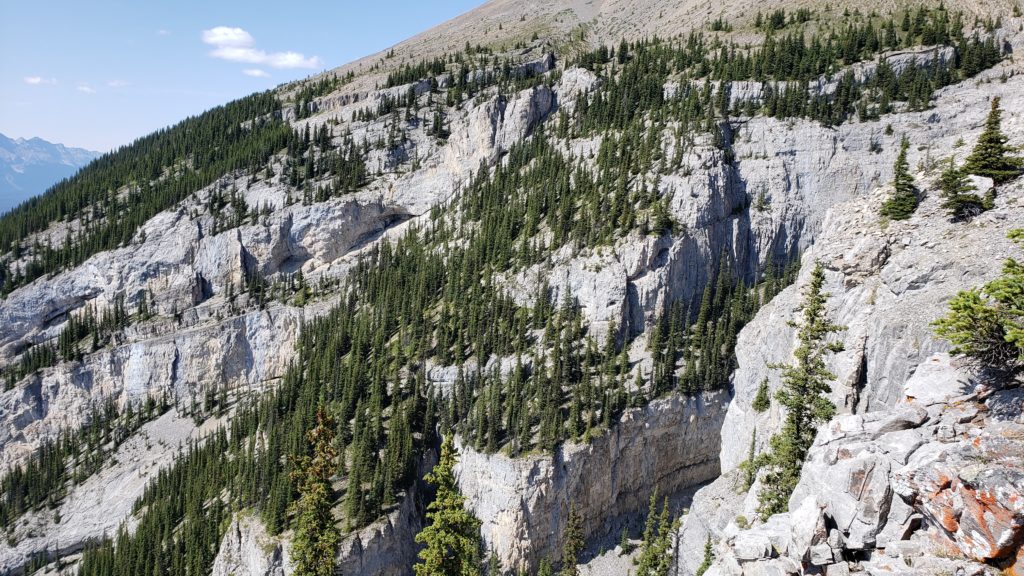
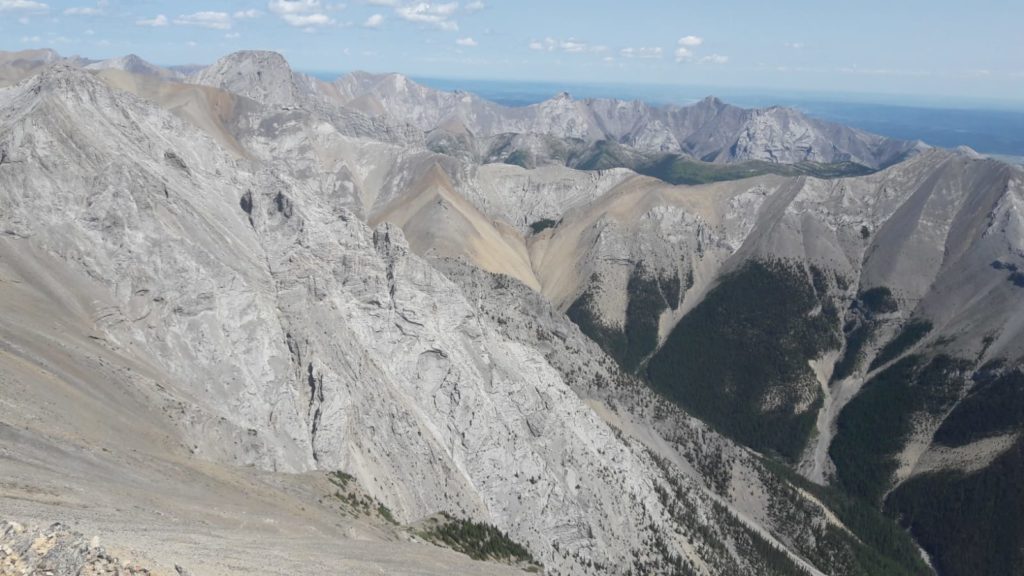
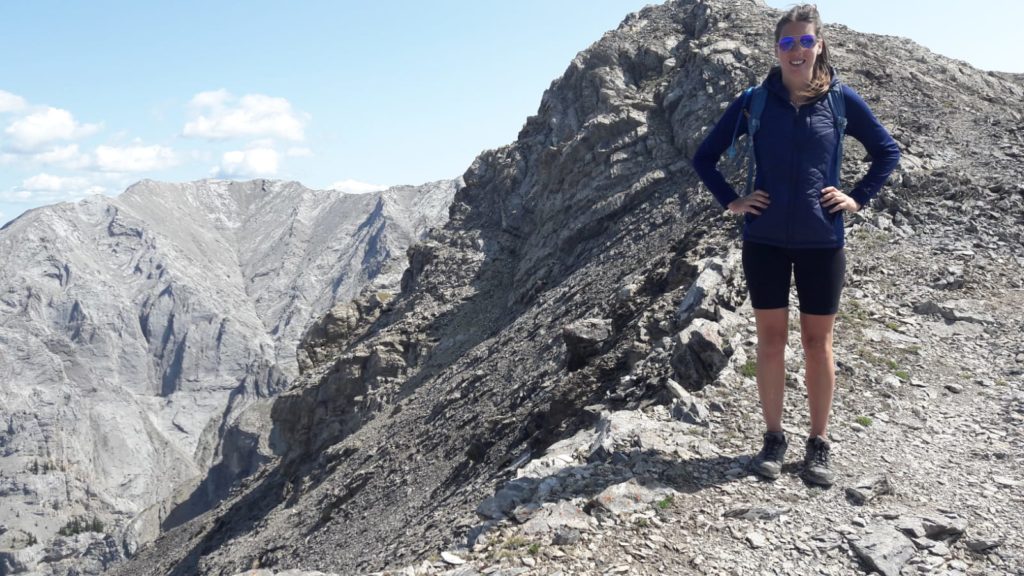
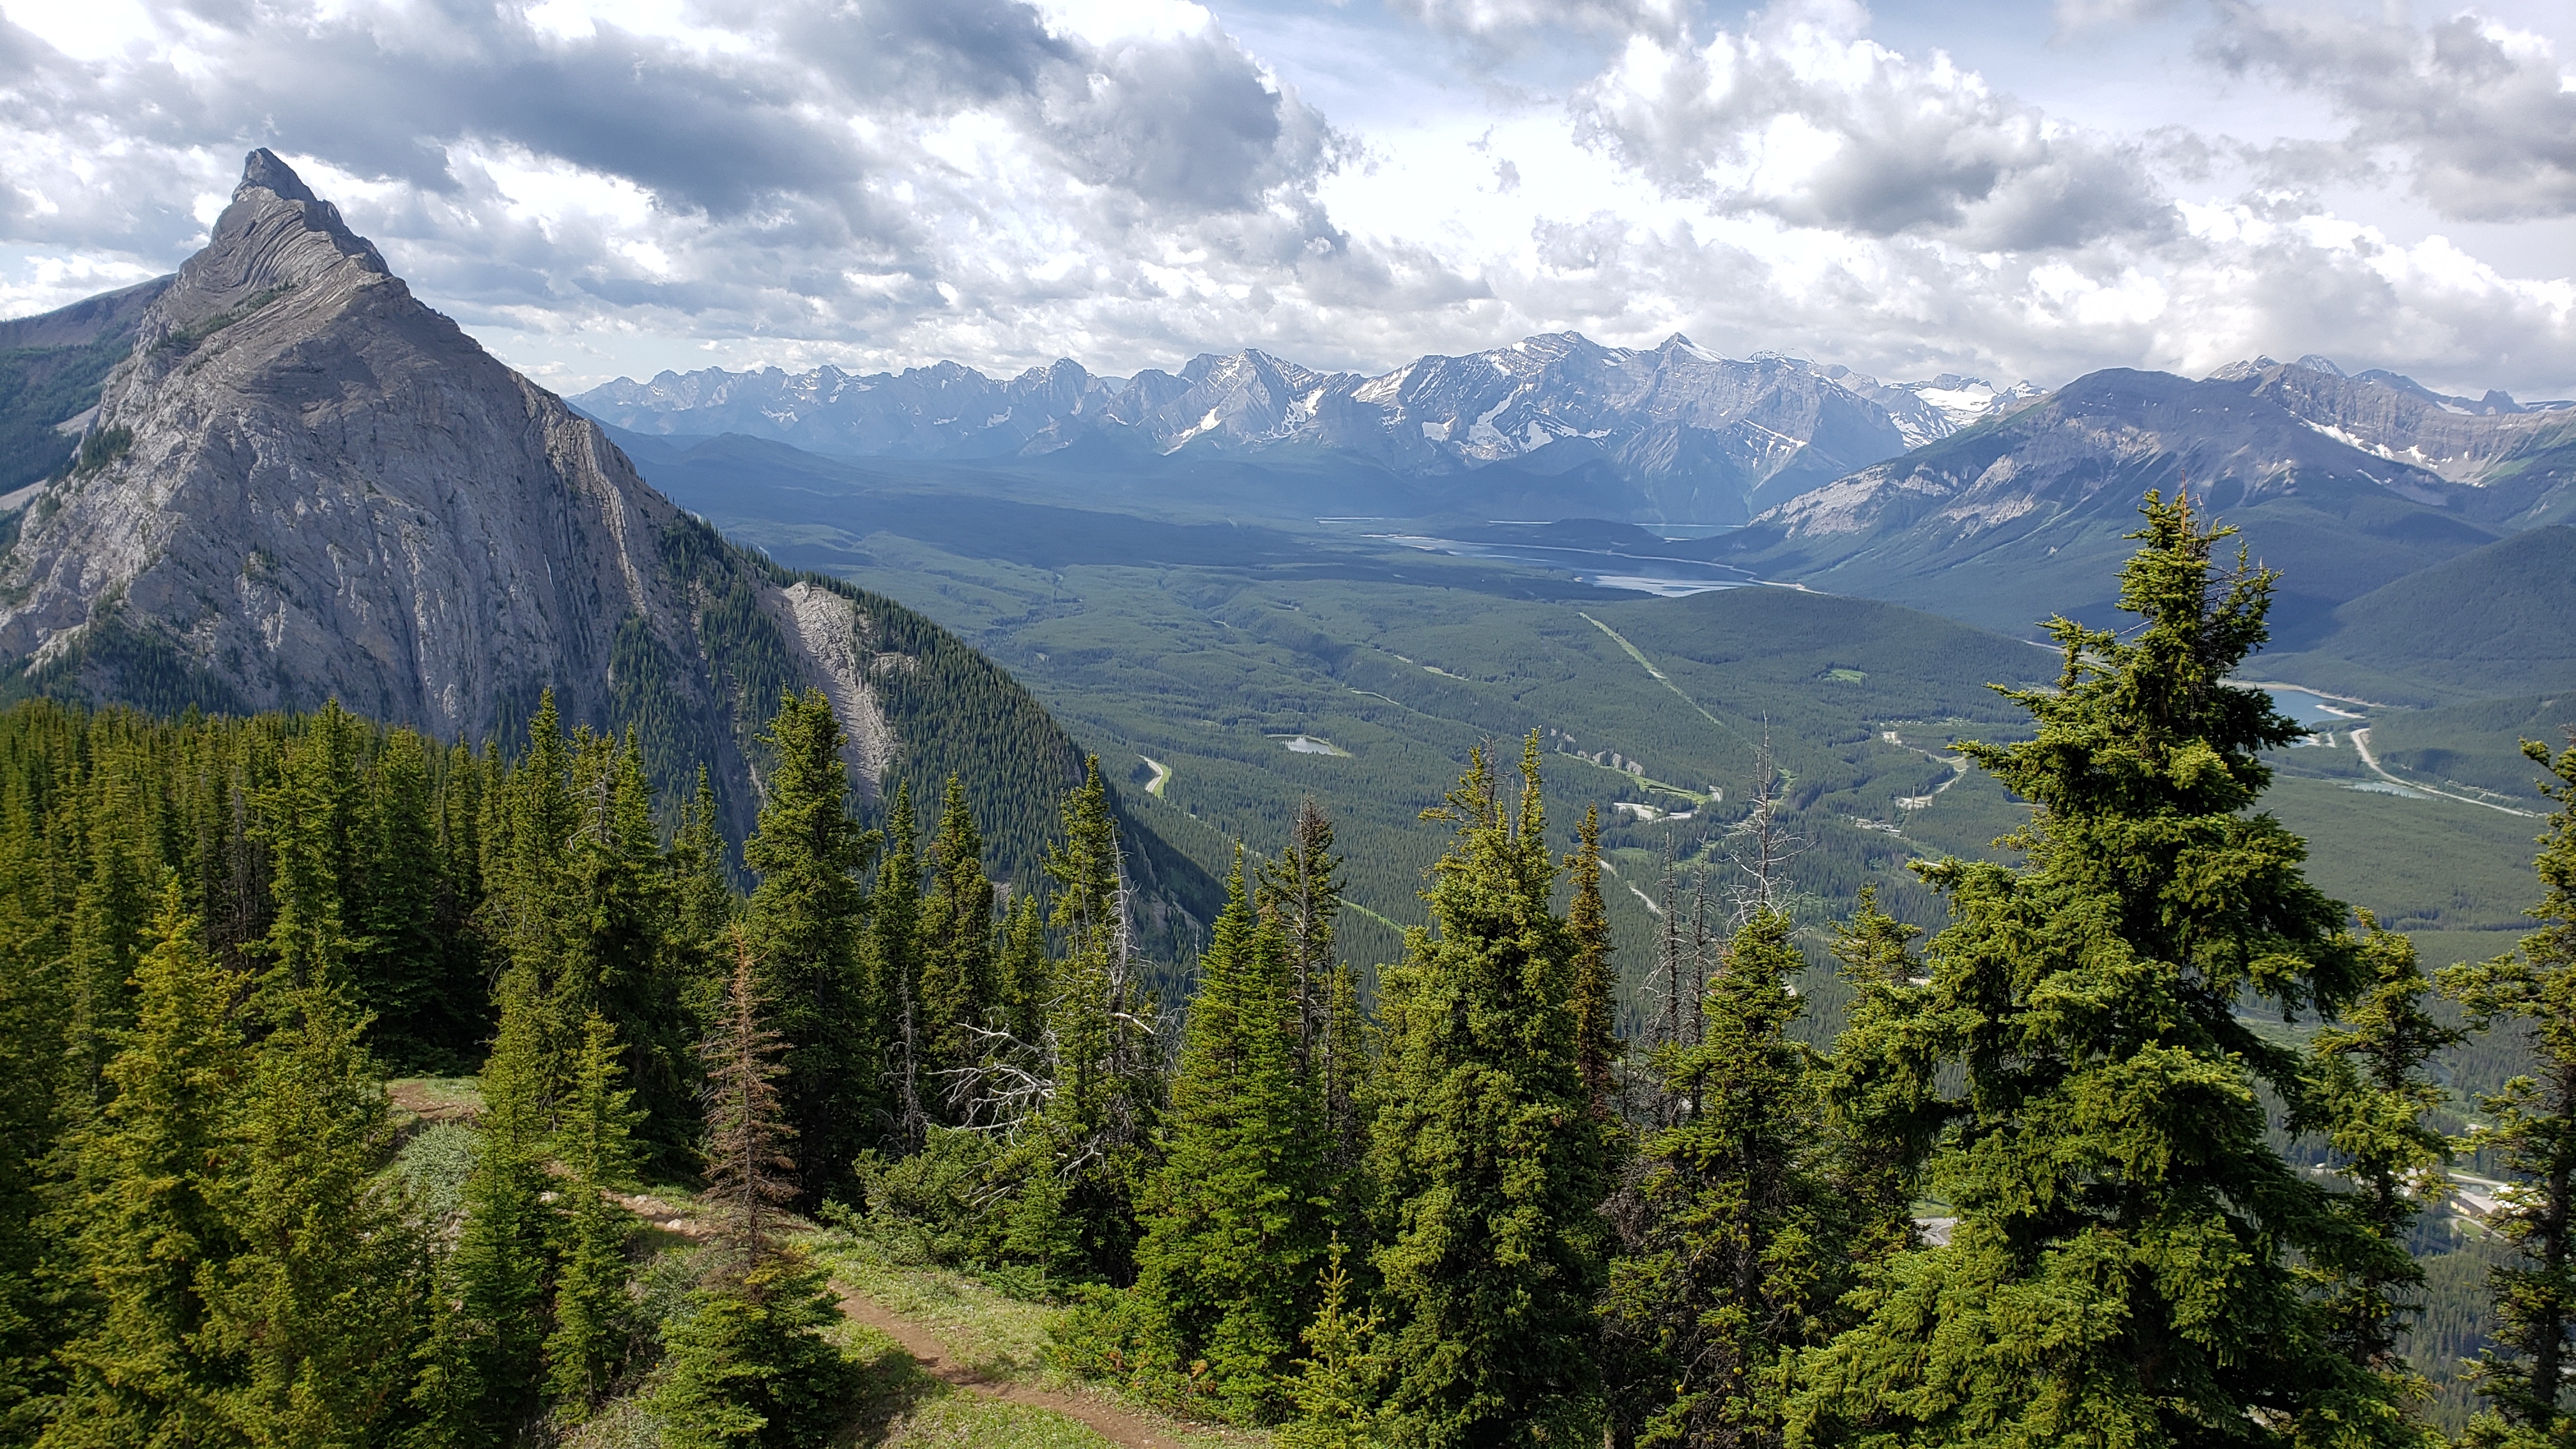
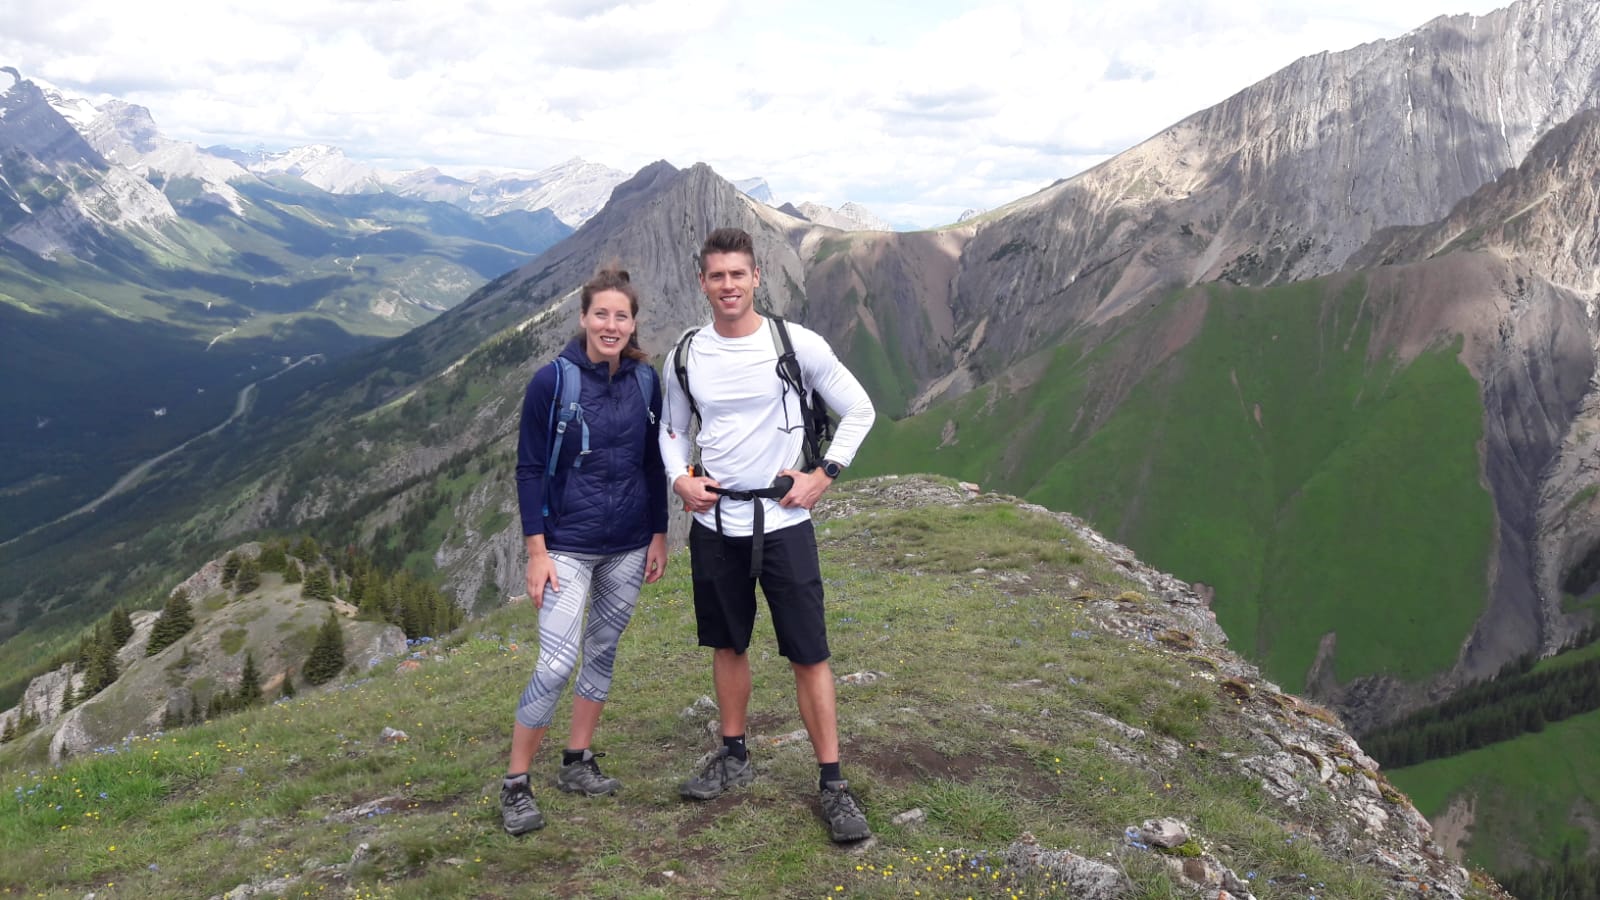
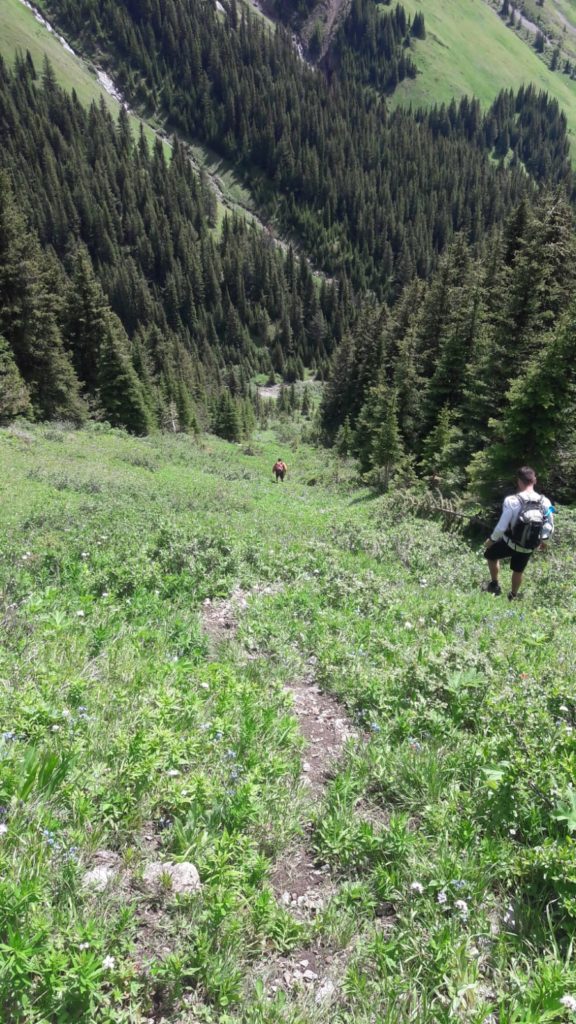
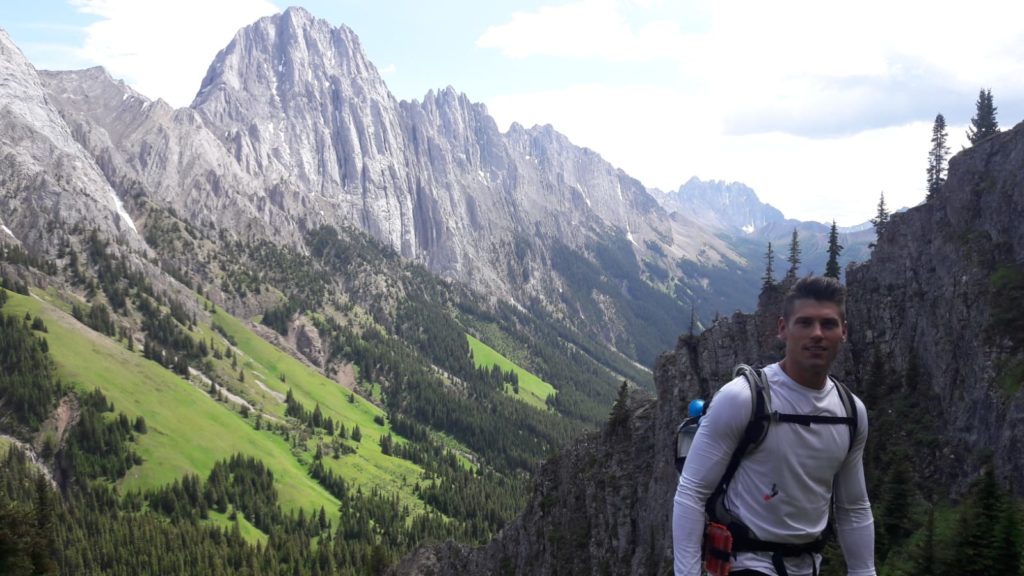
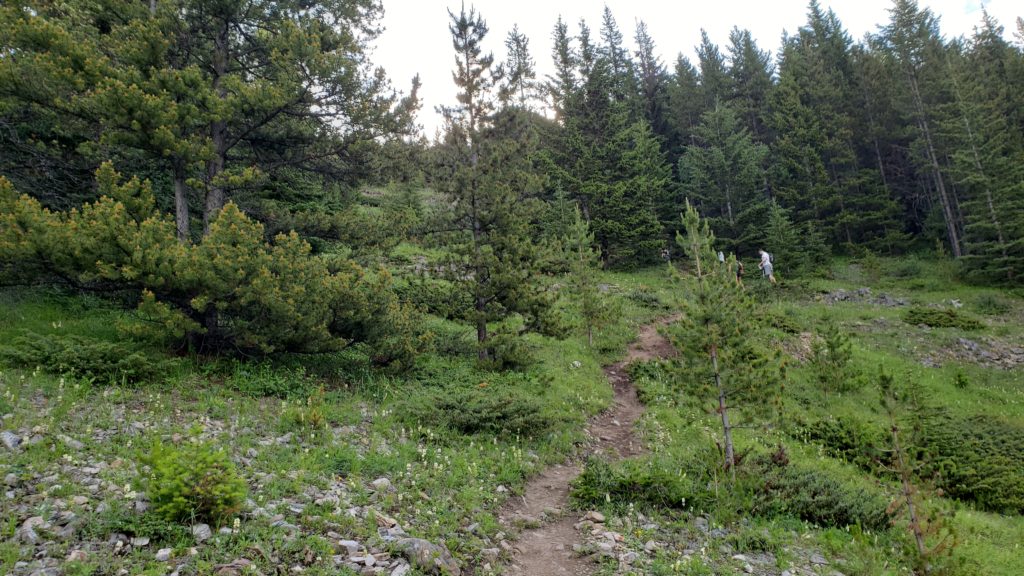
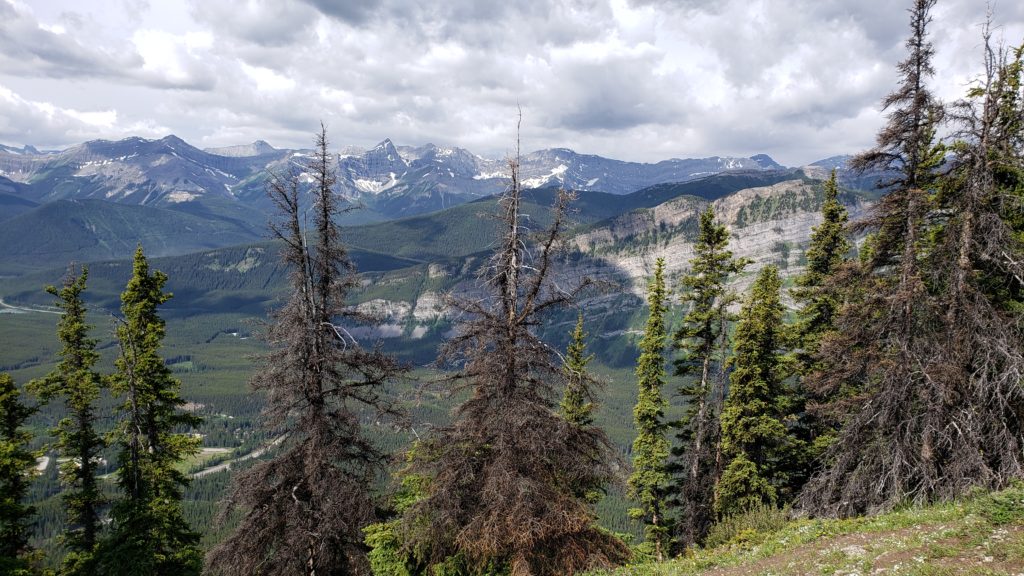
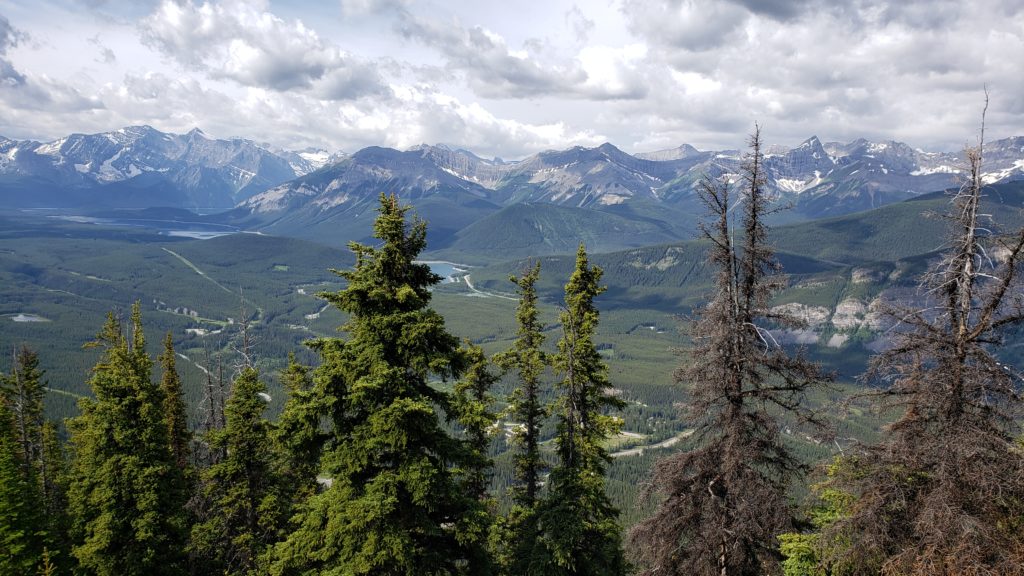
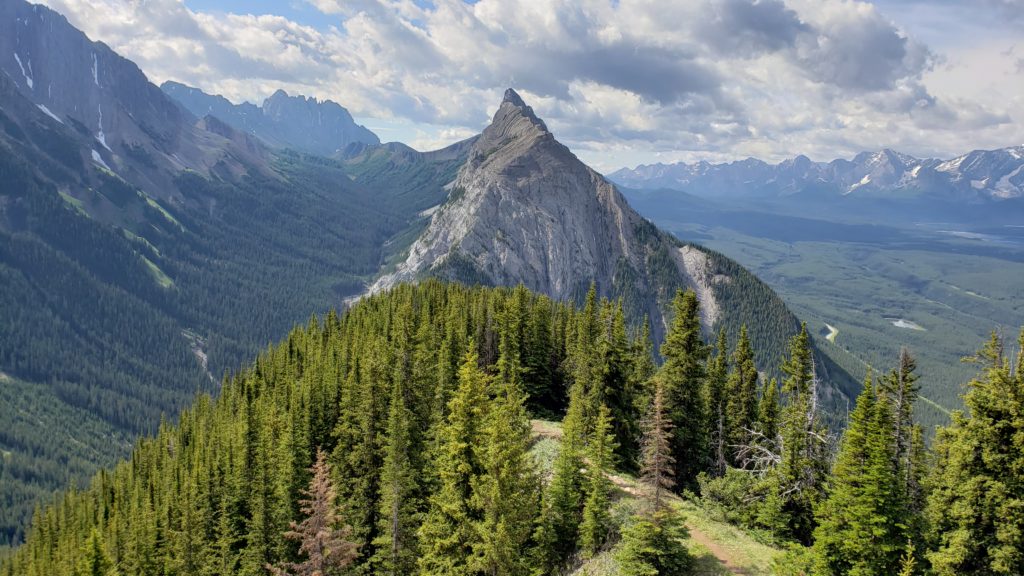
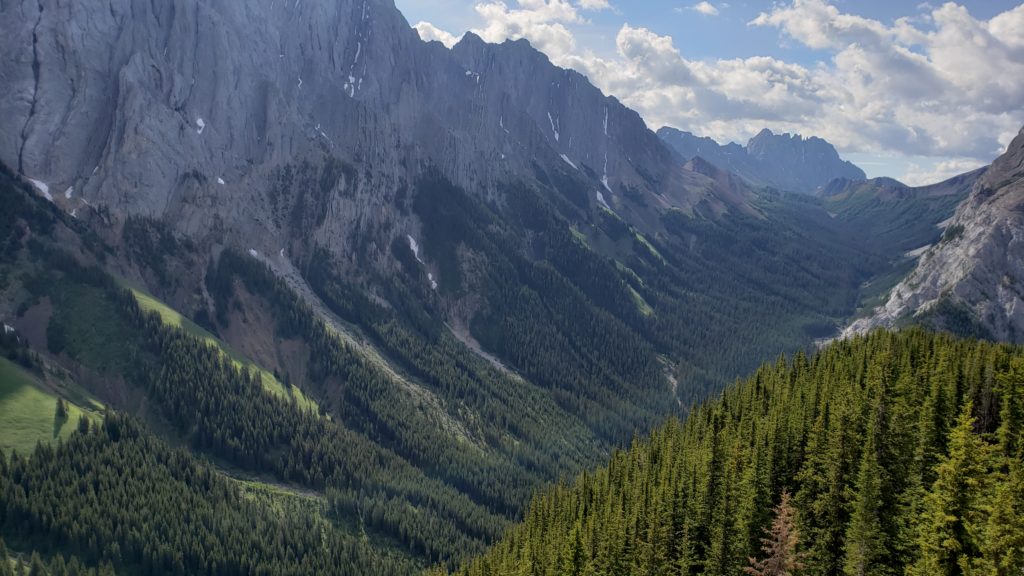
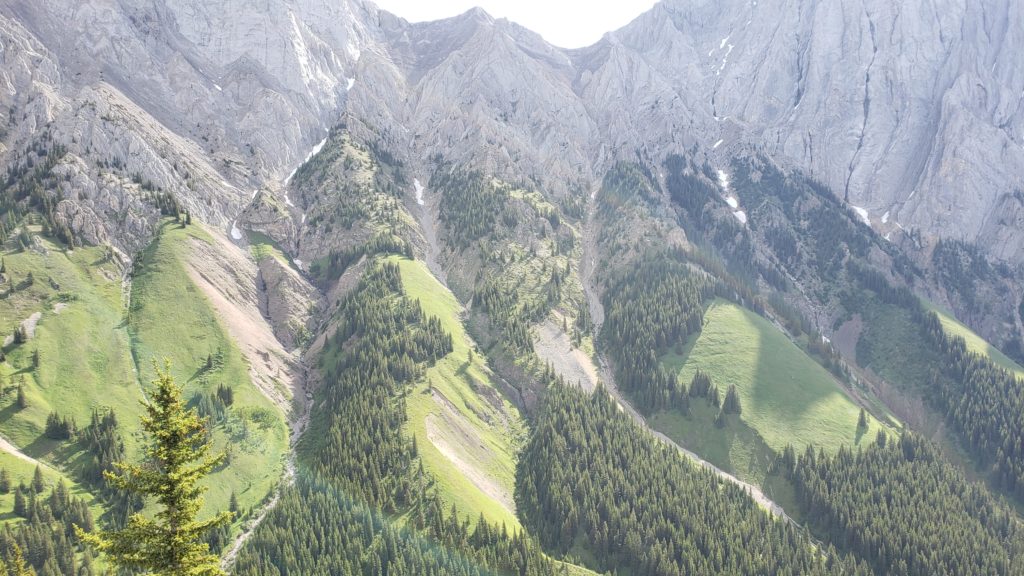
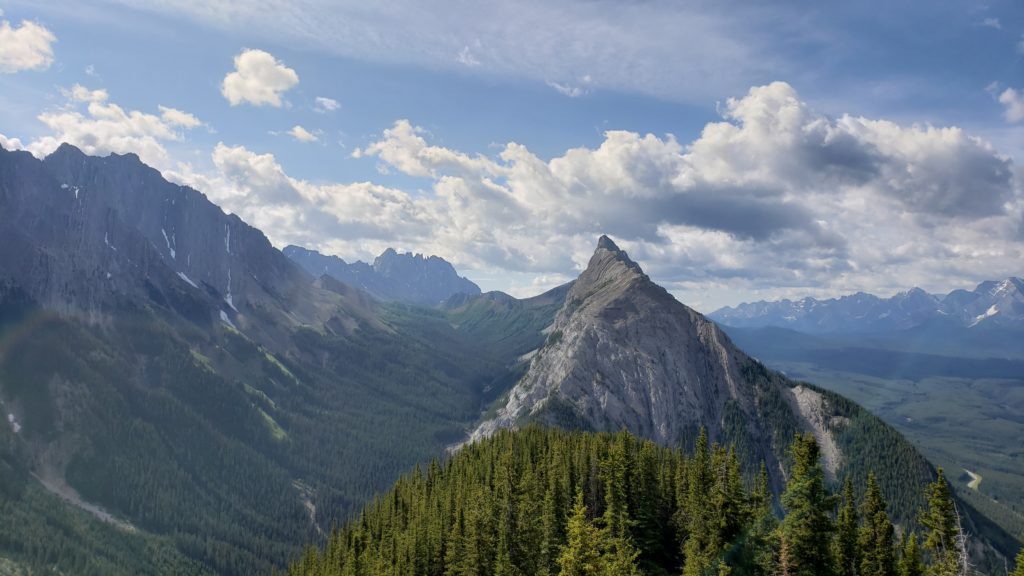
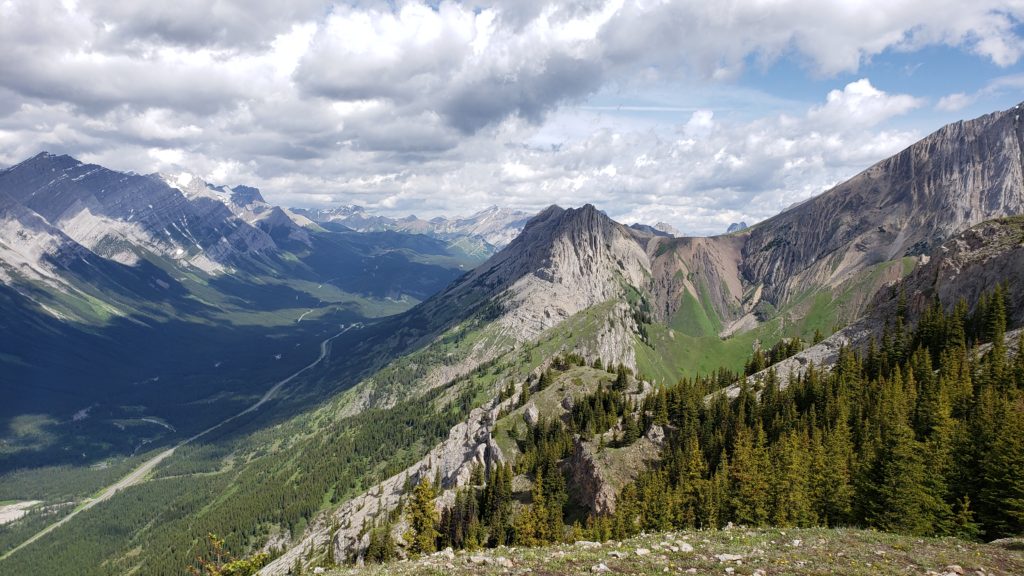
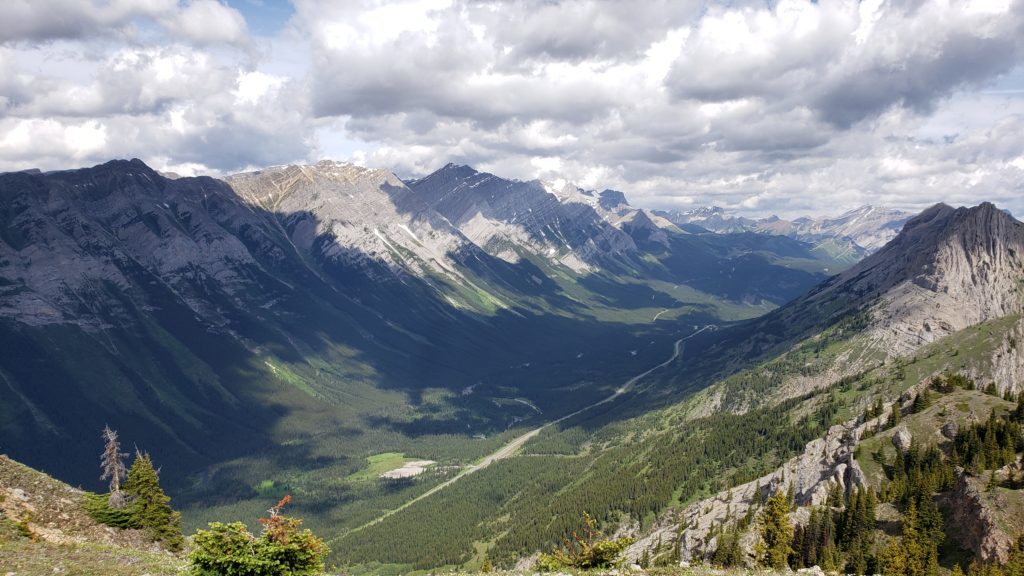
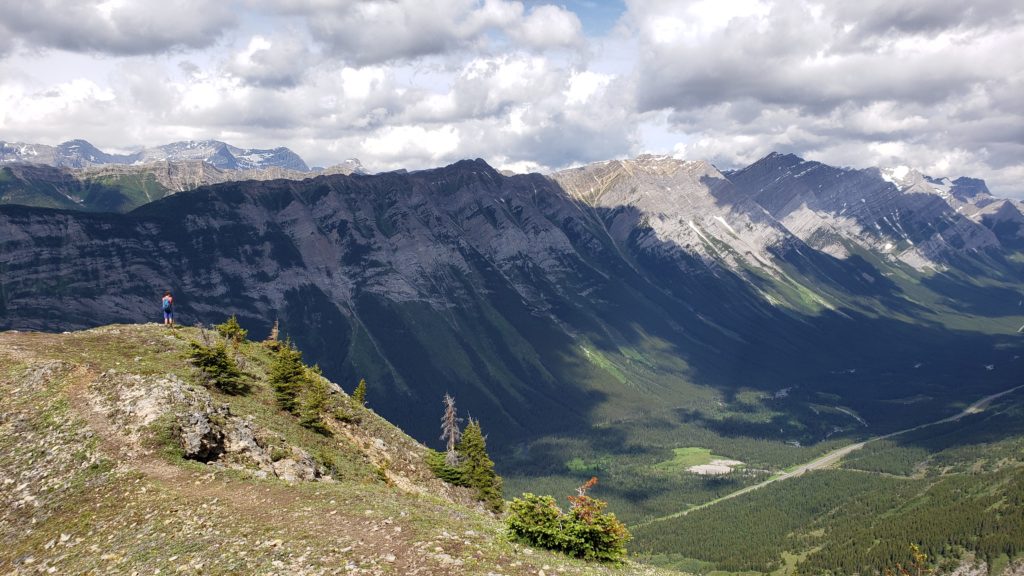
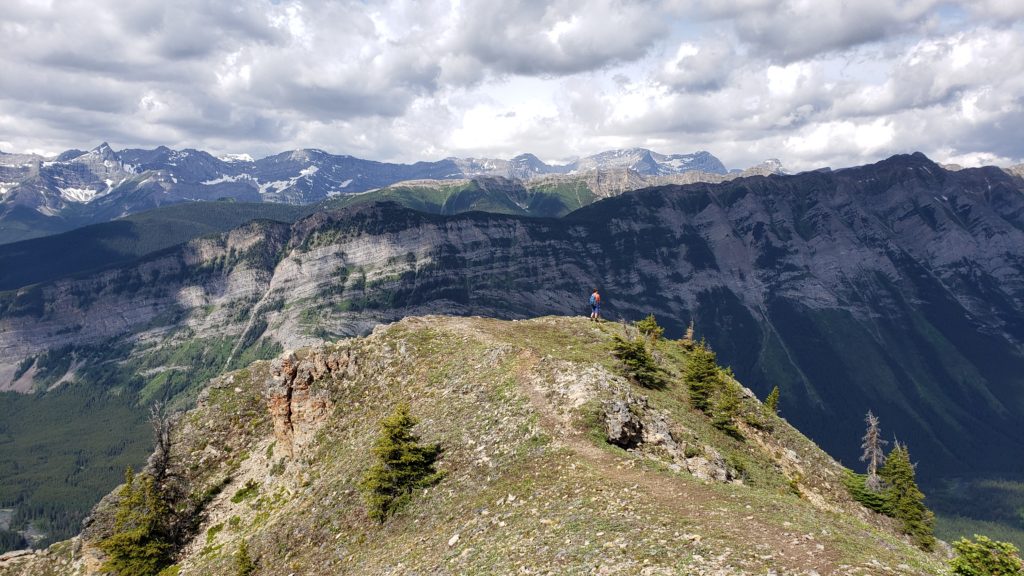
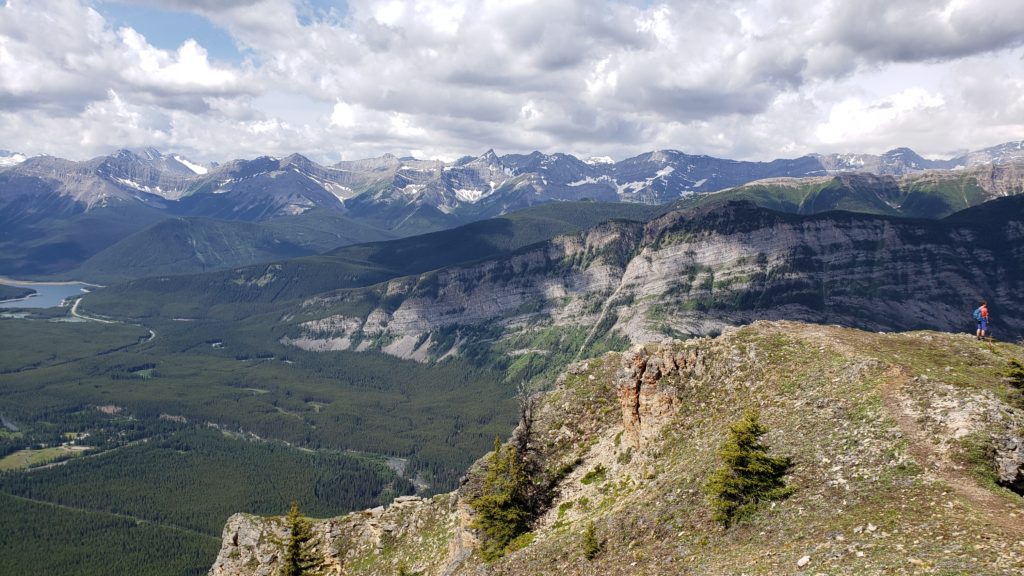
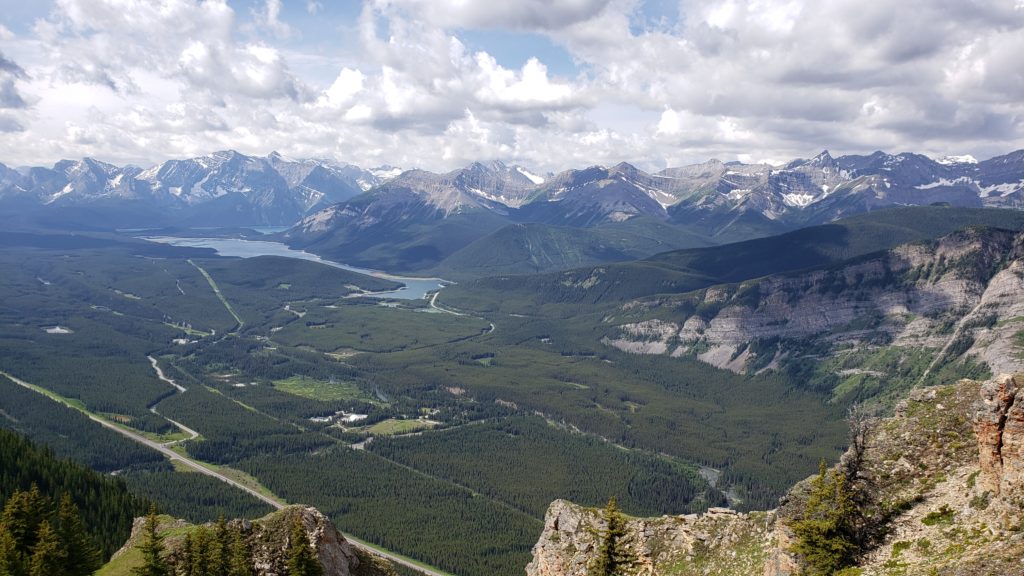
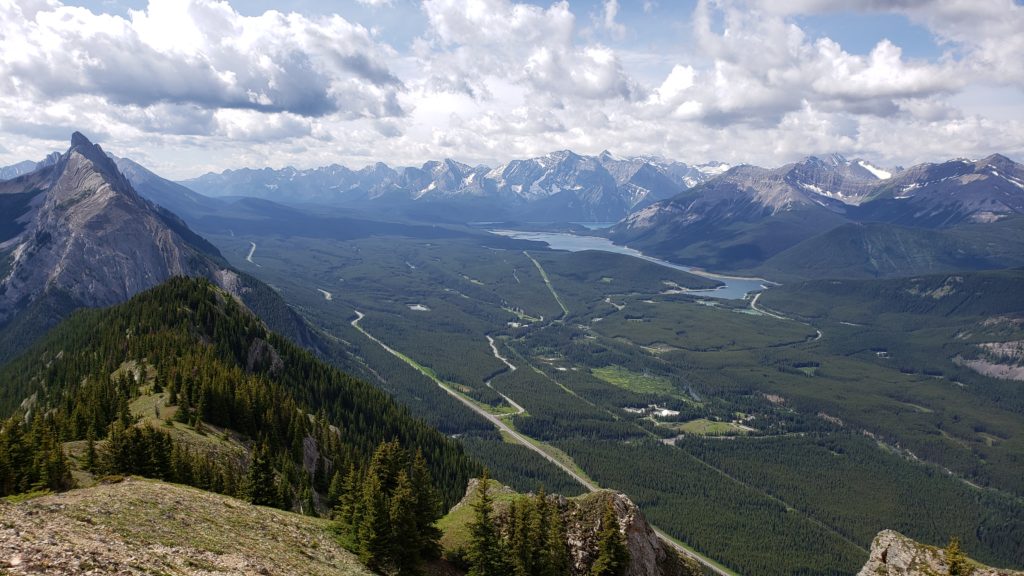
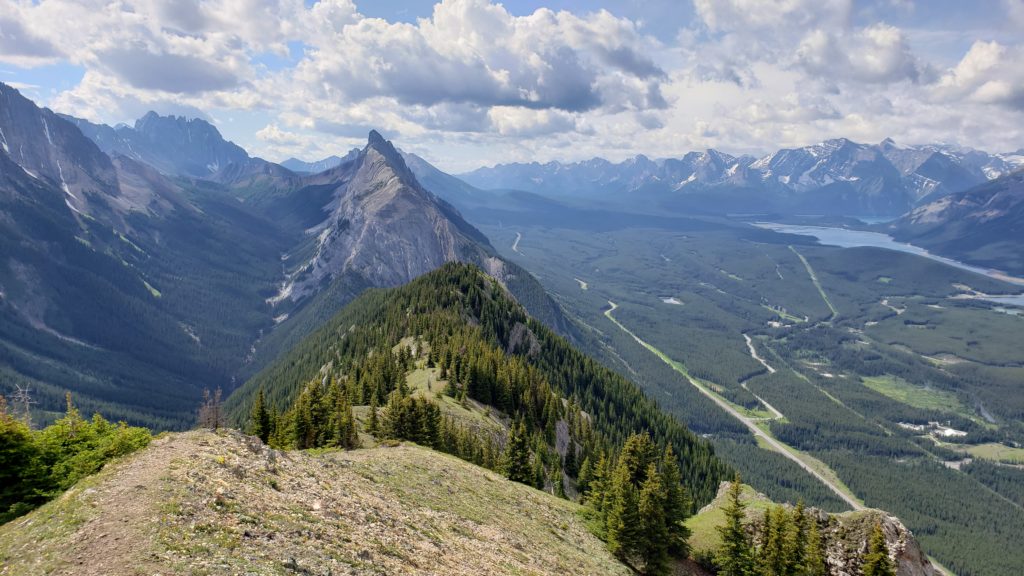
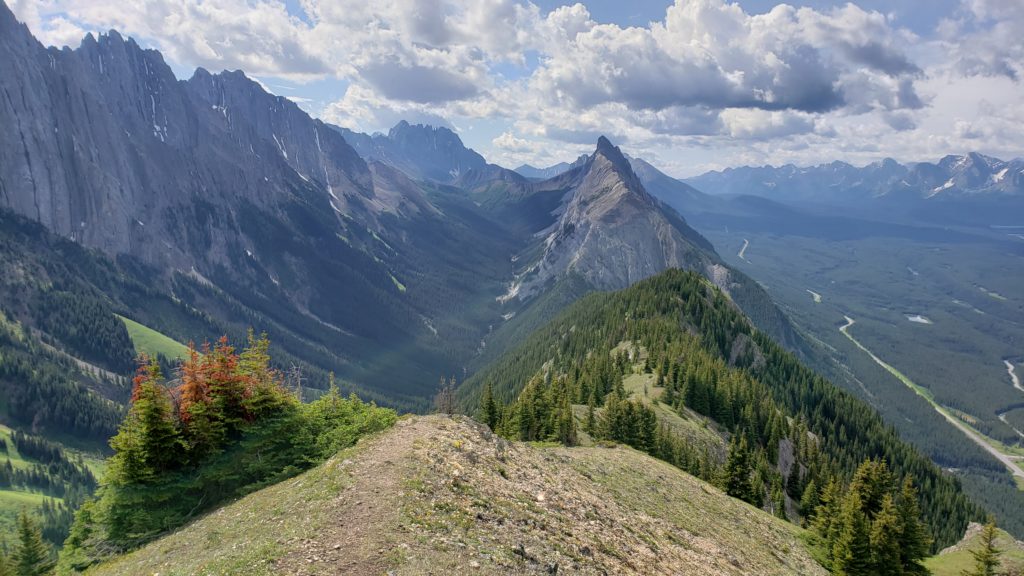
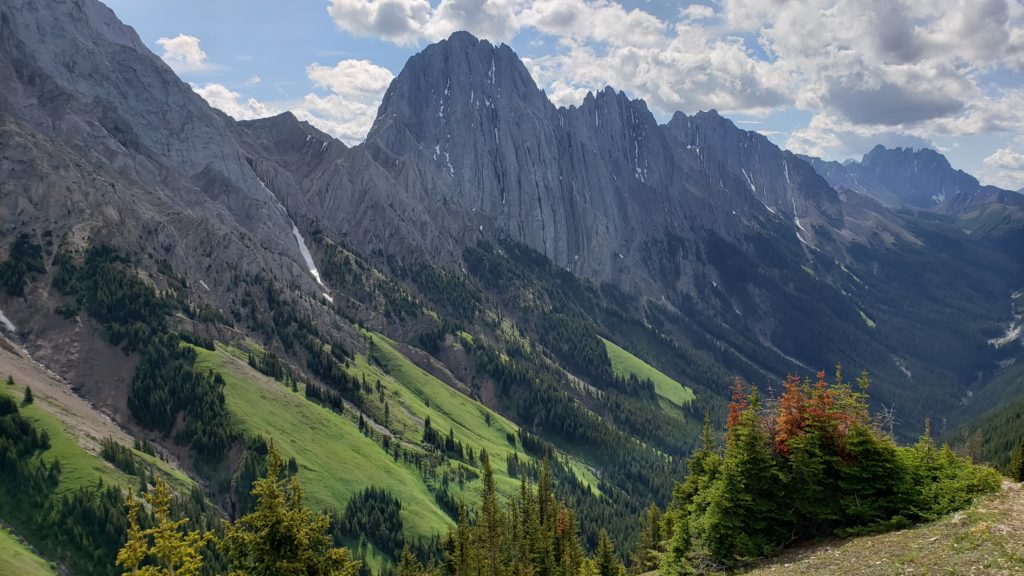
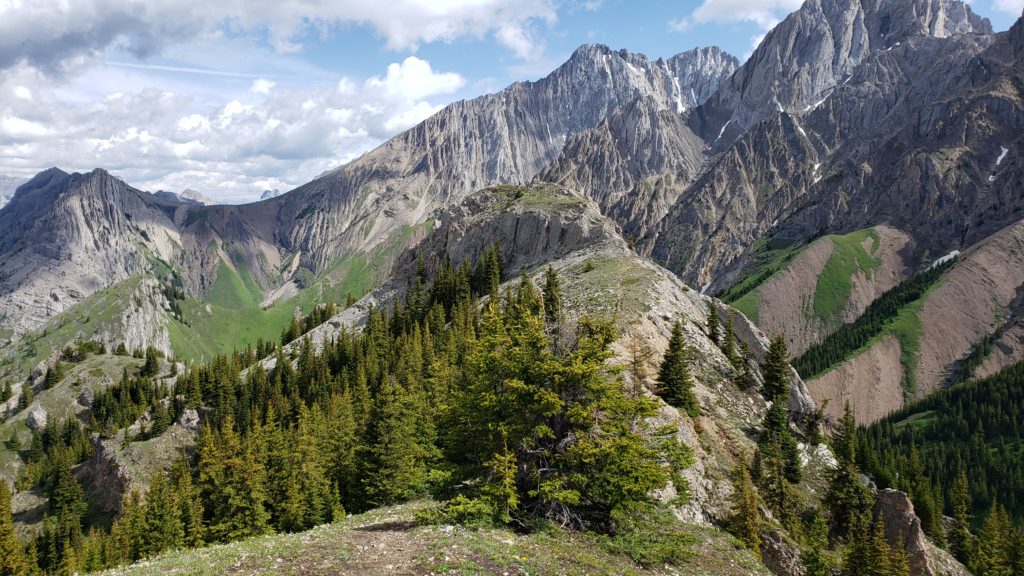
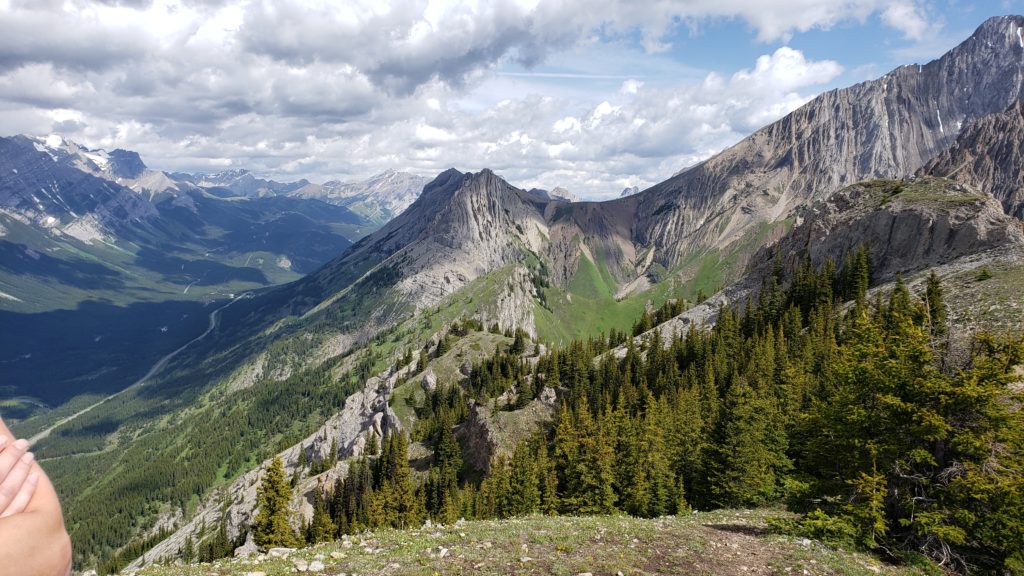
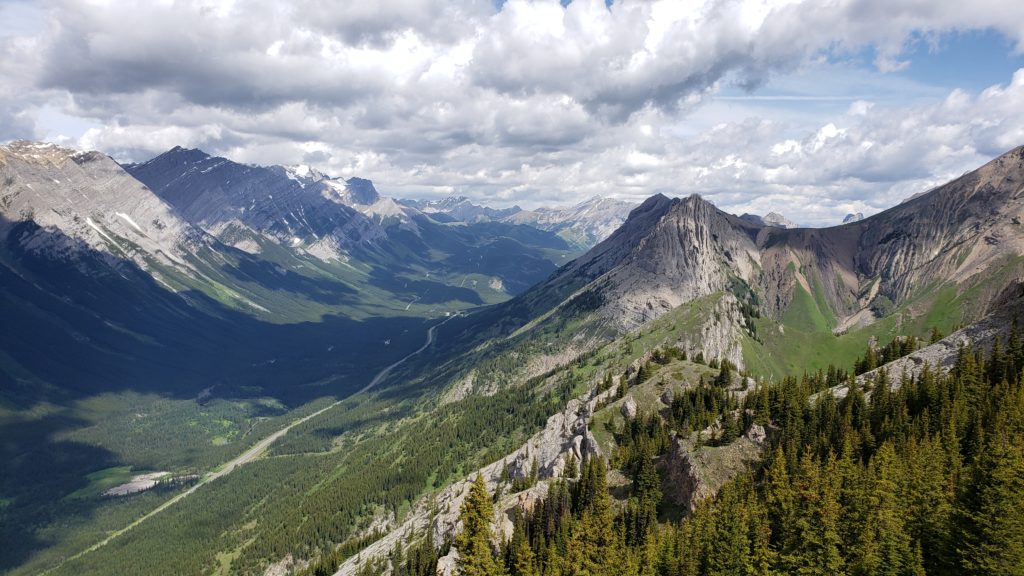
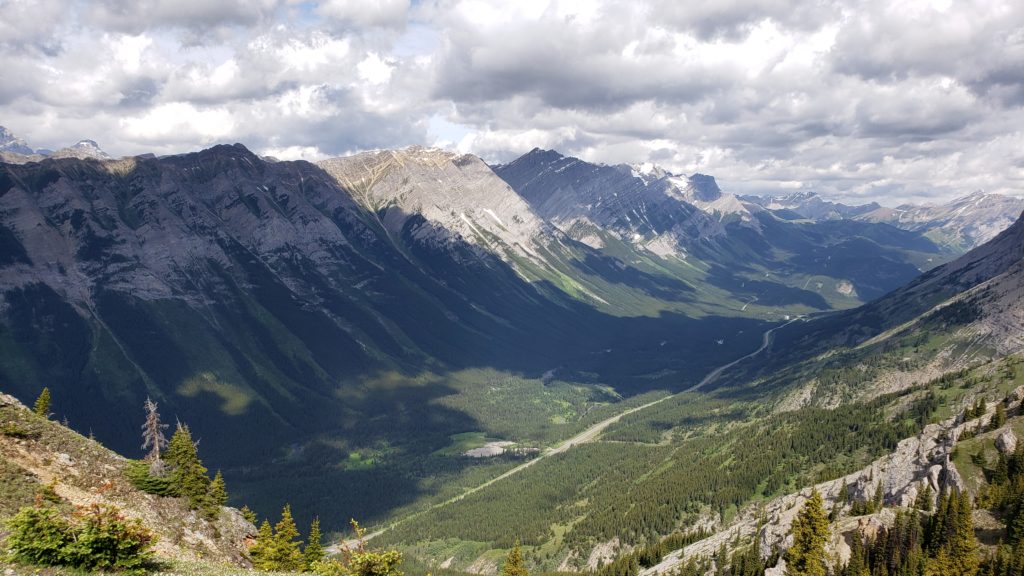
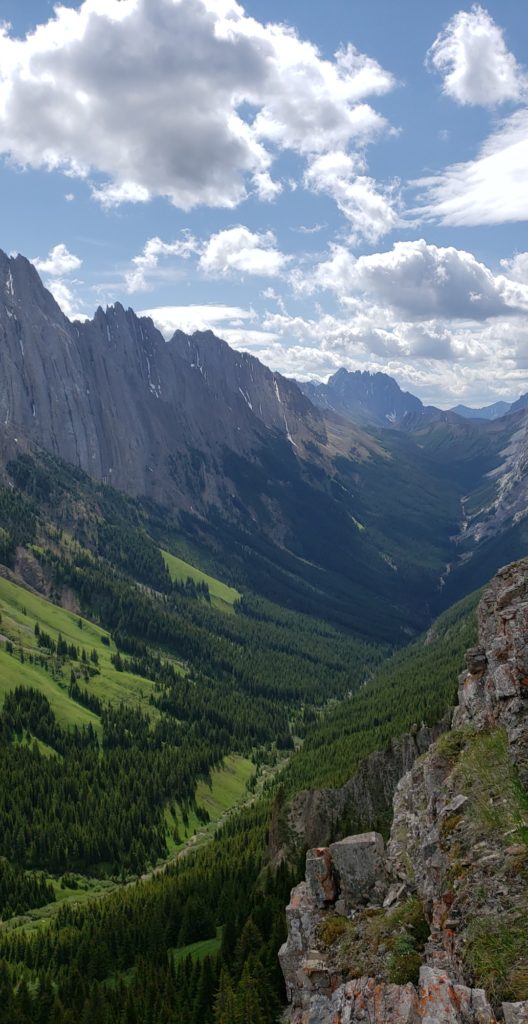
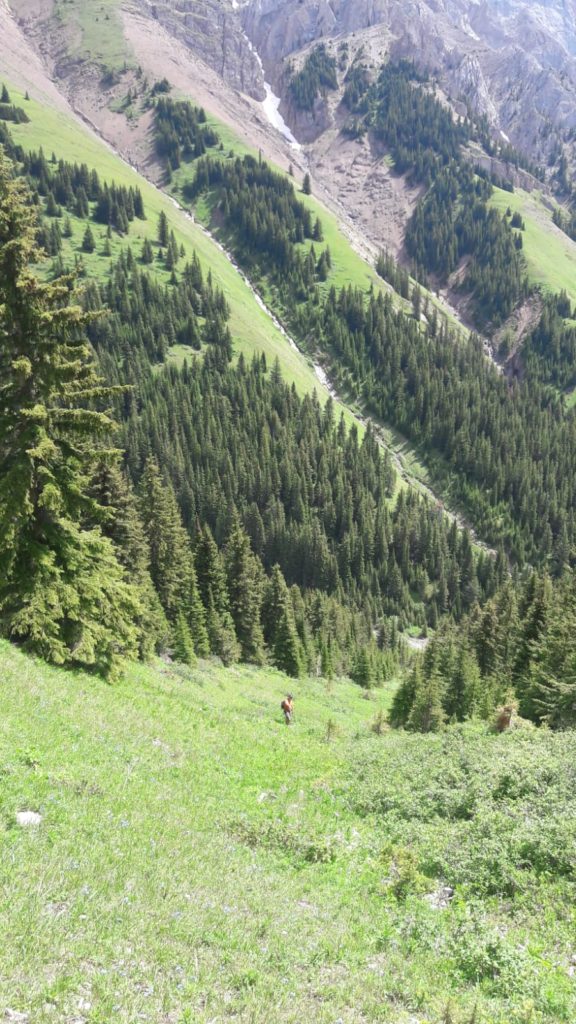
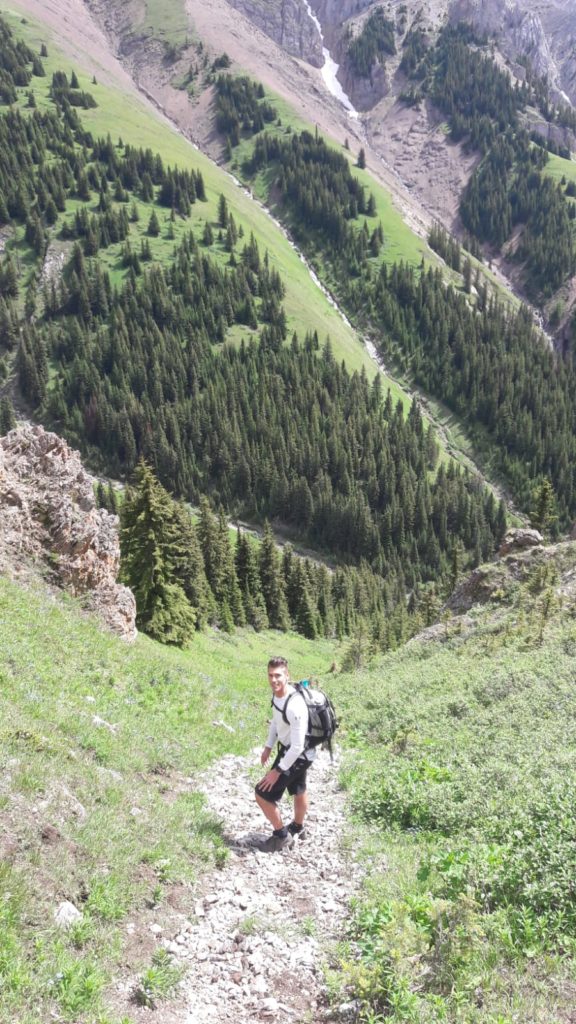
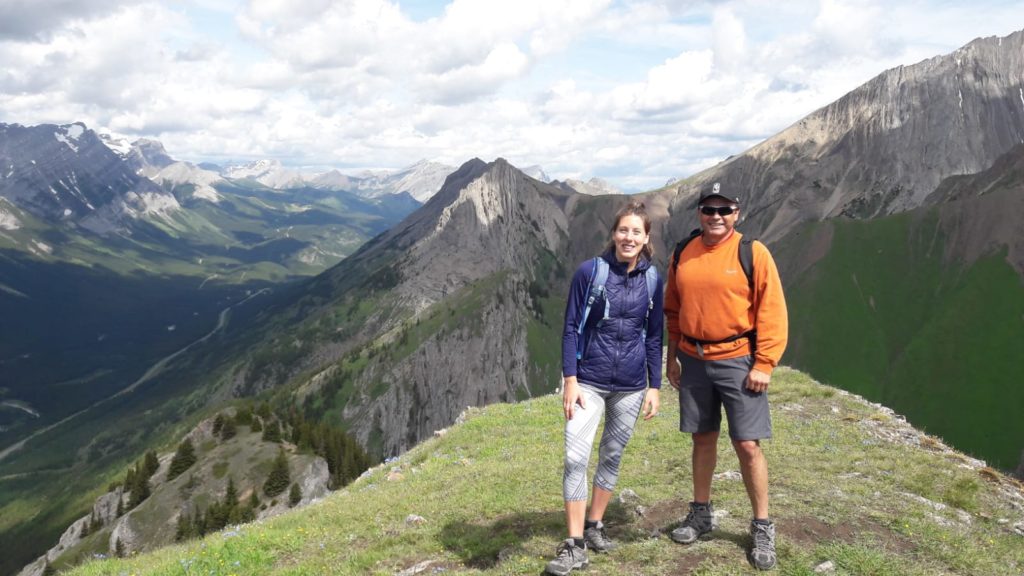
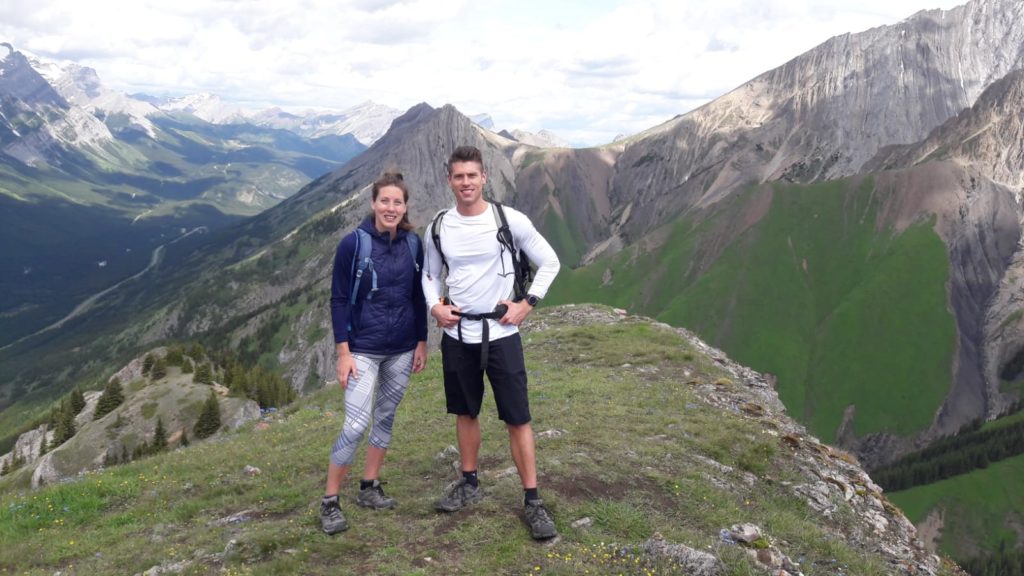
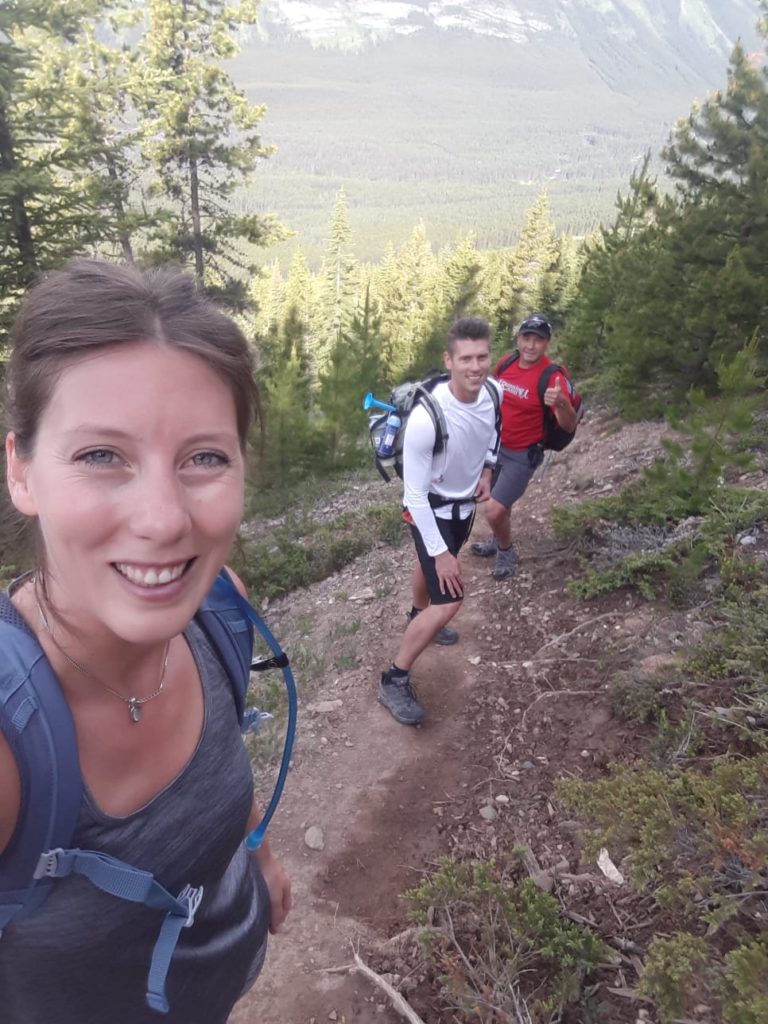
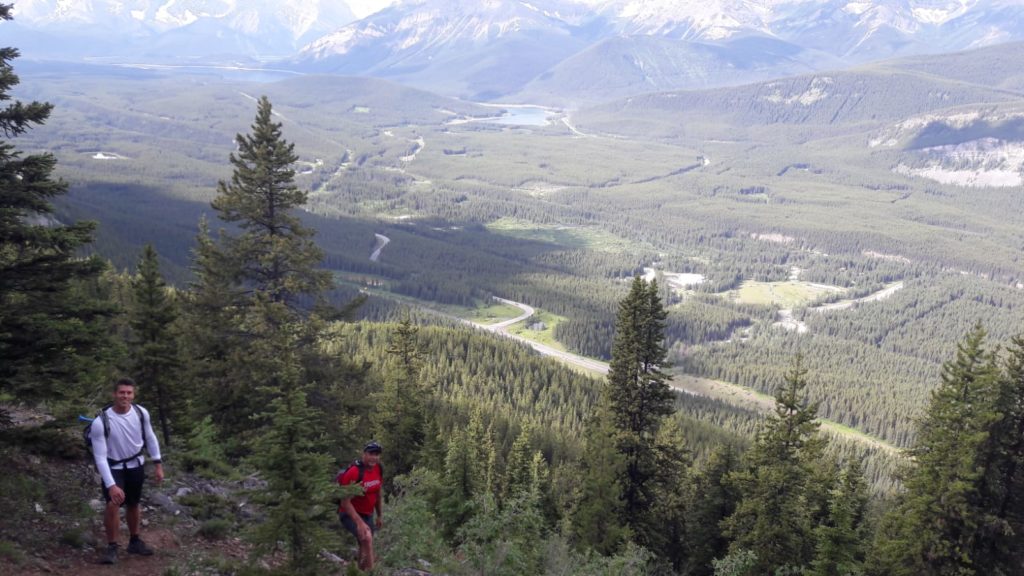
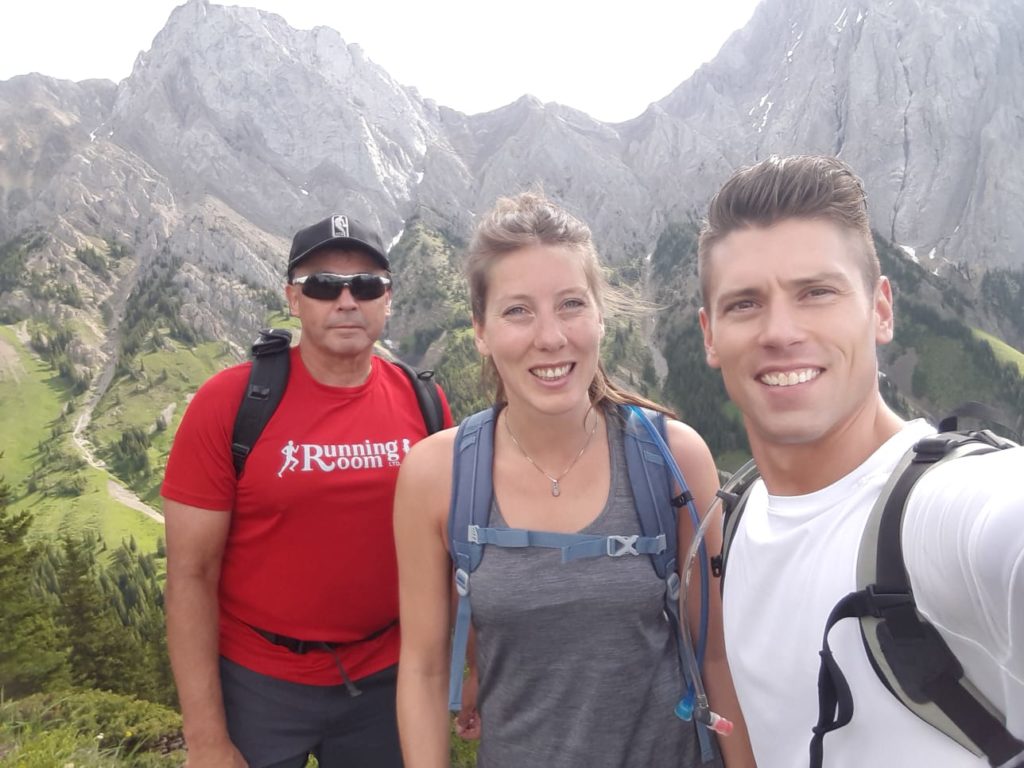
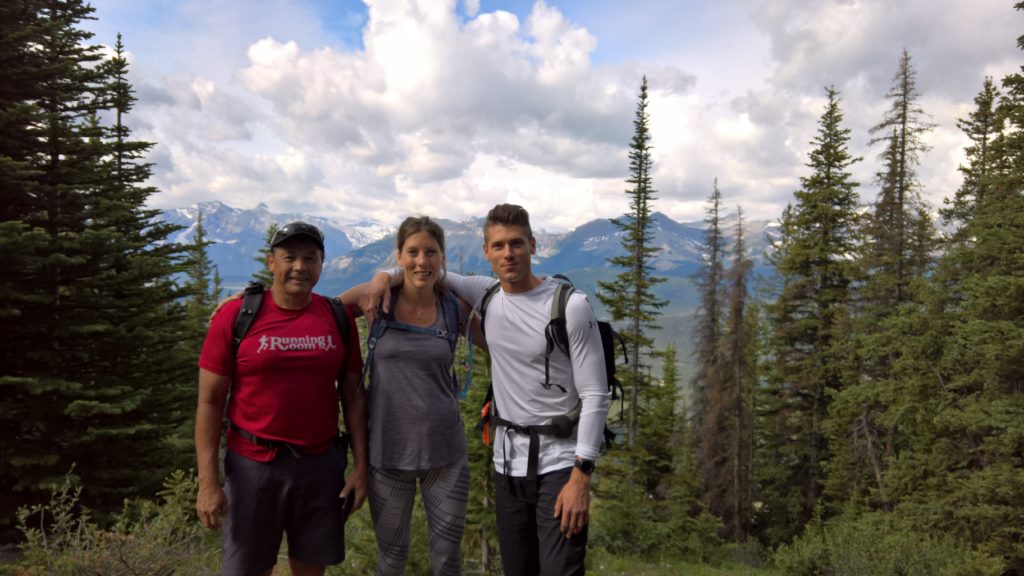
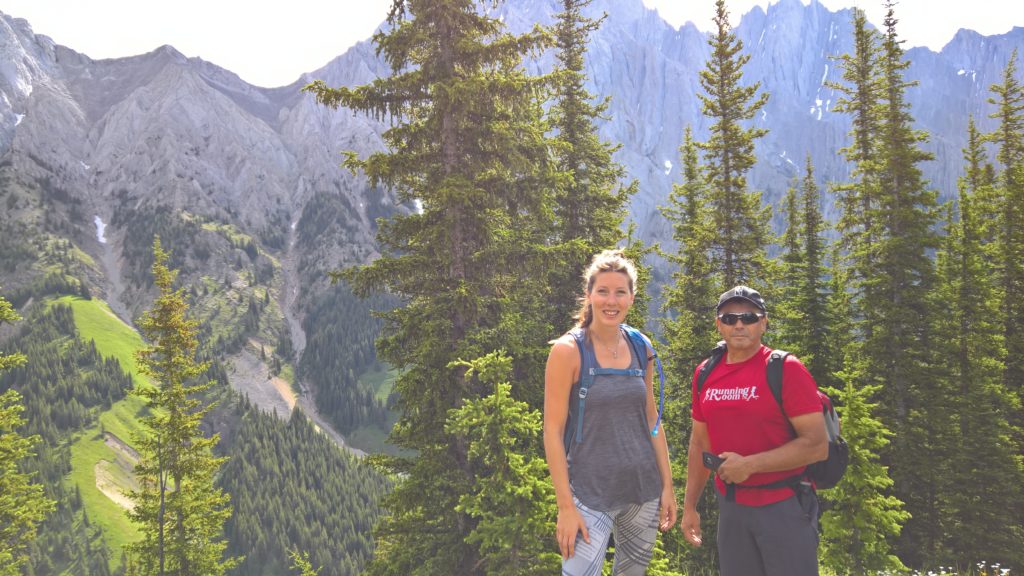
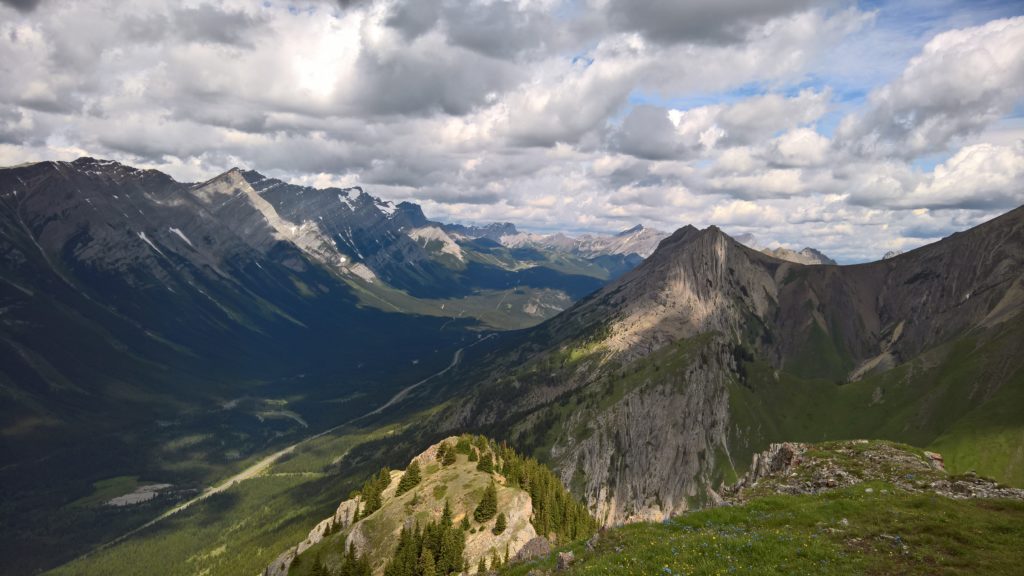
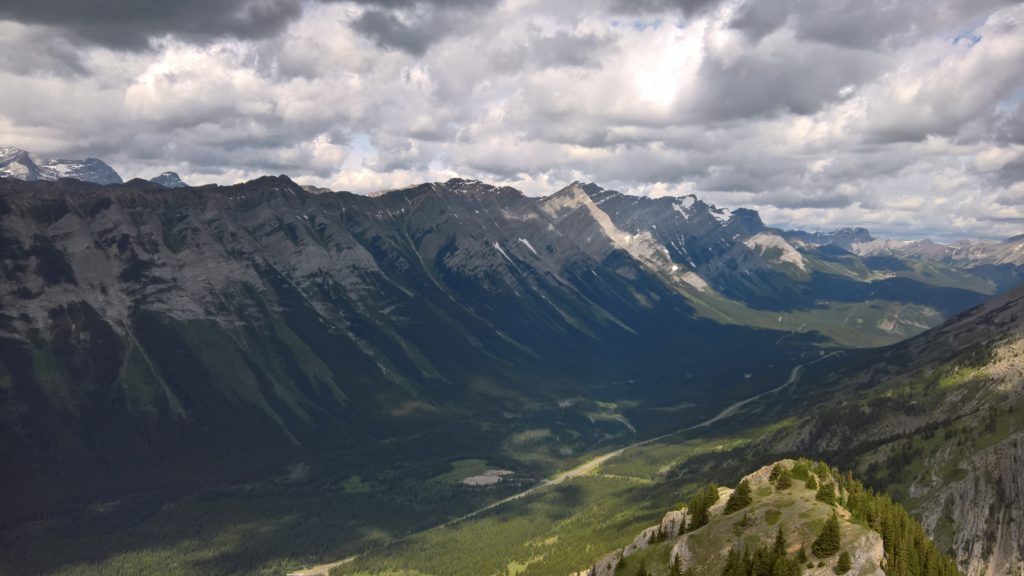
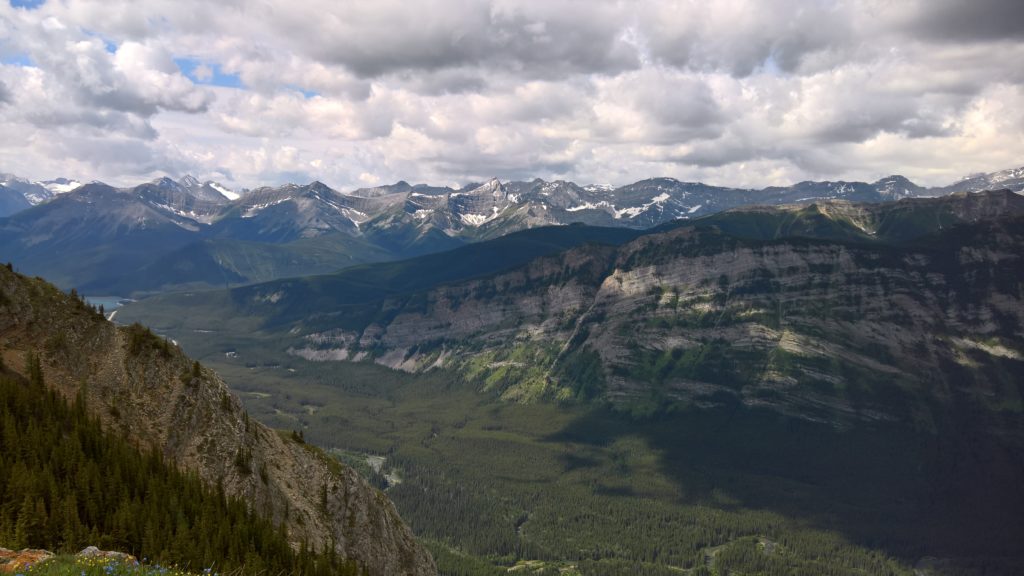
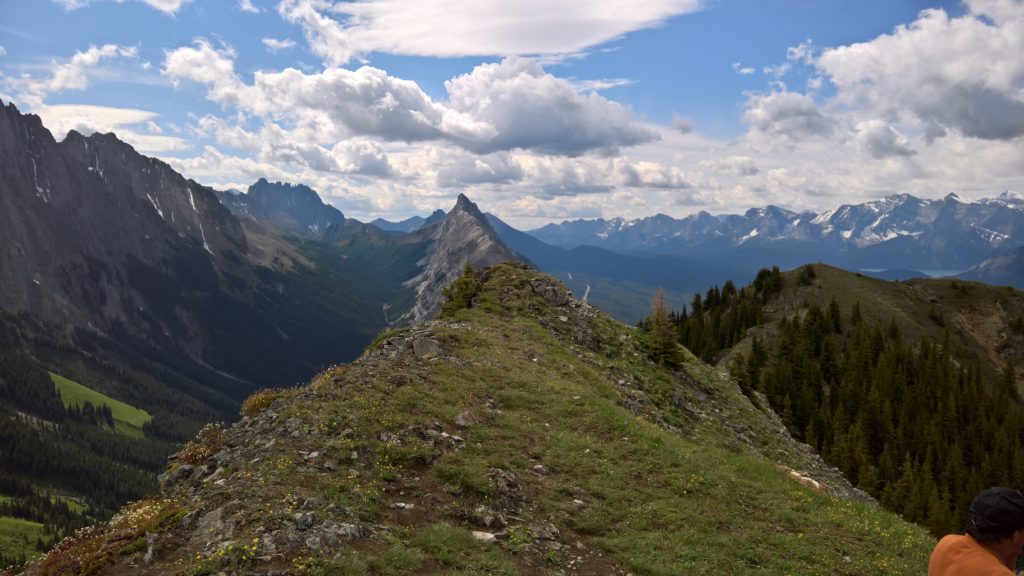
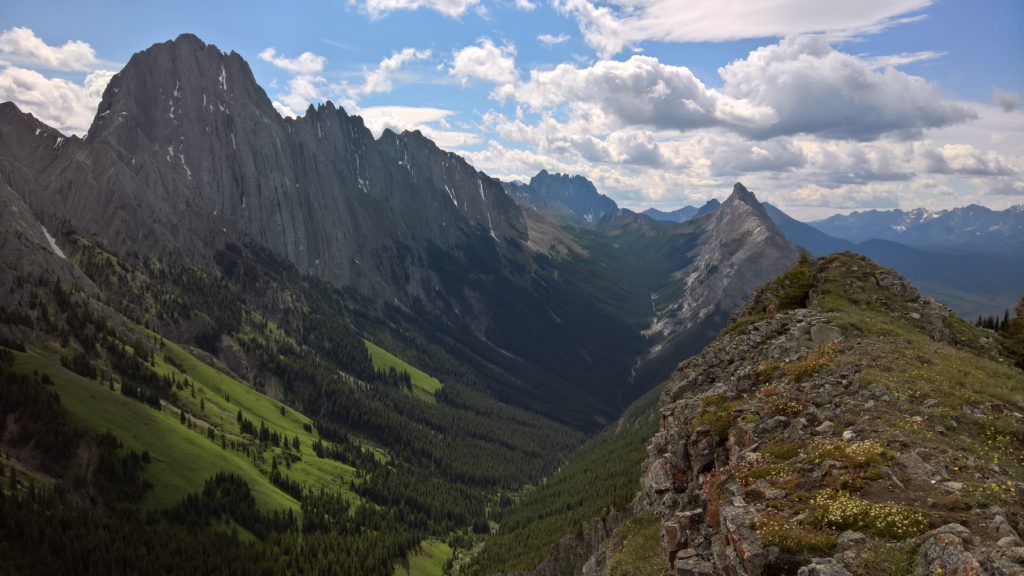
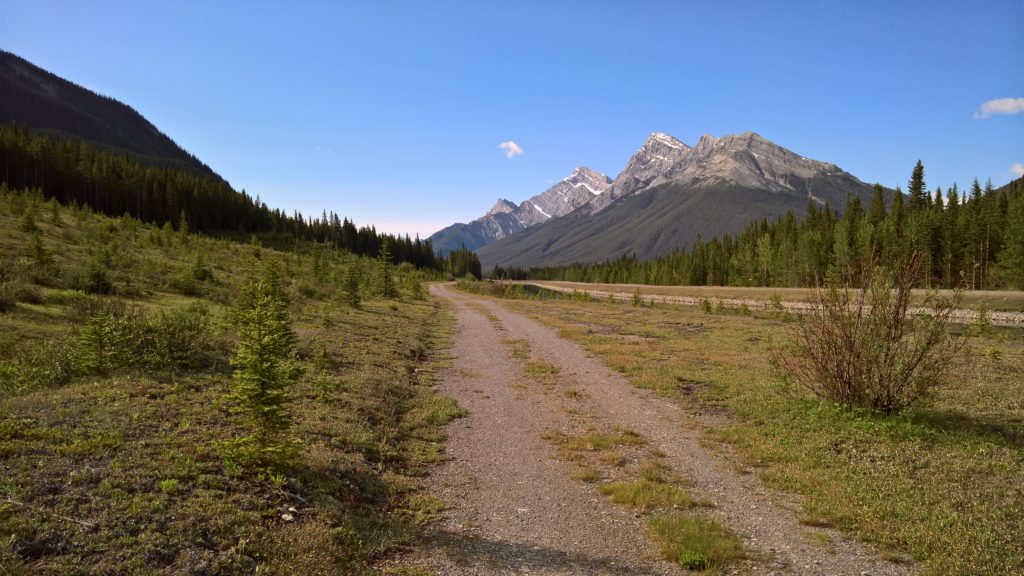
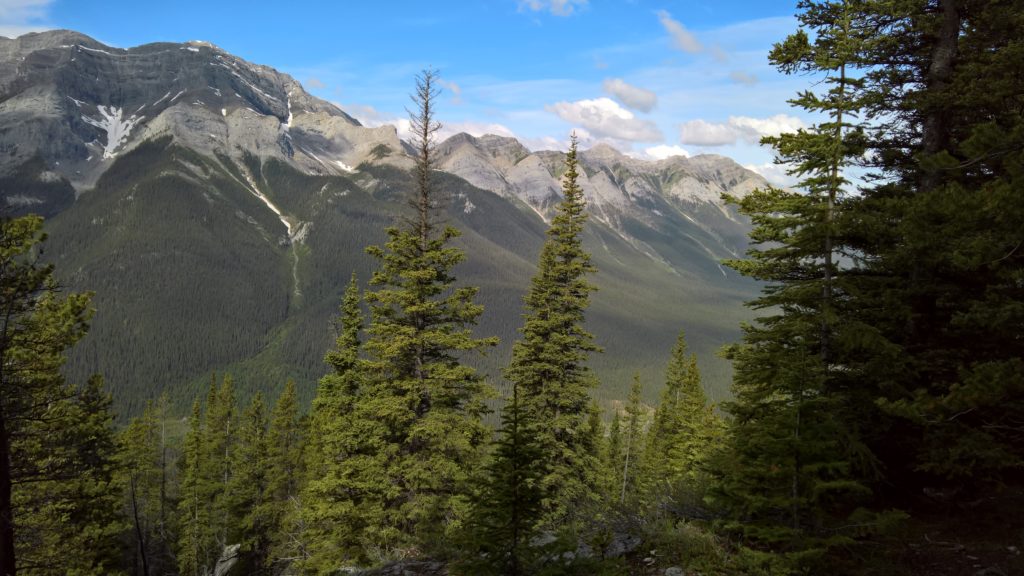
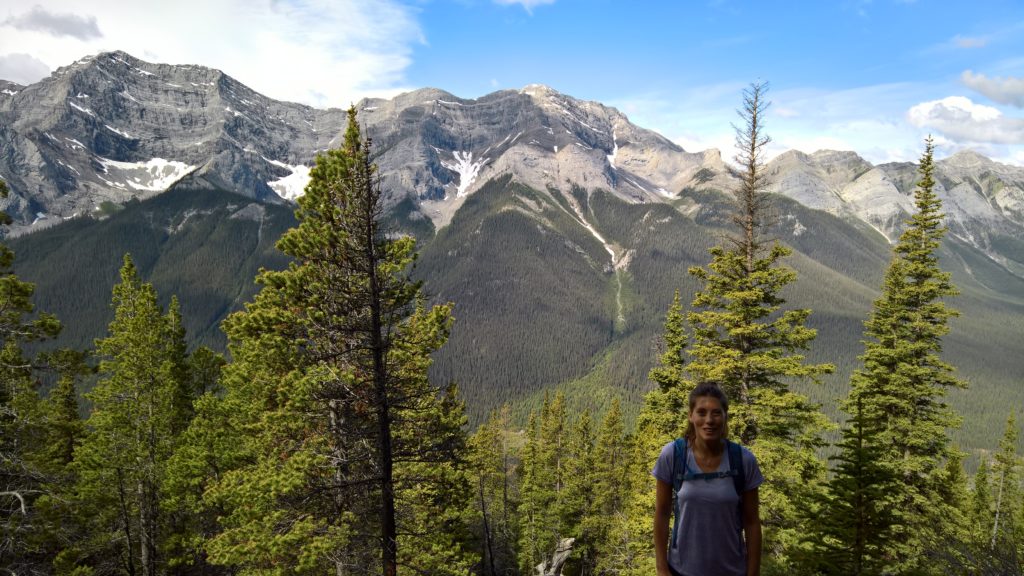
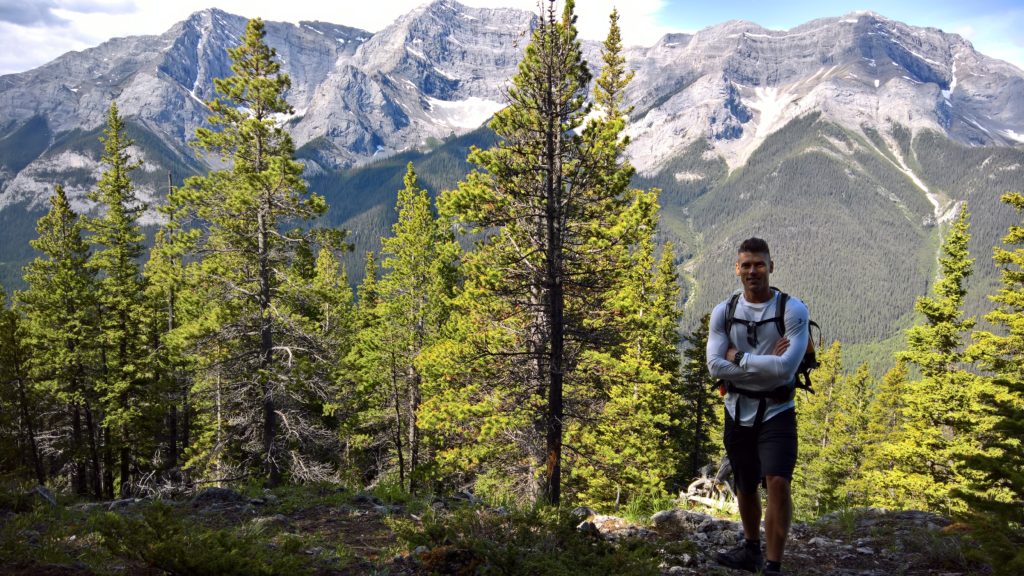
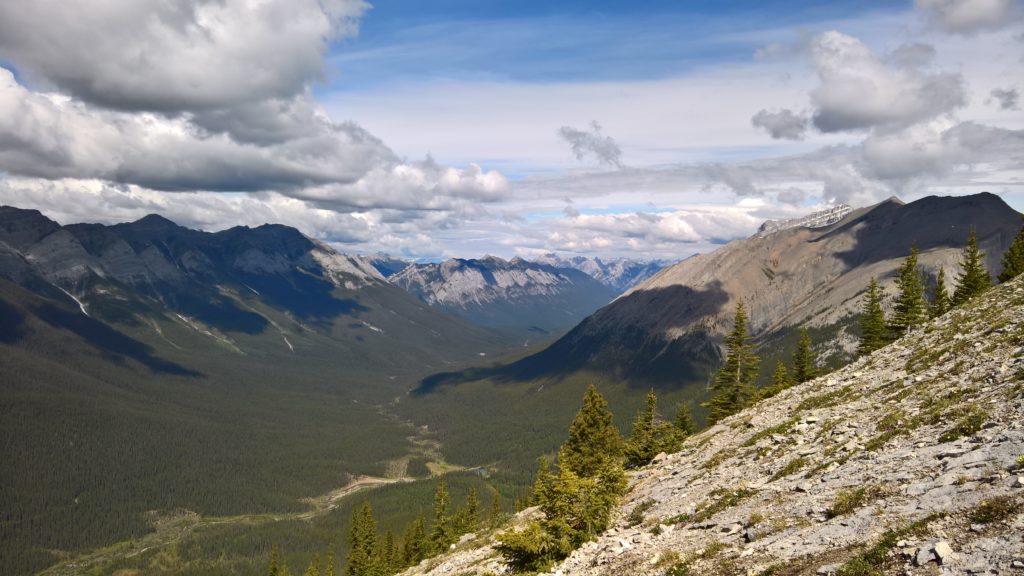
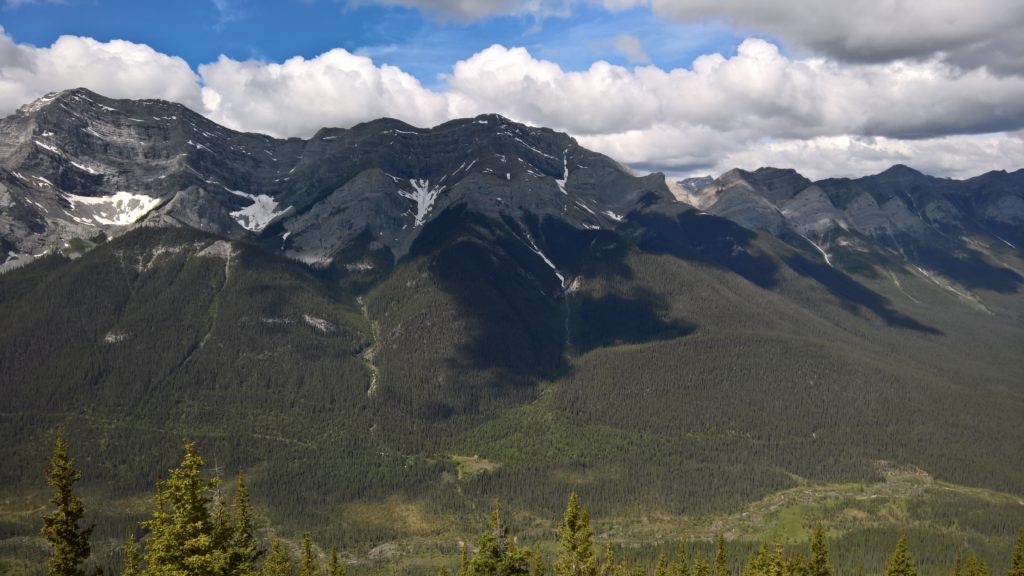
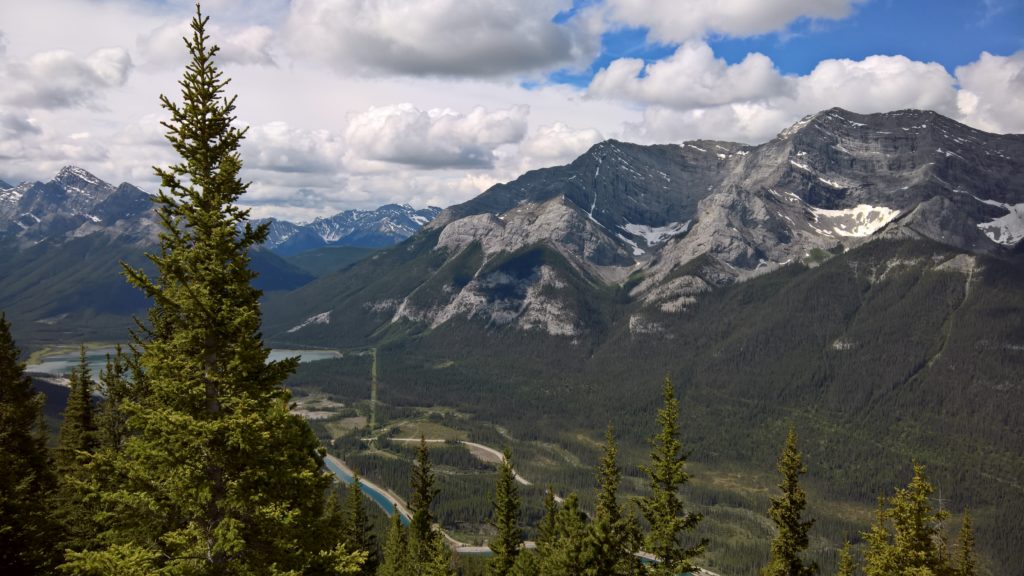
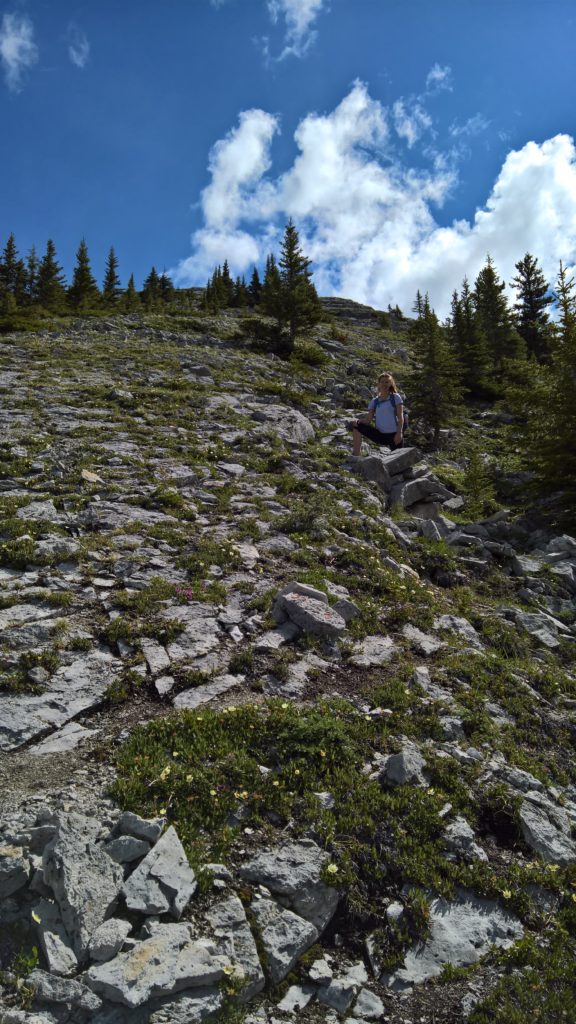
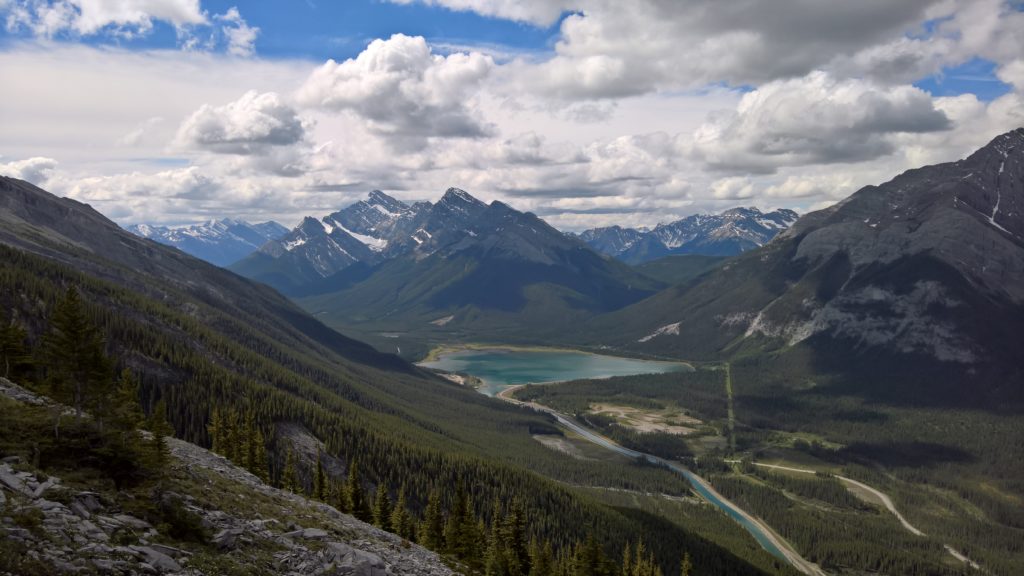
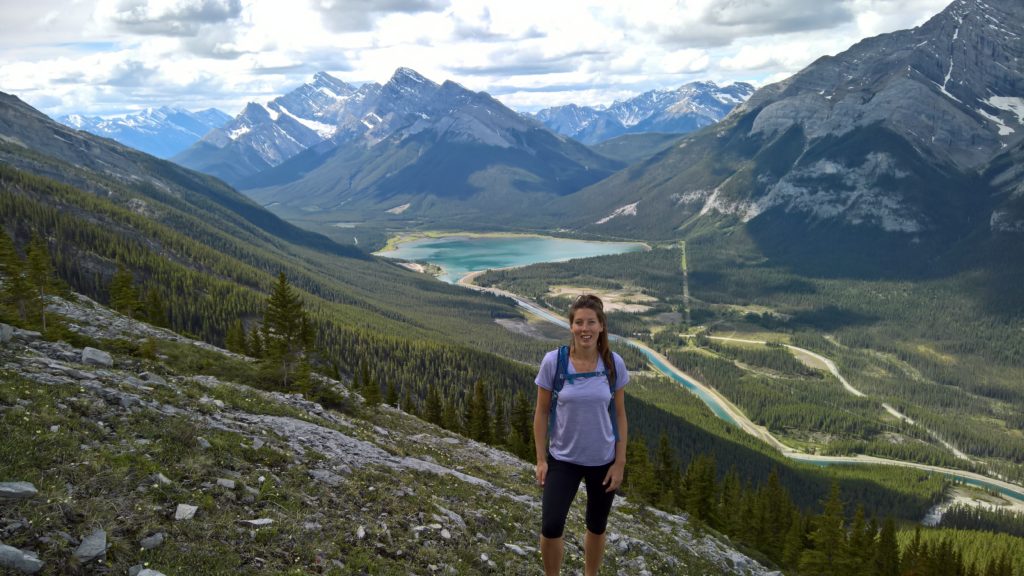
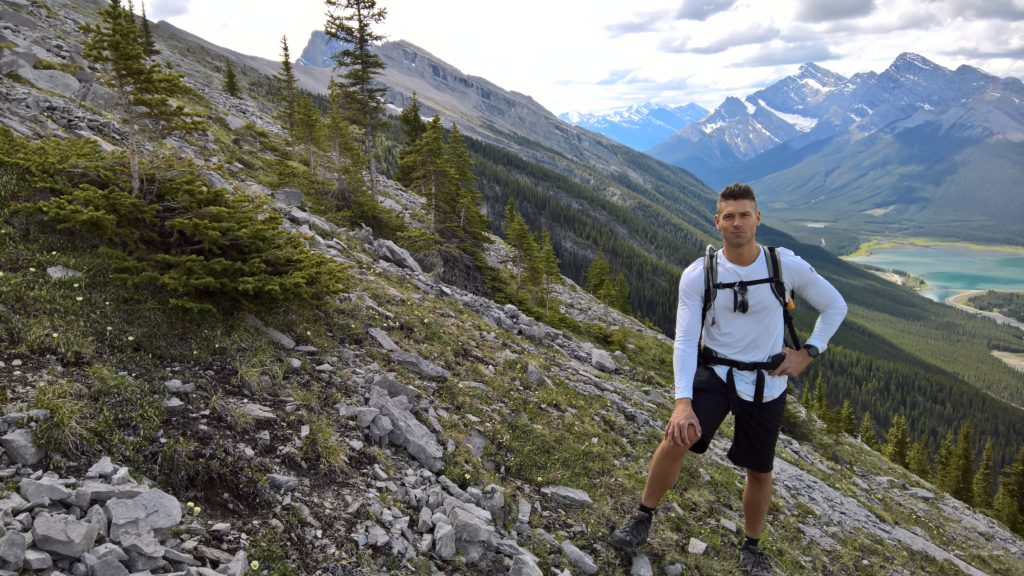
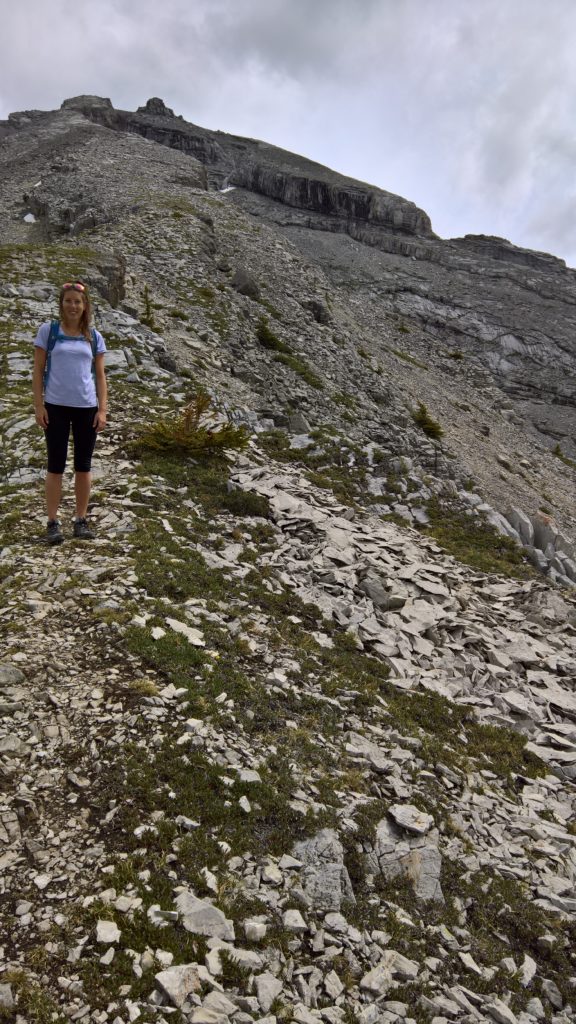
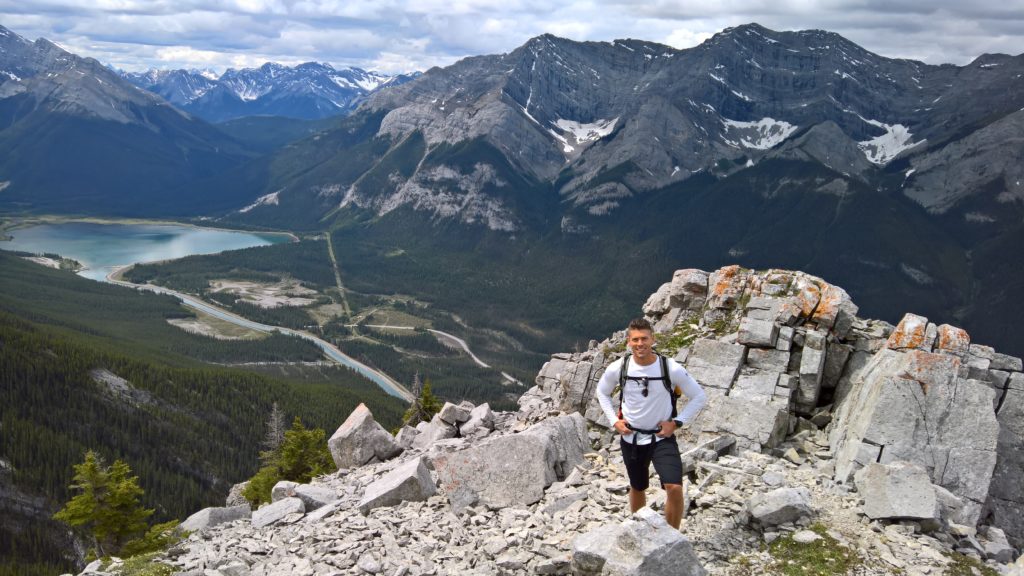
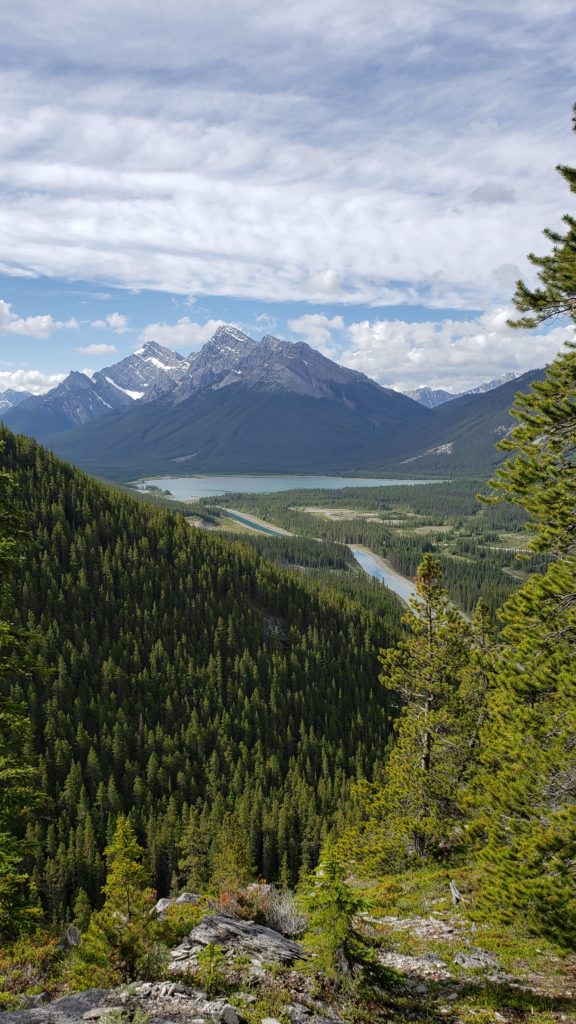
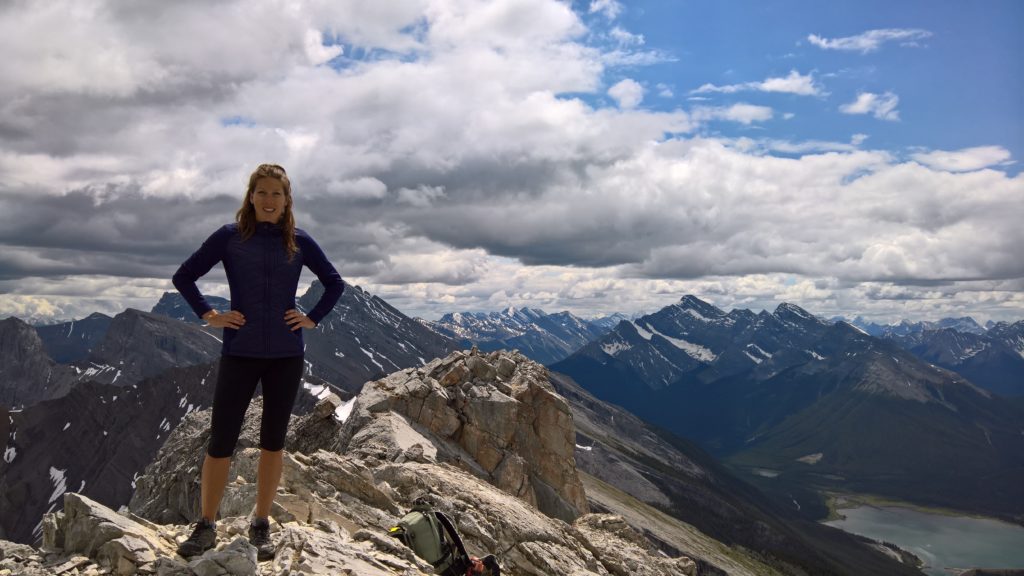
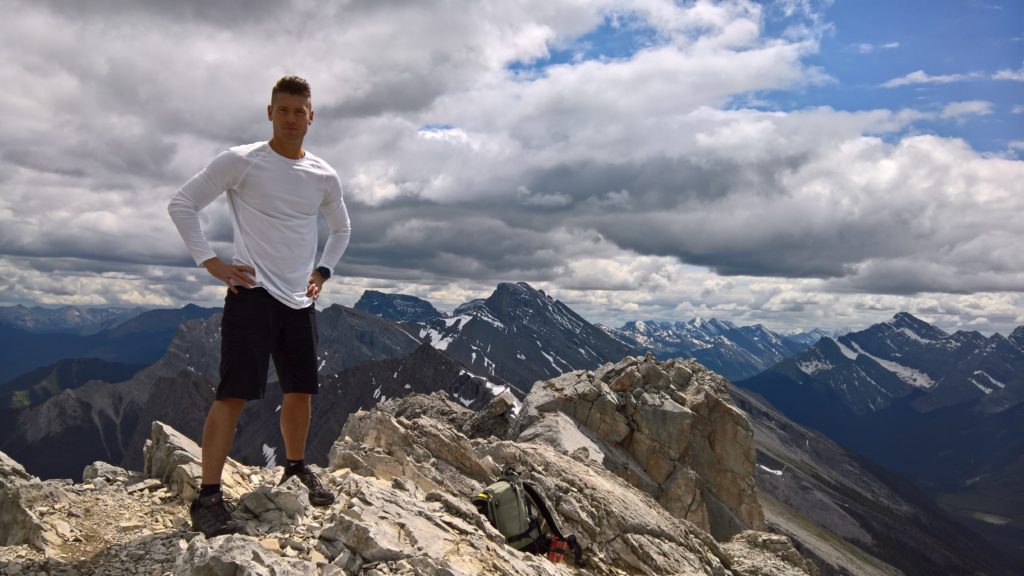
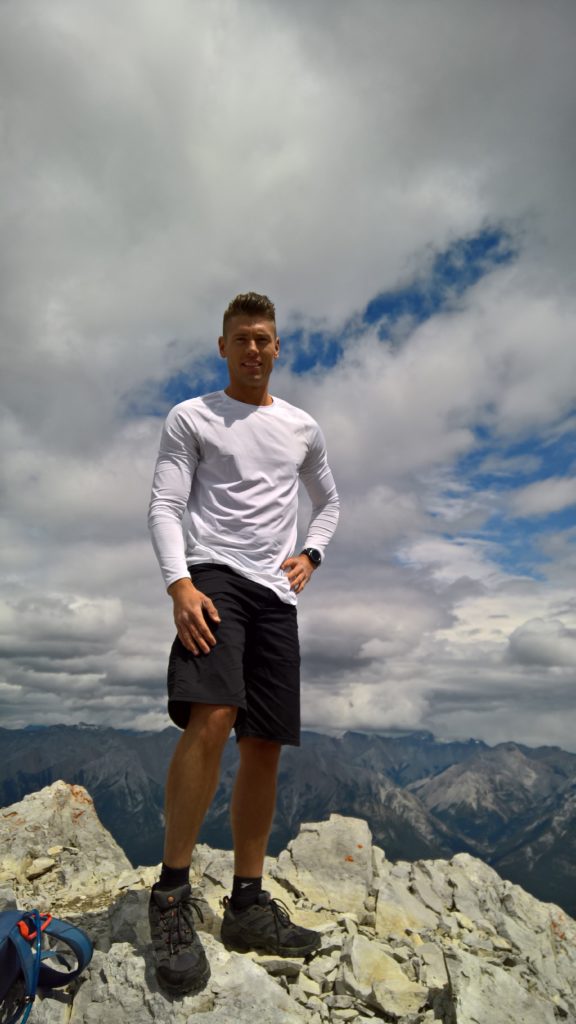
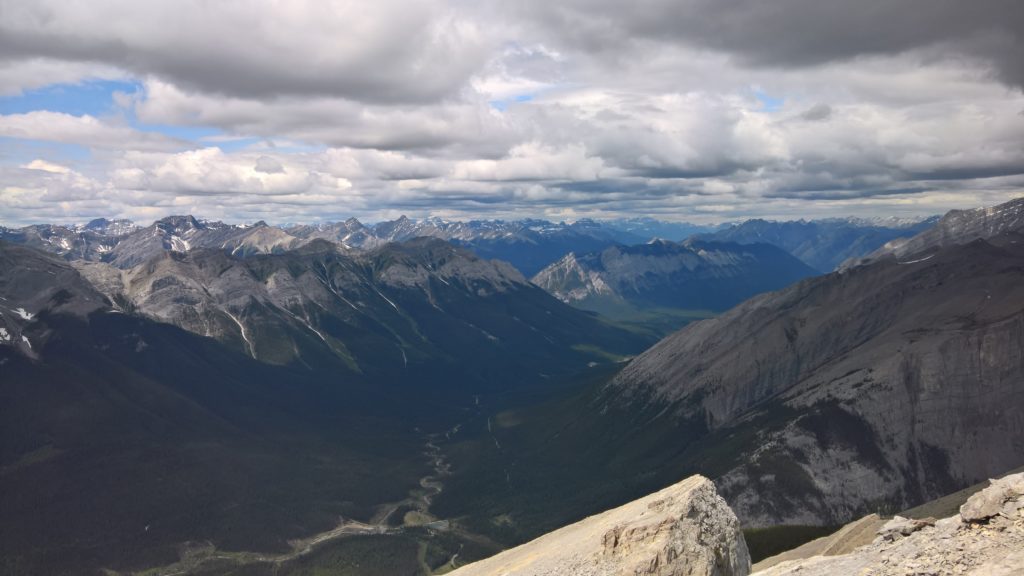
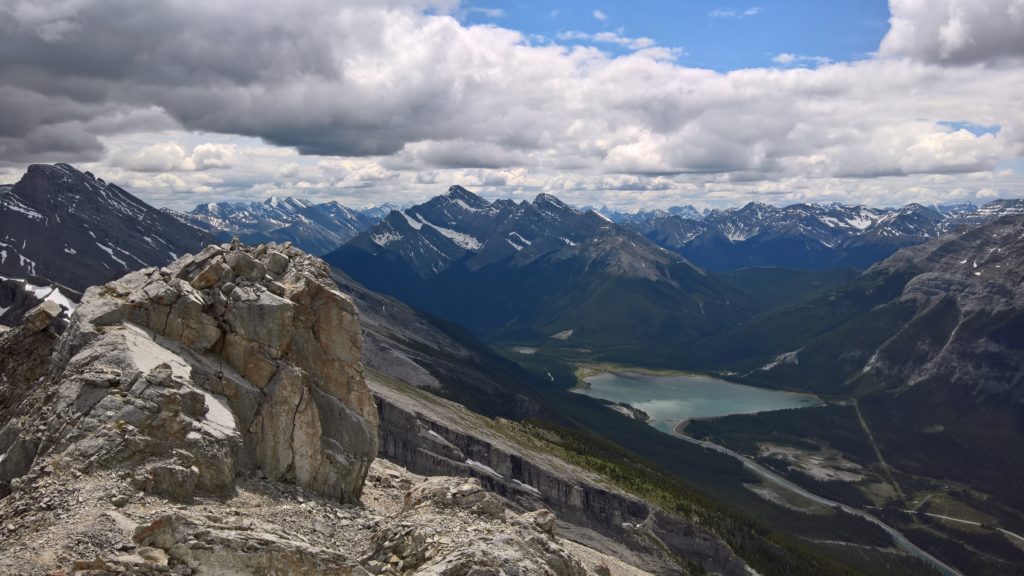
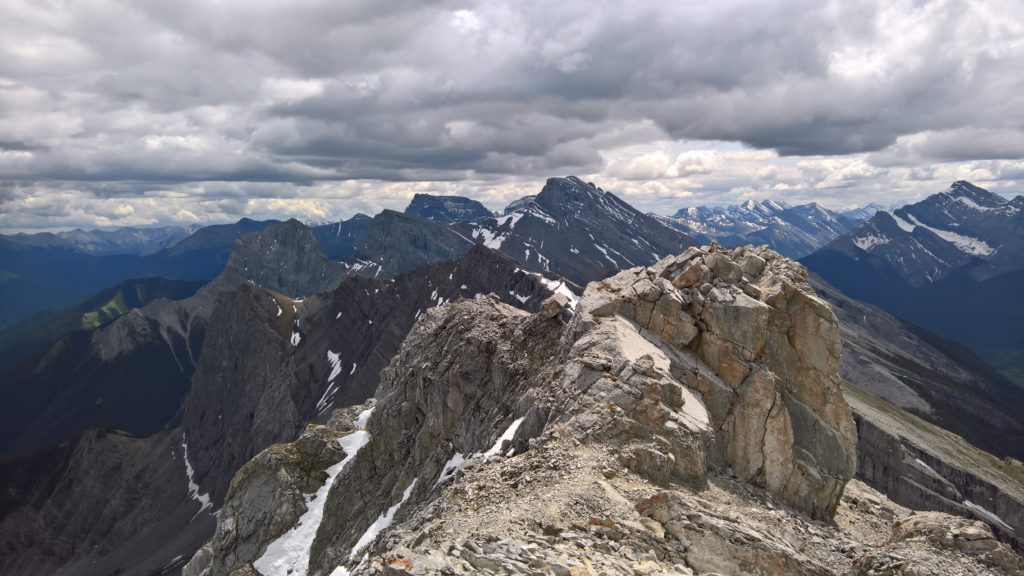
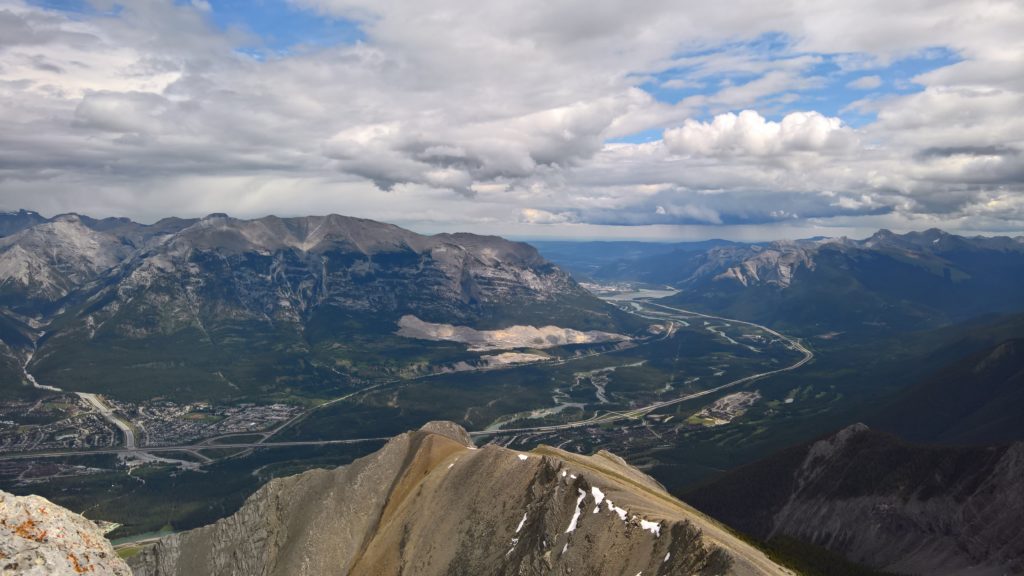
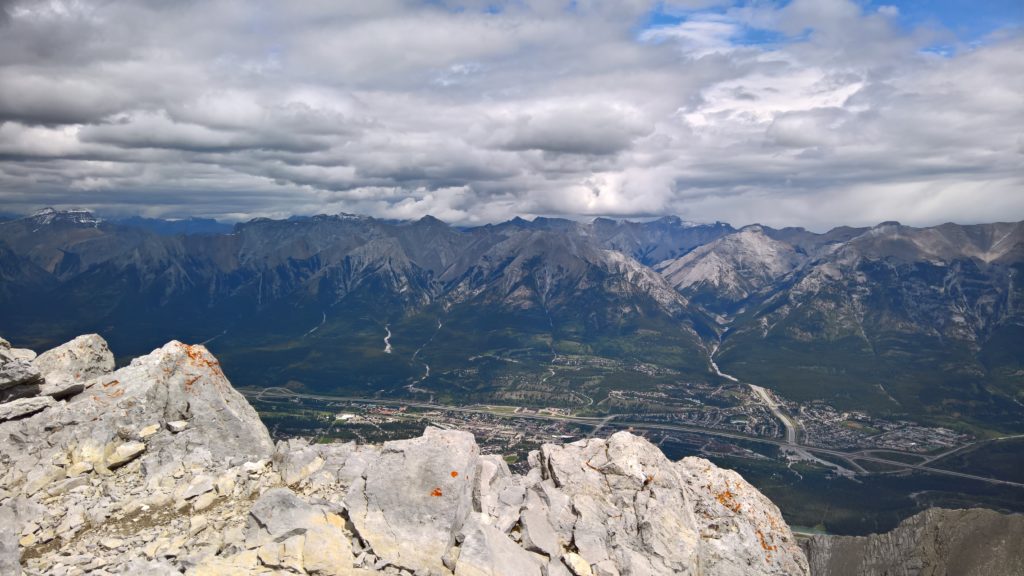
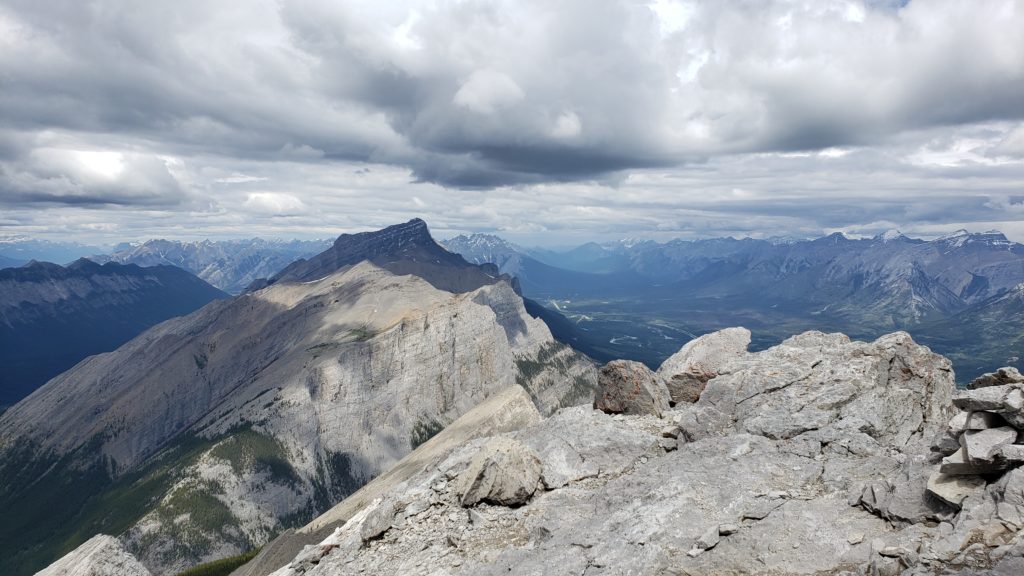
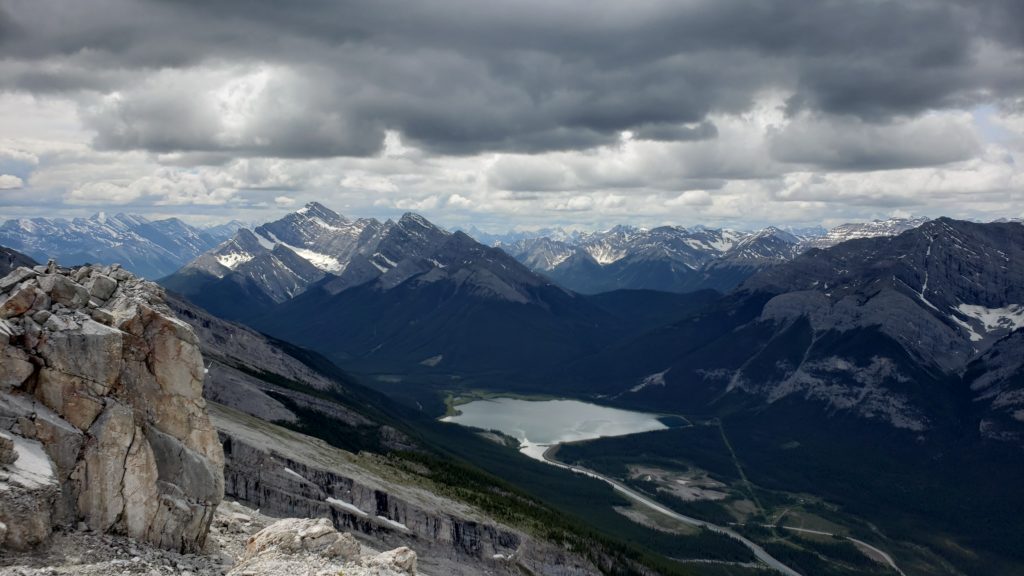
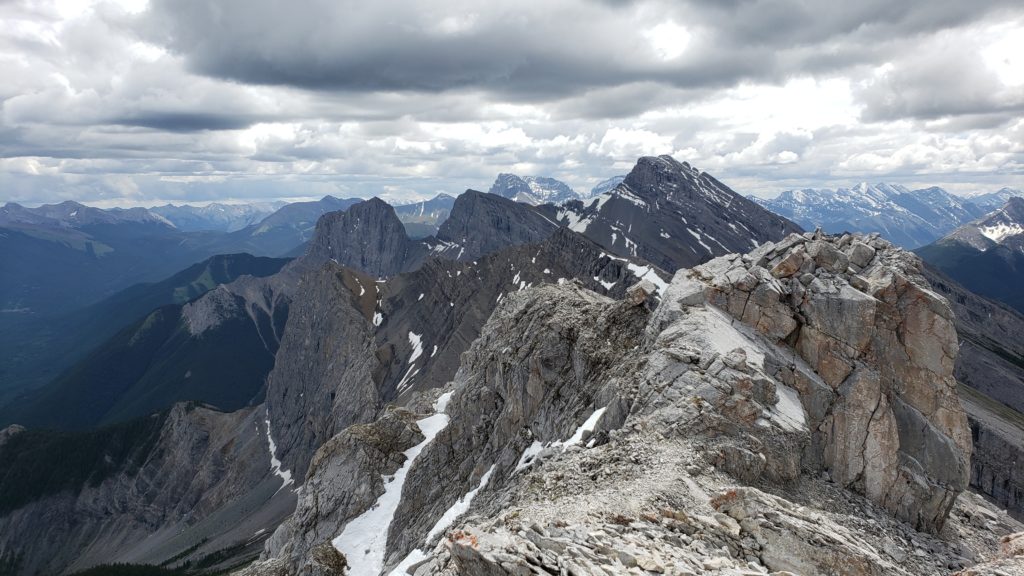
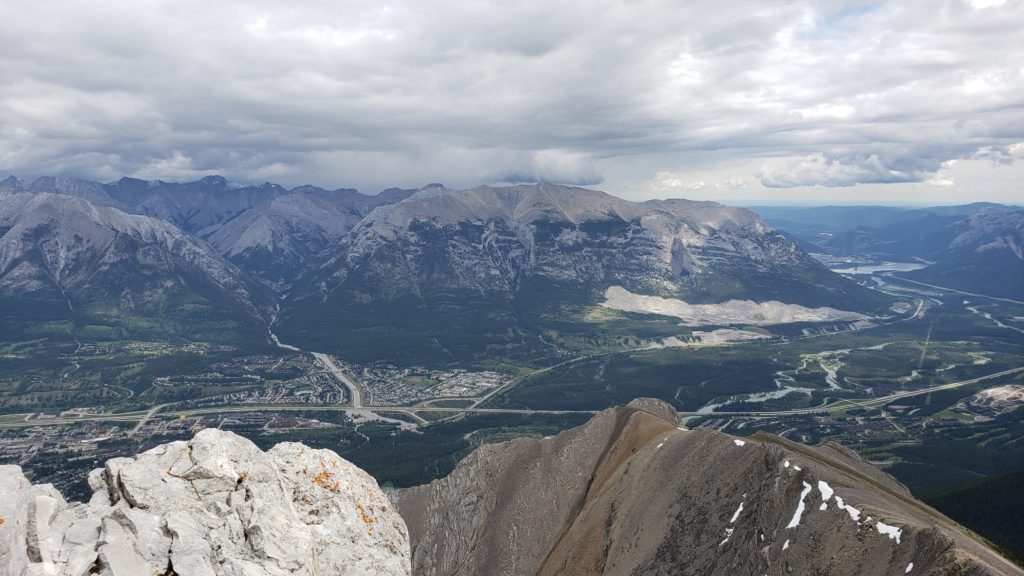
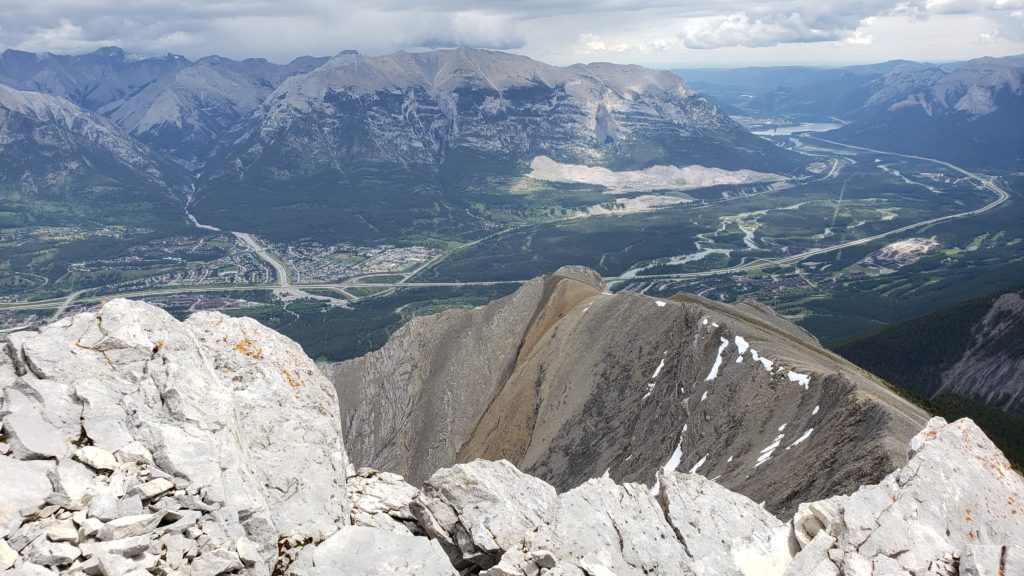
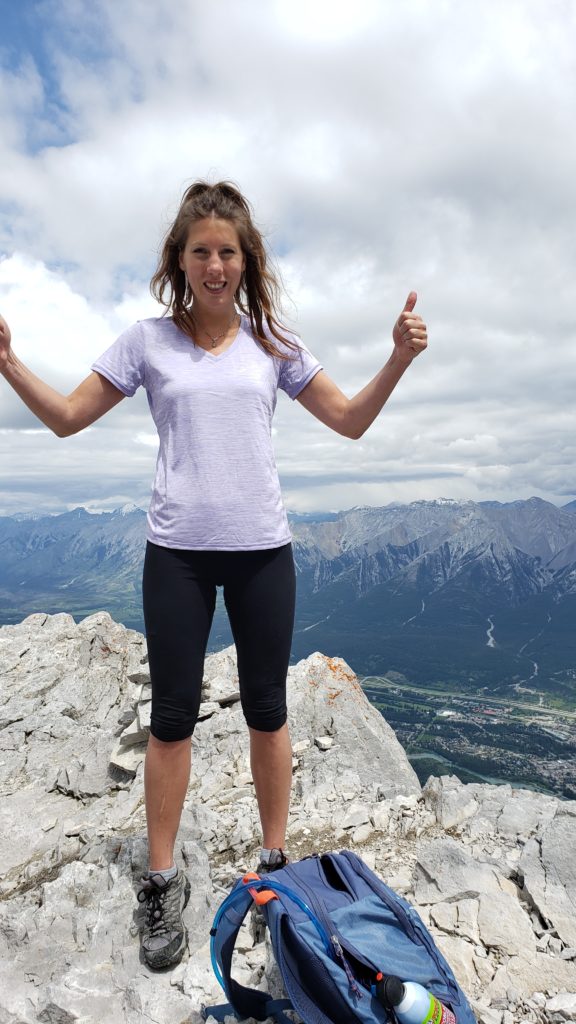
See below for a video I put together of 3 beautiful mountain summits I hiked in one month, first person from the Snapchat Spectacles.

https://youtu.be/KSH0GFDUyQs
Snapchat Spectacles: 3 Mountain Summits in 31 Days

If you keep reading through to the end of the post there’s another video.

First person view

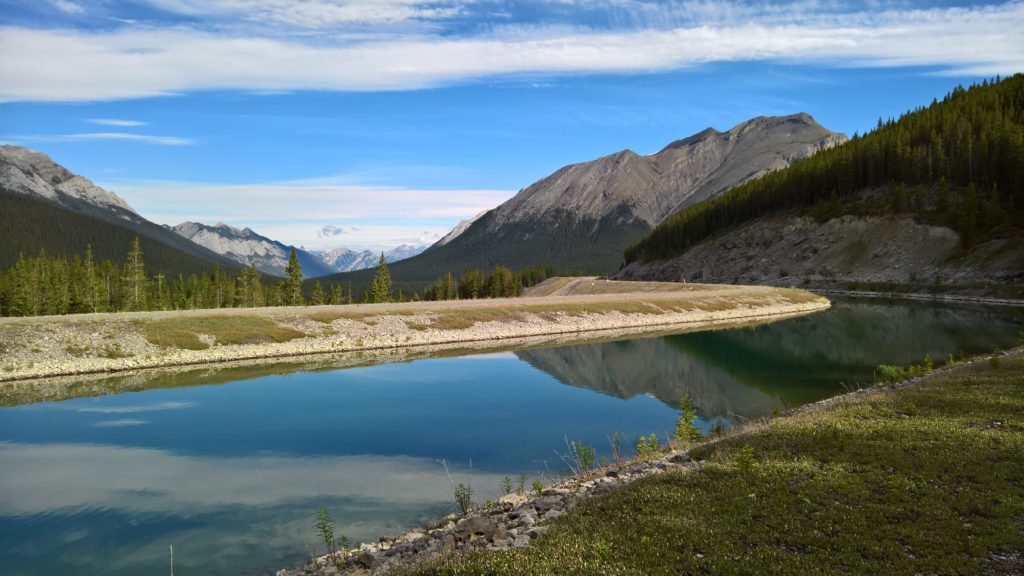
As you can see, even the first version of the Snapchat Spectacles generates some beautiful HD video, providing a first person view of the wearers field of vision.

You might say it’s similar to wearing a GoPro, but what I like about the Spectacles is that the camera is mounted beside your eyes, which makes the video capture that much more personal.

My wishlist

What I’d really like is the ability to continuously record HD video non-stop and even possibly record to my mobile device. Even if this couldn’t be accomplished wirelessly and required a wire to my mobile device, I would still be using it all the time.

Another thing that would be nice would be more size options, as the first generation are way too small for my head, LOL! 🙂

Conlusion

Tech is awesome, and I love using tech like this to share personal experiences!

Snapchat Spectacles: Hiking Grotto Mountain September 2017

Snapchat, if you’re listening, I’d love to help with the design of future versions of the Snapchat Spectacles…

Aug 202019
 
Looking east from the summit at Grotto Mountain in Canmore Alberta

Earlier this month, we decided to hike and climb Grotto Mountain. Grotto Mountain is just outside of Canmore, Alberta, with it’s trail head starting right by the Alpine club. This was my 3rd time doing the hike, and 1st for my friend. This was however the first time I’ve done the complete loop, ascending the ACC route, and descending the hard route.

While we completed the loop in a clockwise manner, I highly recommend against this. From the summit down, it was extremely difficult to find the trail, even with a downloaded map and GPS. Not only will you get lost, but it’s also incredibly difficult (probably one of the most difficult descents I’ve done simply because I kept slipping).

I’d highly recommend doing the loop in a counter-clockwise method. While this trail is “safe”, it is difficult and challenging requiring lots of stamina and cardio work. Things can get a little risky on the hard route.

AllTrails Link: https://www.alltrails.com/trail/canada/alberta/grotto-mountain-trail

My AllTrails Recording: https://www.alltrails.com/explore/recording/recording-aug-04-06-07-pm–3

Looking east from the summit at Grotto Mountain in Canmore Alberta
Grotto Mountain Summit view East

Grotto Mountain is an ascent up to an altitude of around 2,870m (9416ft), with beautiful views of Canmore, Alberta and other mountains. I completed this trek with my usual hiking buddy Elisha!

Selfie of Stephen Wagner and Elisha Comeau standing on Grotto Mountain
Stephen Wagner and Elisha Comeau – Grotto Mountain
Stephen Wagner standing on Grotto Mountain Summit
Stephen Wagner on Grotto Mountain Summit
Elisha Comeau standing on Grotto Mountain Summit
Elisha Comeau on Grotto Mountain Summit
Summit view from Grotto Mountain

And of course, below is a picture of the mountain from Canmore, Alberta. The summit is actually the peak/summit on the right side of the mountain, the left is the lower fake summit.

As I mentioned above, it’s very challenging even having done it a few times before. The ACC route is a nice long slow climb and descent, while the hard route is pretty much straight up and down.

Along the hard route we did see some wild life like mountain goats, but they stayed far away. I’ve never seen bears on this hike, however I believe there may be a risk at the bottom, as well as up to the point of the top of the tree line.

Grotto Mountain Hike Pictures

Stay safe, be bear aware, and always make sure you always do hikes like this with a friend!

Jul 192019
 
King Creek Ridge Summit

Sunday (July 14th, 2019) we had the opportunity to hike King Creek Ridge. I’d considering this hike a moderate hike, very steep, and can be completed in a short amount of time. Taking the traditional route to the summit, it took us around just under an hour. This hike is located in Kananaskis Country, and there is no cell reception anywhere on the trail.

There are other trails (and alternate trails) along this path. I do not recommend taking these or attempting these. Please read below to find out why.

AllTrails Link: https://www.alltrails.com/trail/canada/alberta/king-creek-trail

King Creek Ridge Summit View

King Creek Ridge is a steep ascent to an altitude of around 2,400m (7,874ft), so it’ll require some cardio. I completed this hike with my friend Elisha, and her step-dad Tim!

Stephen Wagner and Elisha posing on King Creek Ridge
Stephen Wagner and Elisha on King Creek Ridge
King Creek Ridge Valley View
King Creek Ridge Valley

On this hike, we met a nice group of other hikers who mentioned that they read in a book (that was 15 years old), about a loop on this trail. Once at the summit, they planned to go down the Mount Hood route to complete the loop. Using the map I had downloaded to my mobile, I actually had a copy of the Mount Hood route, so we figured we’d attempt it as well.

Mount Hood Route Detour

IMPORTANT: DO NOT ATTEMPT THE MOUNT HOOD ROUTE! IT IS AN OLD ROUTE AND THERE IS NO VISIBLE TRAIL. IT’S FULL OF DENSE BUSH, LIMITED VISIBILITY, AND HAS WILDLIFE (BEARS).

Once we had our time at the summit and relaxed (we flew up there pretty quick), we decided to try and locate the path down to the valley to complete the Mount Hood route. We located a small channel that was very steep and full of loose rocks (extremely dangerous). After navigating down, we noticed that an avalanche or weather related incident had damaged the path and it was simply a cliff. We proceeded to find a different way to go down in to the valley after doing a big of climbing down.

King Creek Ridge to Mount Hood Route

After the dangerous part, we found a steep path down (shown above) that we used to get in to the valley. Unfortunately this was short lived. Once getting in to the valley, we approached bush that was ~5 ft high, and numerous places to be ambushed by bears. We had to use boulders to throw in to the bushes ahead to make sure there were no bears further up (also using regular bursts of the air horn).

Finally once we made it to the creek, we realized using the GPS that the Mount Hood Route was extremely old and grown over. There was no visible trail for Mount Hood Route. We continued along the creek (walking in/over it) for some time until it became so difficult and dangerous that we decided we had to turn around and go back.

Back to King Creek Ridge from Mount Hood Route

The hike/climb back up to the summit of the King Creek Ridge hike was grueling. It was one of the steepest hikes I’ve done, and finished with sections that we actually had to climb (using our hands) to get back to the King Creek Ridge summit.

Back on to King Creek Ridge

So the detour, while extremely dangerous and unnerving, actually made the hike as long as we had originally wanted it, and as fun as we had hoped, so it turned out pretty good (after we realized we weren’t going to be stuck in the valley all night, lol).

We finally descended down the way we had originally came up, and all in all the day turned out to be amazing! The hiking trail actually was extremely busy later on in the afternoon by the time we went down.

King Creek Ridge Hike Pictures

Below are pictures from the hike, please click to enter the attachment page, and then click again to enlarge. The below are low quality thumbnails, when you click on the image it will open the high-resolution image.

Stay safe, be bear aware, and always verify trails exist before you head out on to them!

Jul 122019
 

Last week (July 3rd, 2019), I hiked and climbed Mount Lawrence Grassi with my friend Elisha. It was a very aggressive hike, ascending very quickly to an altitude of 2,685 meters (8,809 feet).

It took us around 7 hours and 45 minutes, with a total moving time of 4 hours and 43 minutes. We completed a total elevation gain of 1,177m. My cardio has been horrible this year as I’ve been focusing on strength training so I slowed us down a little bit.

Picture gallery is below of the hike.

I’d only recommend this hike only for advanced hikers as the last 100 feet can be extremely dangerous (risk of slipping, sliding off cliff on both sides). Cell phone reception (for emergencies) is available for most of the hike.

Stephen Wagner Posing on Mount Lawrence Grassi while Hiking
Stephen Wagner on Mount Lawrence Grassi

We’ve had issues with weather this year, but fortunately for us we chose the perfect day. It was a bit chilly at the top, but it turned out perfectly! The views from the summit were amazing!

View from Summit at Mount Lawrence Grassi

Other than the sketchy 100ft at the top, the only other issue we had was a bear encounter on the way back to the vehicle. Once we got back to the bottom of the mountain, starting our 2km walk to the vehicle, we crossed paths with a black bear. We immediately prepped our bear counter-measures (we always carry bear mace, bear bangers, air horn, etc), however two chirps of the air horn caused it to retreat in to the forest.

AllTrails Link: https://www.alltrails.com/trail/canada/alberta/mount-lawrence-grassi

Mount Lawrence Grassi Hike Pictures

Below are pictures from the hike, please click to enlarge. The below are low quality thumbnails, when you click on the image it will open the high-resolution image.

The best photos are at the end of the album when we reached the summit!

Stay safe and be bear aware!