Today I’m writing about something we all hate, issues with either limited or no cell phone reception. There’s pictures below so please scroll down and check them out!
We’ve all lived in a house or area where there’s no reception at some point in our life. In the house that I’m in right now, I’ve had no or limited reception for the past 2 years. Regularly I have missed calls (phone won’t ring, and I’ll receive a voicemail notification 2 hours later), or people will send me text messages (SMS) and I won’t receive them for hours. Sometimes if someone sends multiple SMS messages, I’ll actually even completely lose reception for 15 minute intervals (phone completely unusable).
This has been extremely frustrating as I use my phone a lot, and while I do have an office line, people tend to call your mobile when they want to get in touch ASAP. It became an even larger problem when clients started texting me for work emergencies. While I always stress to call the office, they are texting these more and more often.
Recently, to make the problem worse I switched from a Microsoft Lumia 950XL to a Samsung Galaxy S8+. When I received my new S8+, my phone wouldn’t even ring at all, while occasionally I could make an outbound call.
Update – July 28th, 2019 – After reading this post, make sure you look at the end for an update 2 years later!
For these reception issues, there are typically 4 ways to resolve them:
- WiFi Calling
- Routes calls, SMS/MMS (texting), and cell services through a traditional Wifi access point. Unfortunately Canadian carriers just recently started to implement this, also you’ll need a supported carrier branded phone. Wifi calling usually won’t work if you’re using an unlocked phone, or purchased directly from manufactorer (you’ll need to buy a phone directly from your provider).
- Provides easy handoffs from Wifi calling to the native cell towers.
- Unfortunately, if you’re in a low reception area, you’re phone will continue to scan and struggle to connect to cell towers (even though it’s sitting in standby). This will consume battery power.
- Easy as it requires no special hardware except a phone and carrier that supports the technology.
- Femtocell/microcell/picocell
- This is a little device that looks similar to your wireless router or wireless access point.
- Connects to your provider using your internet connection. The device is essentially a mini cell tower that your phone will connect to using its normal cellular technologies.
- These are popular in the United States with multiple carriers providing options, however my provider in Canada doesn’t sell or use these. I could be wrong but I don’t think any providers in Canada carry these.
- Easy as it requires only a single small box similar to your wifi router, and a carrier that supports it.
- Cell Amplifier / Cell Booster
- A device with two antennas, one indoor and one outdoor. Install outdoor antenna facing closest cell tower, install indoor antenna in your house. This boosts and amplifies the signal coming in and going out.
- This option is more difficult as it requires mounting an antenna either outdoors (for best reception) or inside of a window. Also cabling must be laid to the booster which must be a specified distance away from the outside antenna. This can be overwhelming and challenging for some.
- Most expensive option if you don’t move.
- Move to a new house
- Most expensive option
- Chances it may not correct, or even make your reception issue worse
- New neighbors might be crazy
In my scenario, I decided to purchase a Wilson Electronics – weBoost Home 4G Cell Phone Booster Kit. With my lack of experience with boosters, I decided to purchase the most cost-effective option that supported LTE and also which was a refurbished unit. I figured if it worked, I could upgrade it in the future to a better model that was brand new and a model higher.
Please see the links below for information:
https://wilsonamplifierscanada.ca/ – Canada Online Store
https://www.weboost.ca/ – Manufacturer website with information on products
The model I purchased:
Refurbished Part#: 470101R
https://wilsonamplifierscanada.ca/weboost-home-4g-cell-phone-booster-kit-refurbished-470101r/
New Part#: 470101F
https://wilsonamplifierscanada.ca/weboost-home-4g-cell-phone-signal-booster-470101/
weBoost Home 4G Product Page
https://www.weboost.com/products/connect-home-4g (United States Web Site)
https://www.weboost.ca/products/connect-home-4g (Canada Web Site)
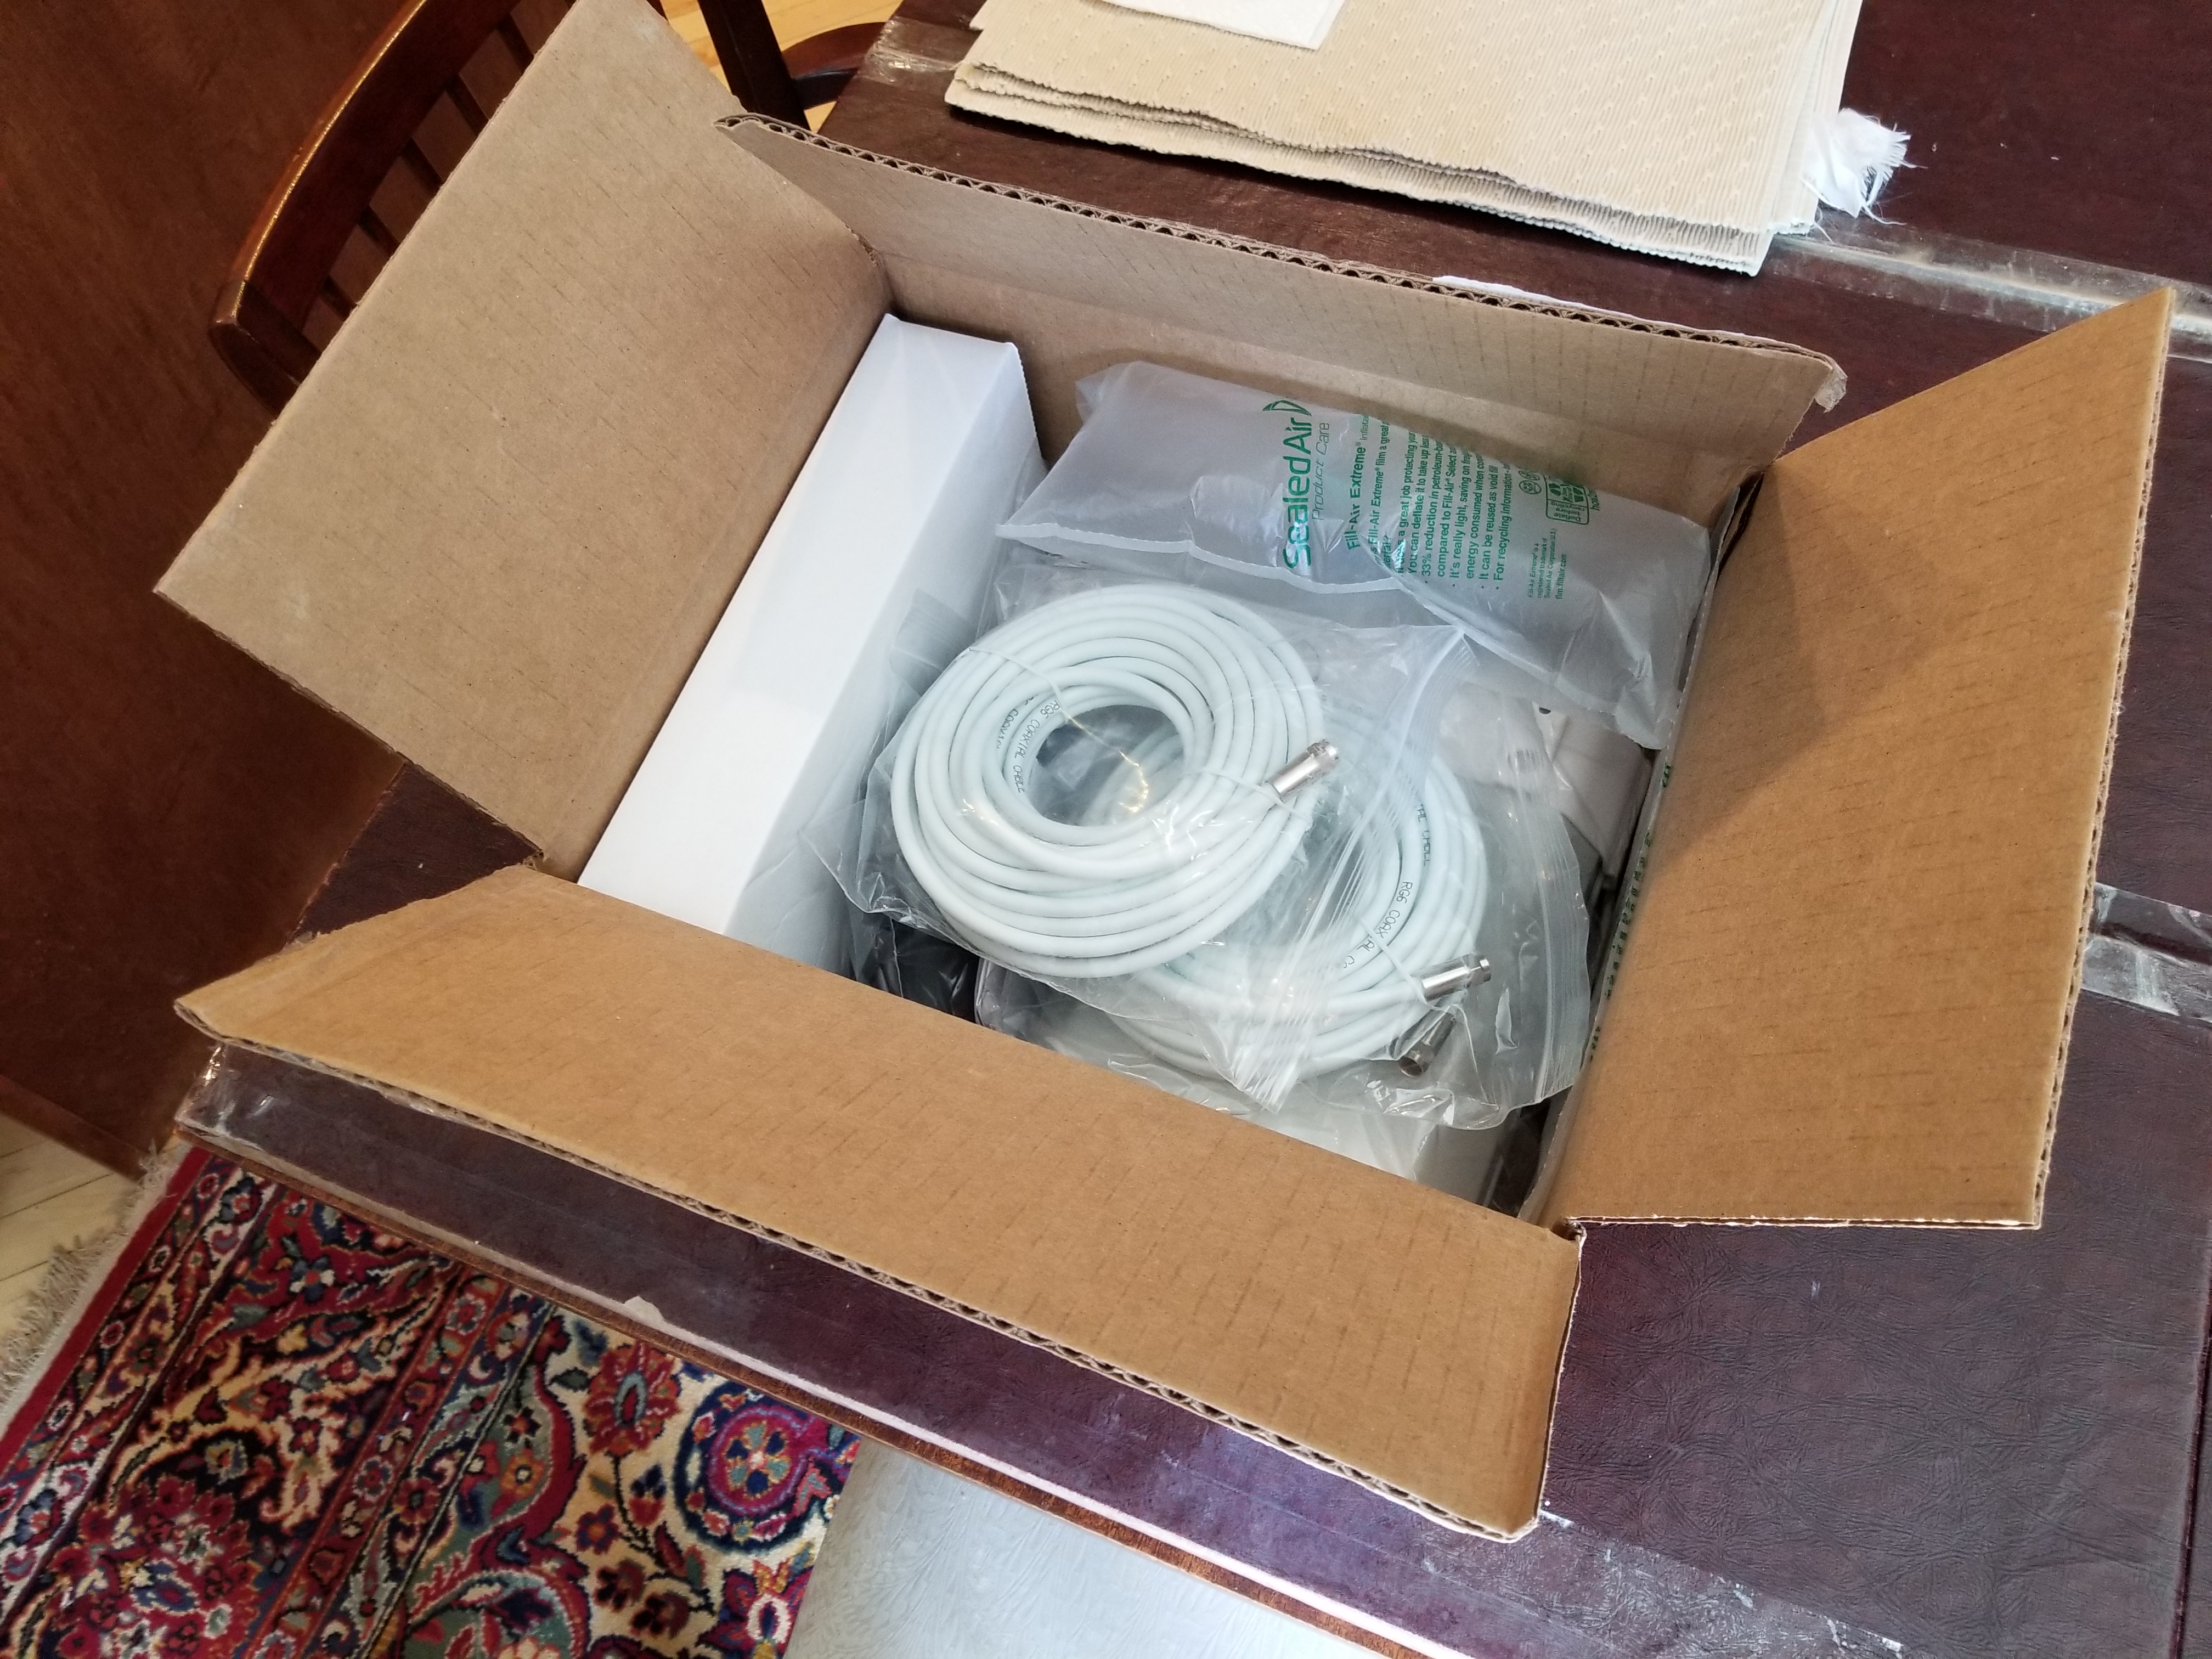
Well, after a few weeks the booster finally showed up! Everything was packed nicely, and I was pleasantly surprised about the quality of the materials (antennas, cables) and the unit itself. With my specific unit being a refurbished model, it looked great and you wouldn’t have been able to even notice.
The unit comes with mounting supplies for different mounting options. I could either mount it on a pole (such as the plumbing exhaust port on the roof), against the side of the house, or use the neat window mounting option for window placement (neat little window mount that uses suction cups to affix).
I already was aware of the location of two towers in my area and had previously used cell surveying utilities to find areas where reception was available. If you purchase a cell booster, you can either follow the instructions for finding the best placement with cell service, or you can use apps on your phone to find the best placement.
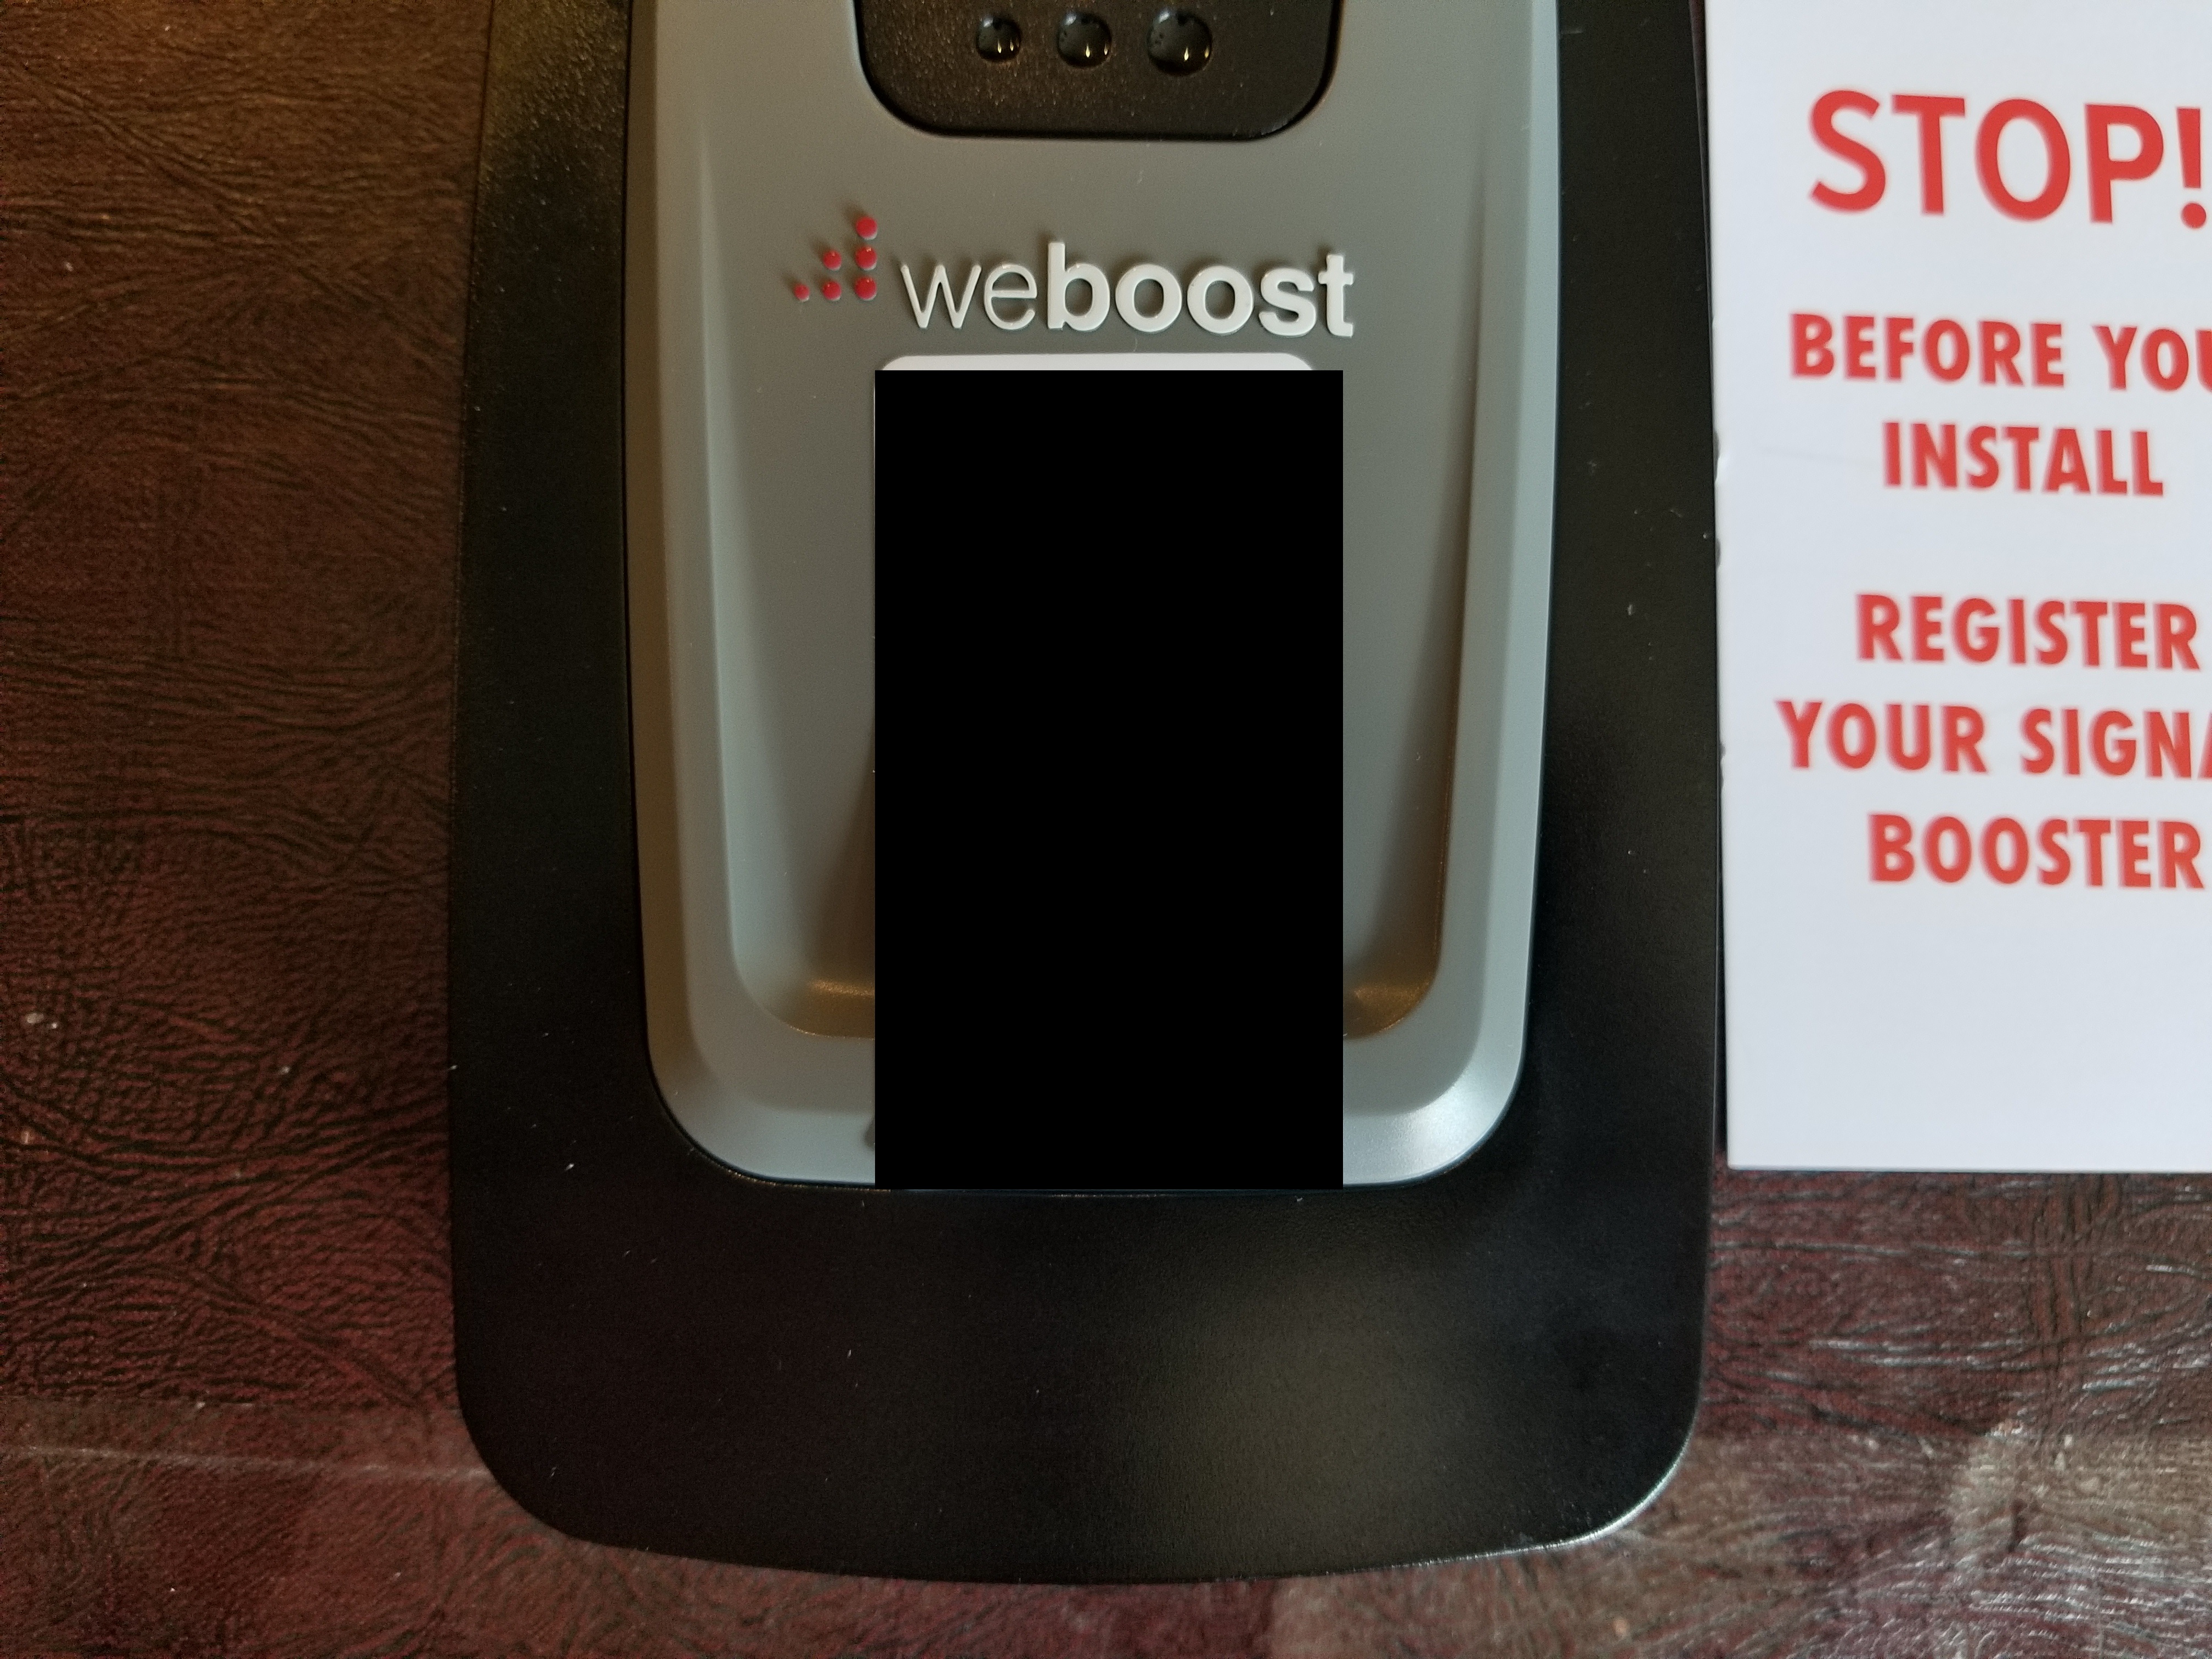
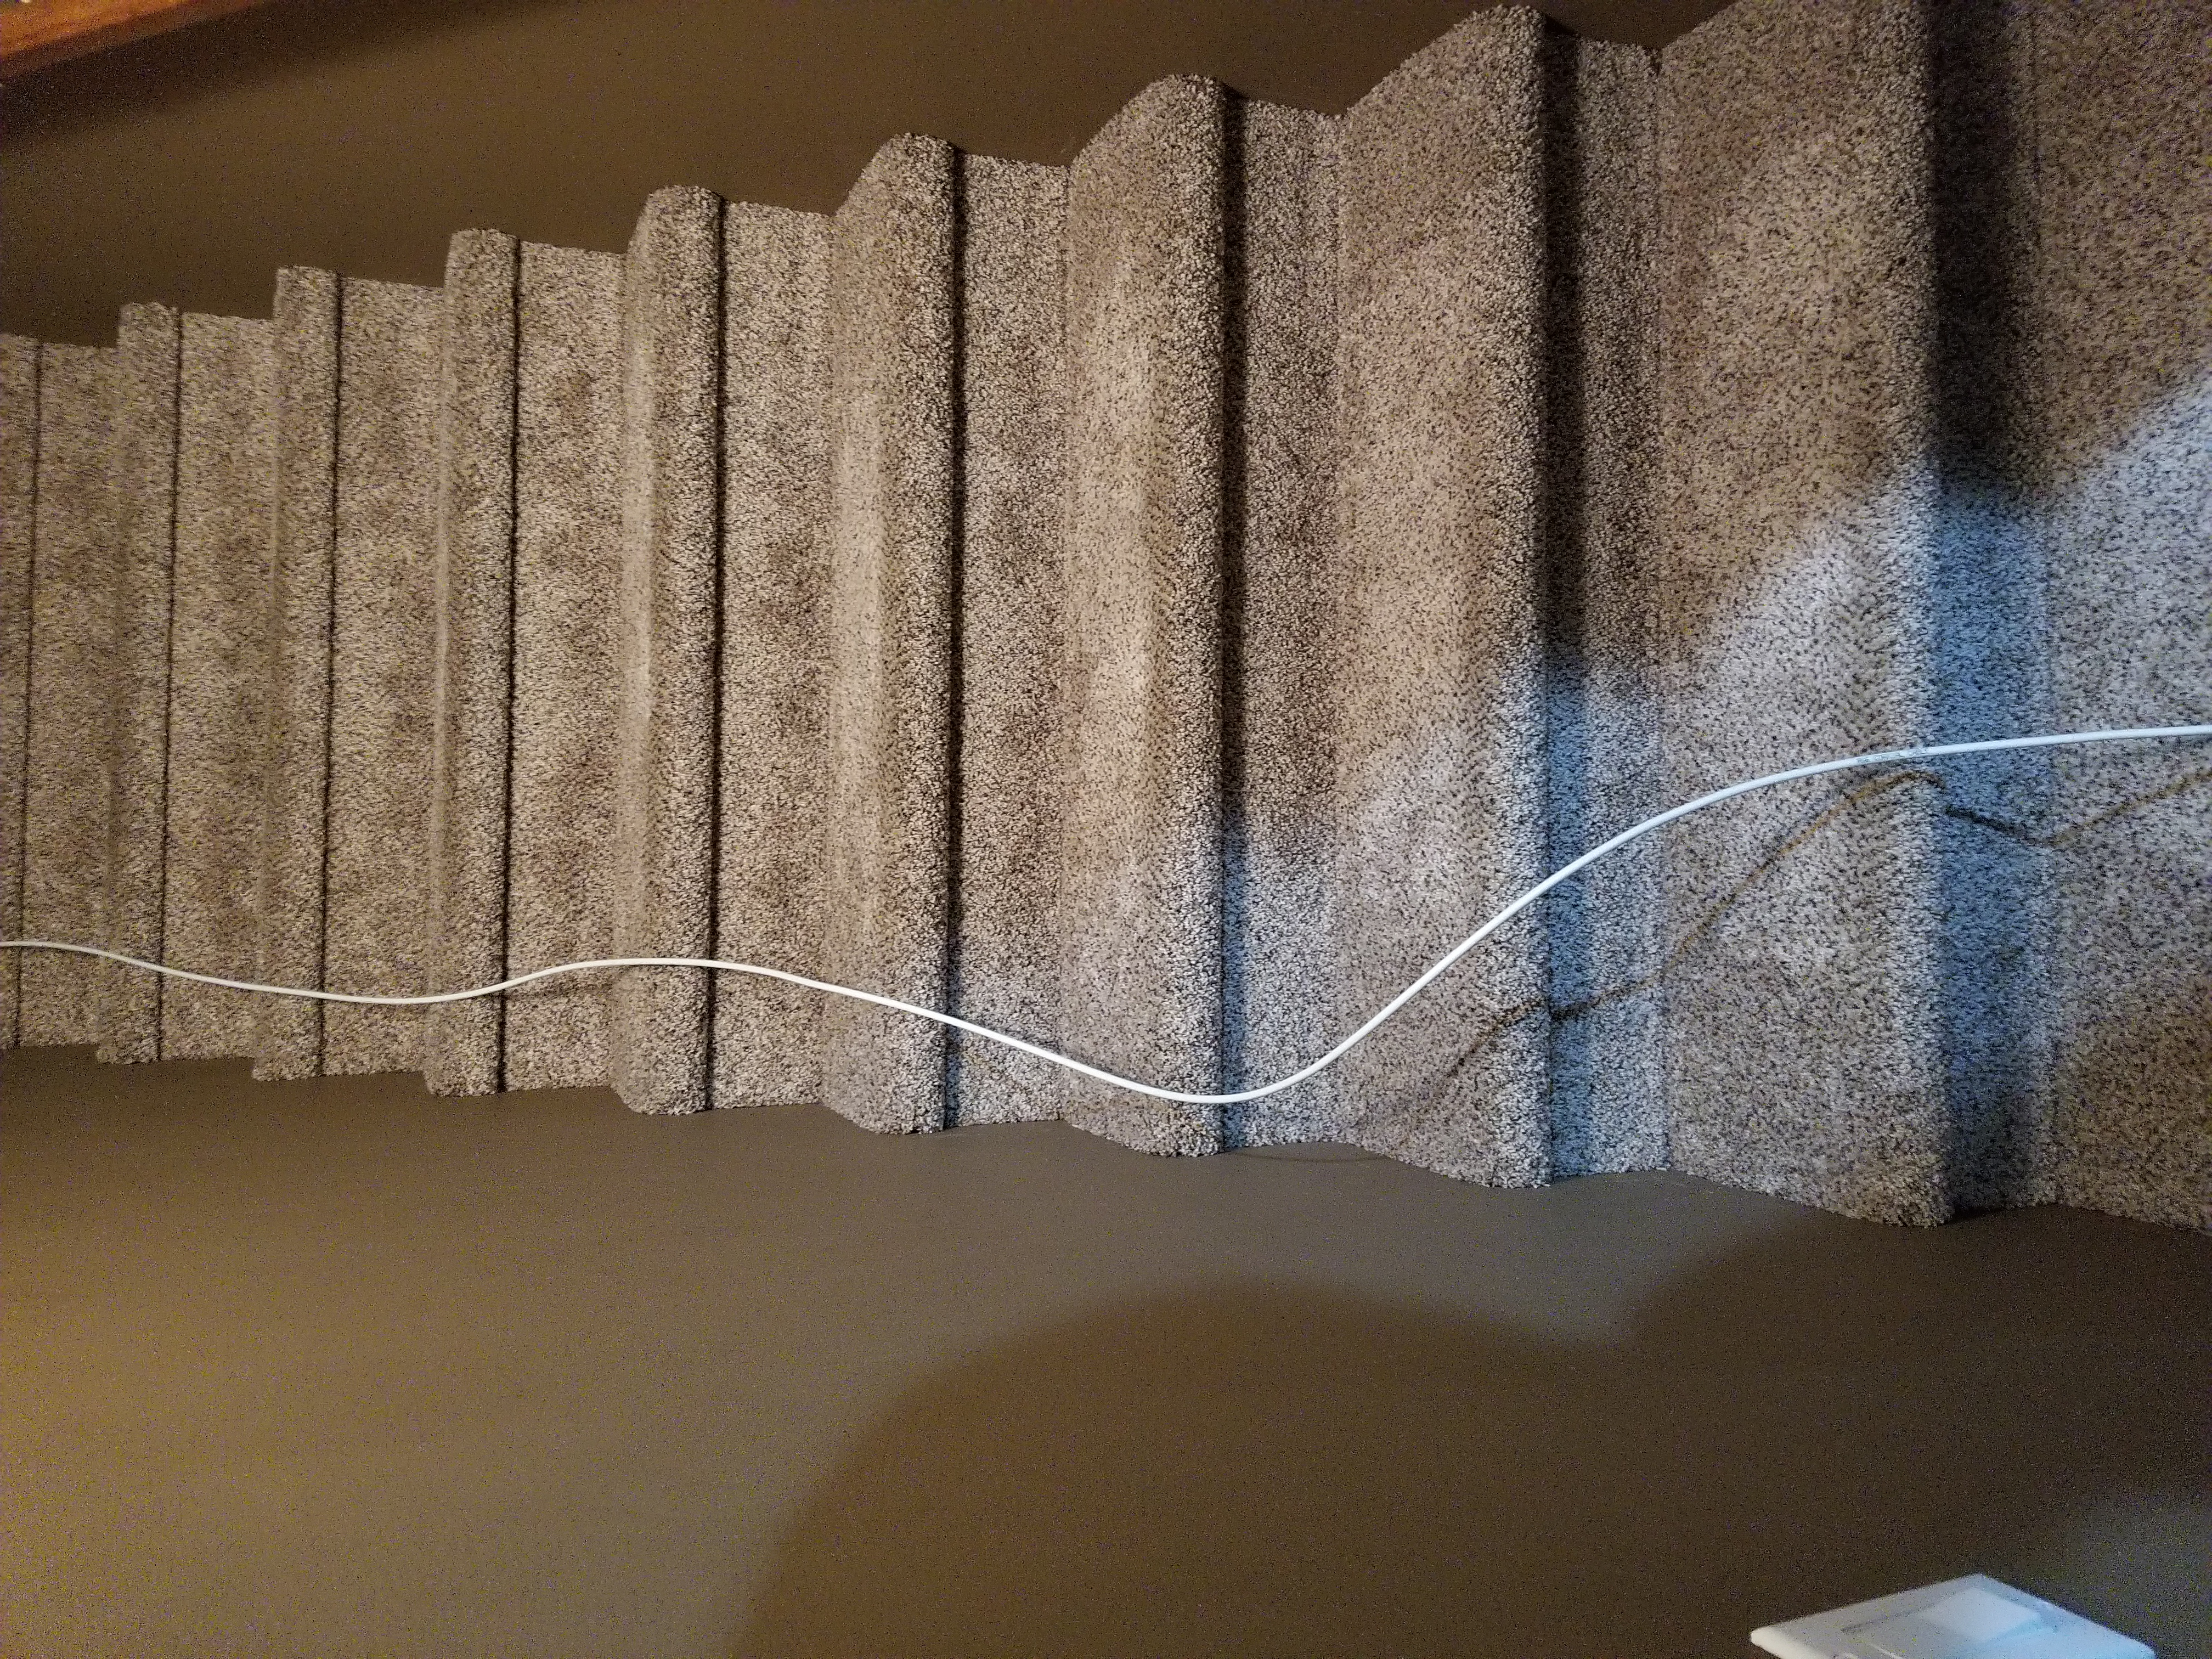
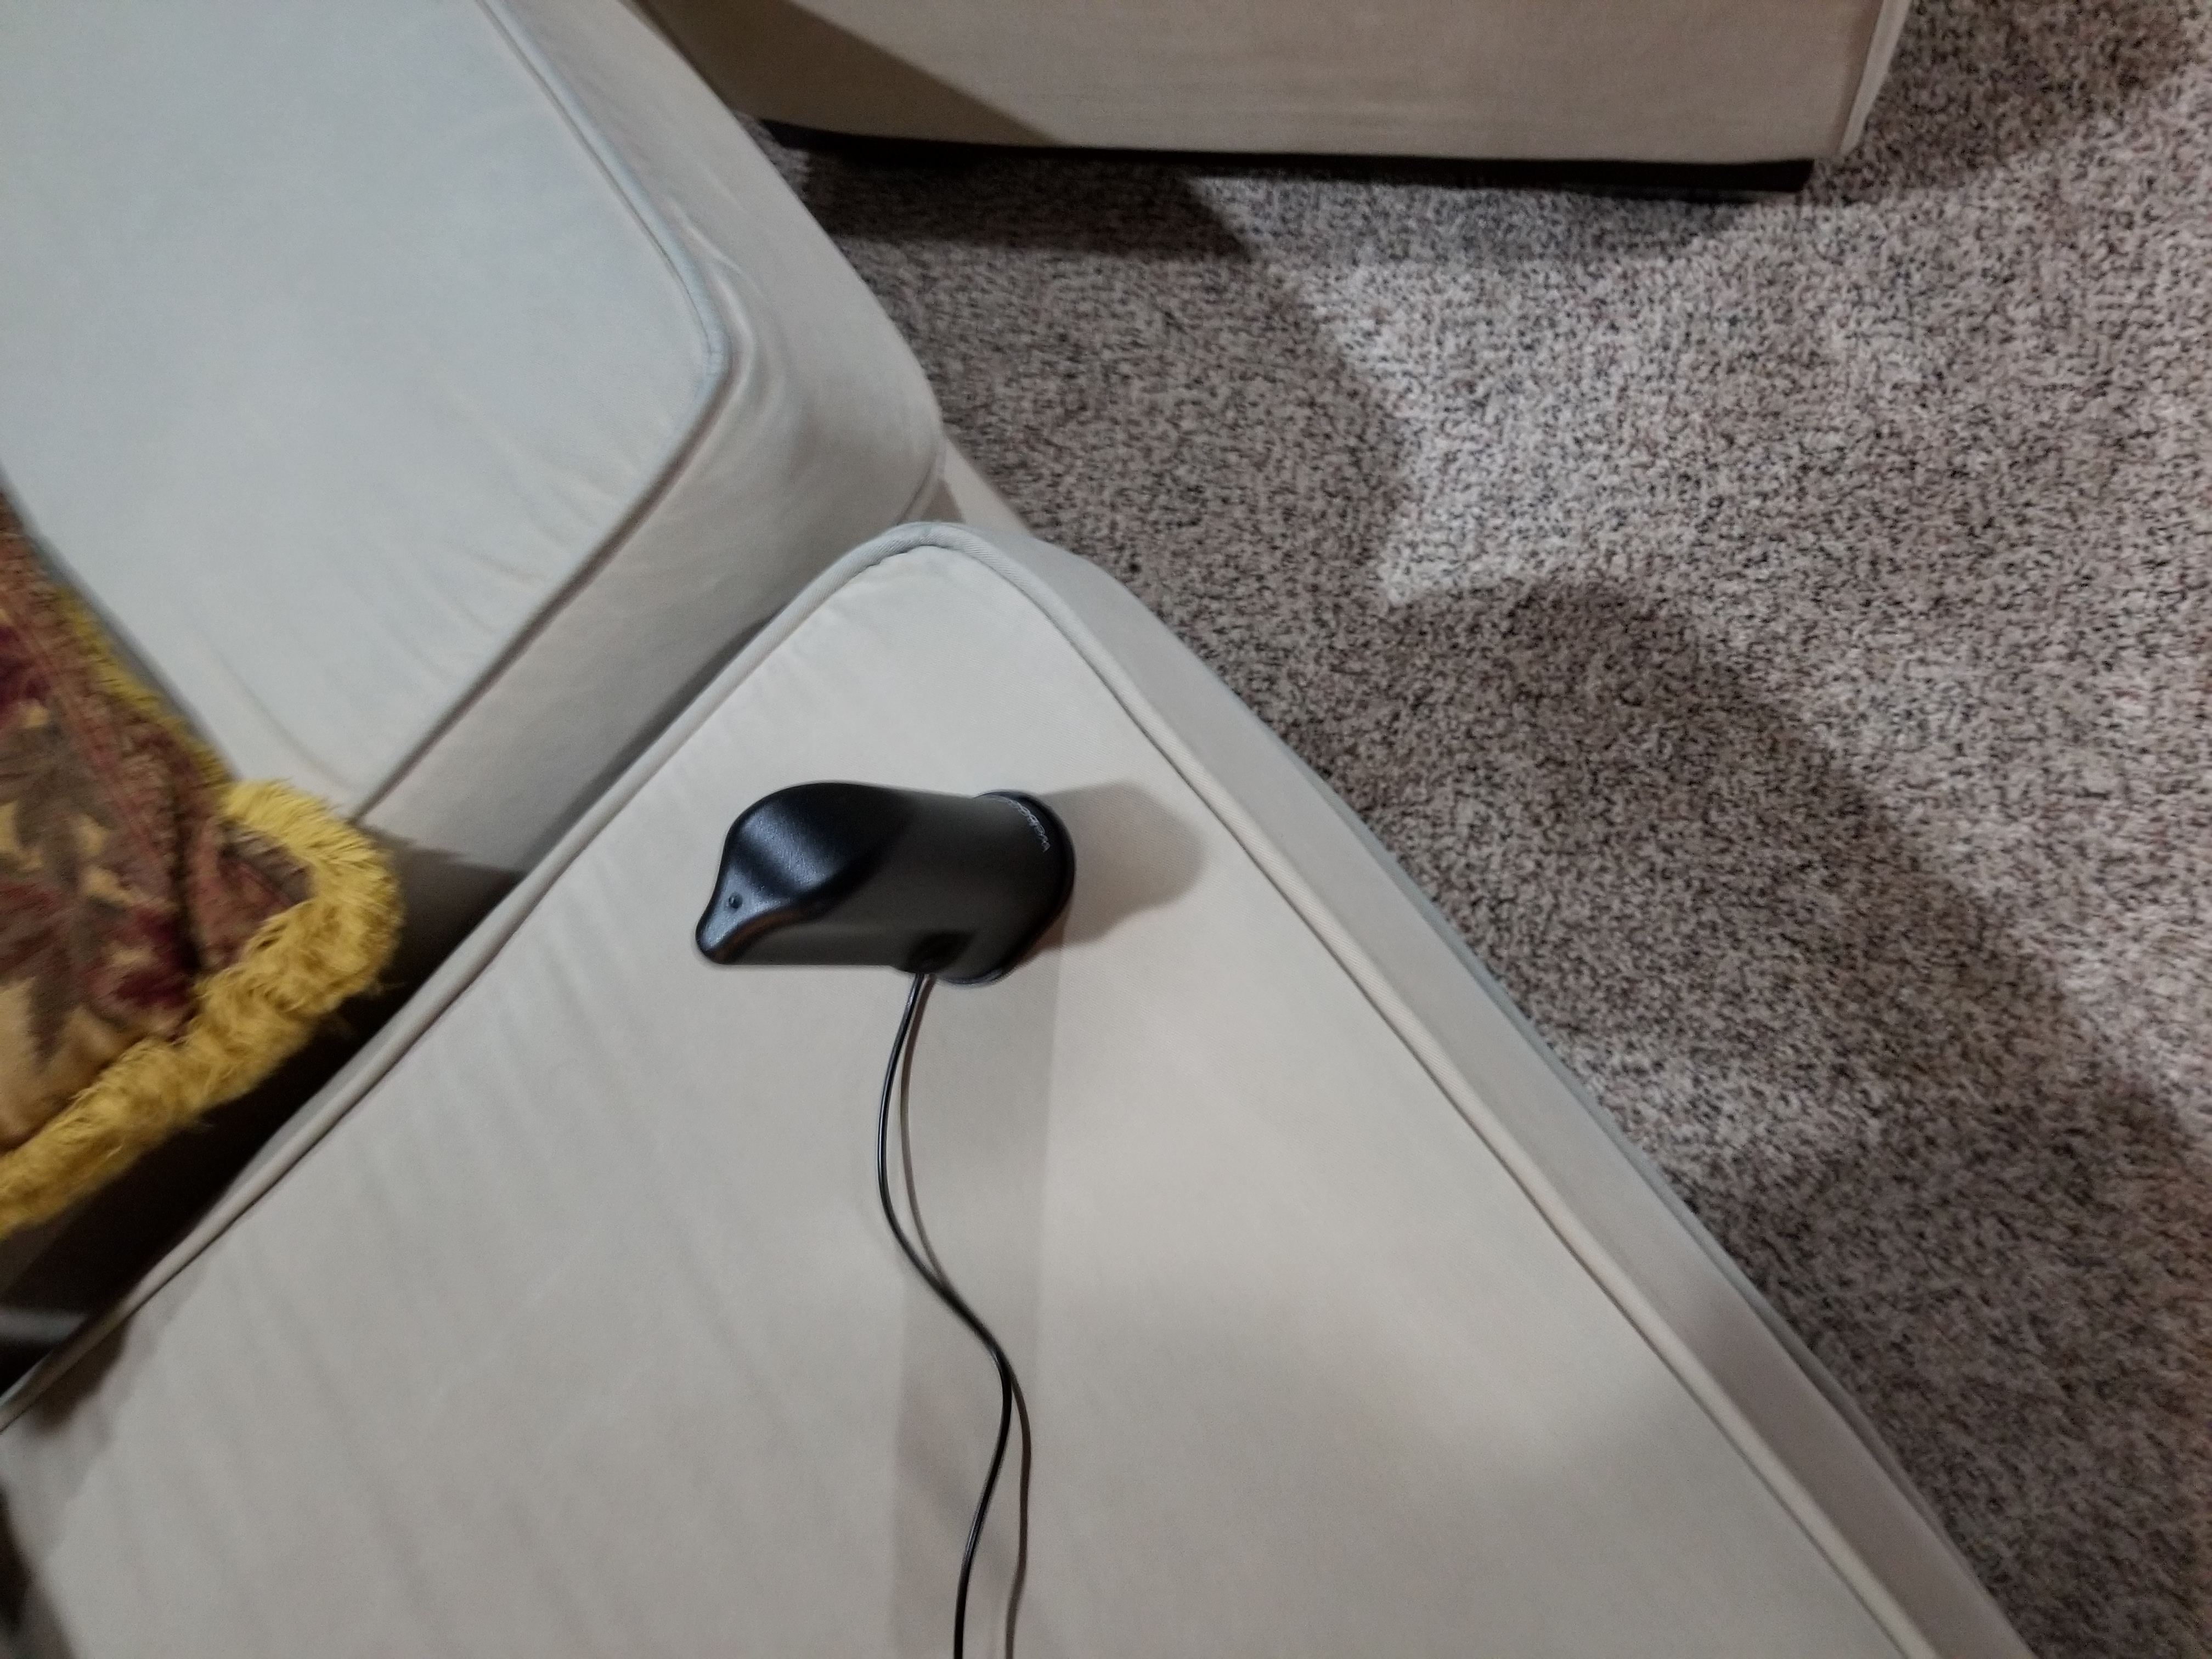
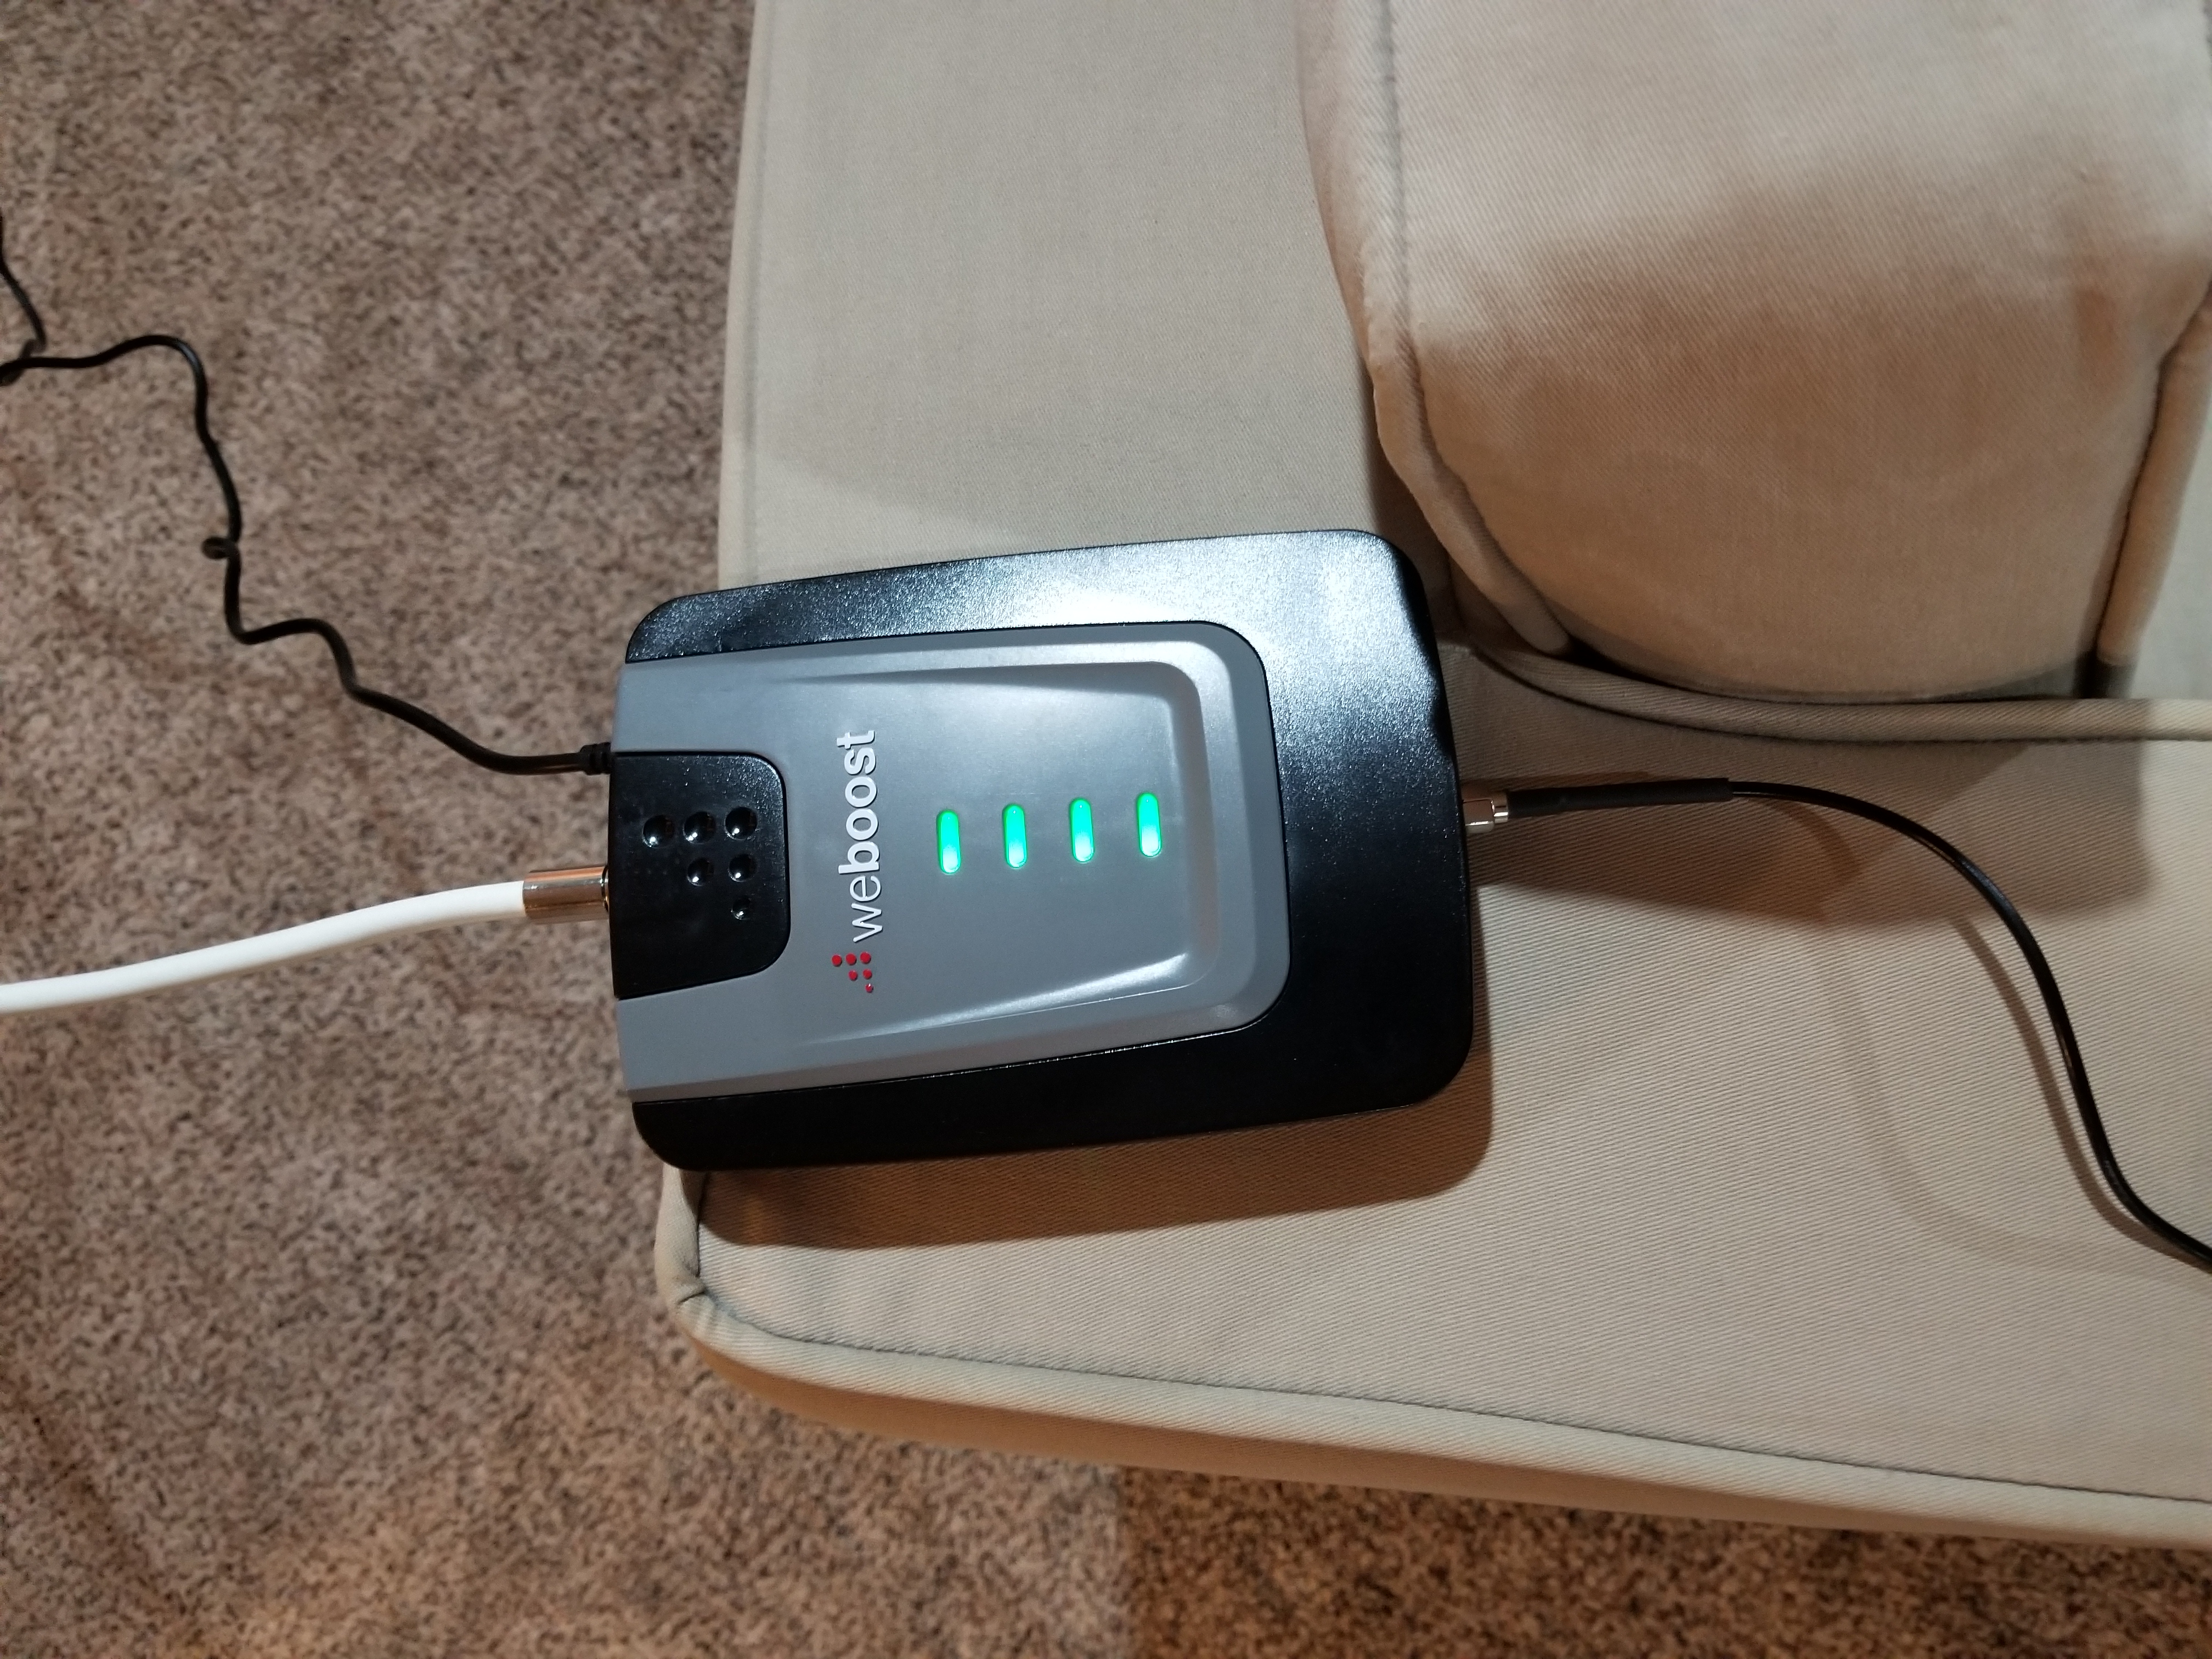
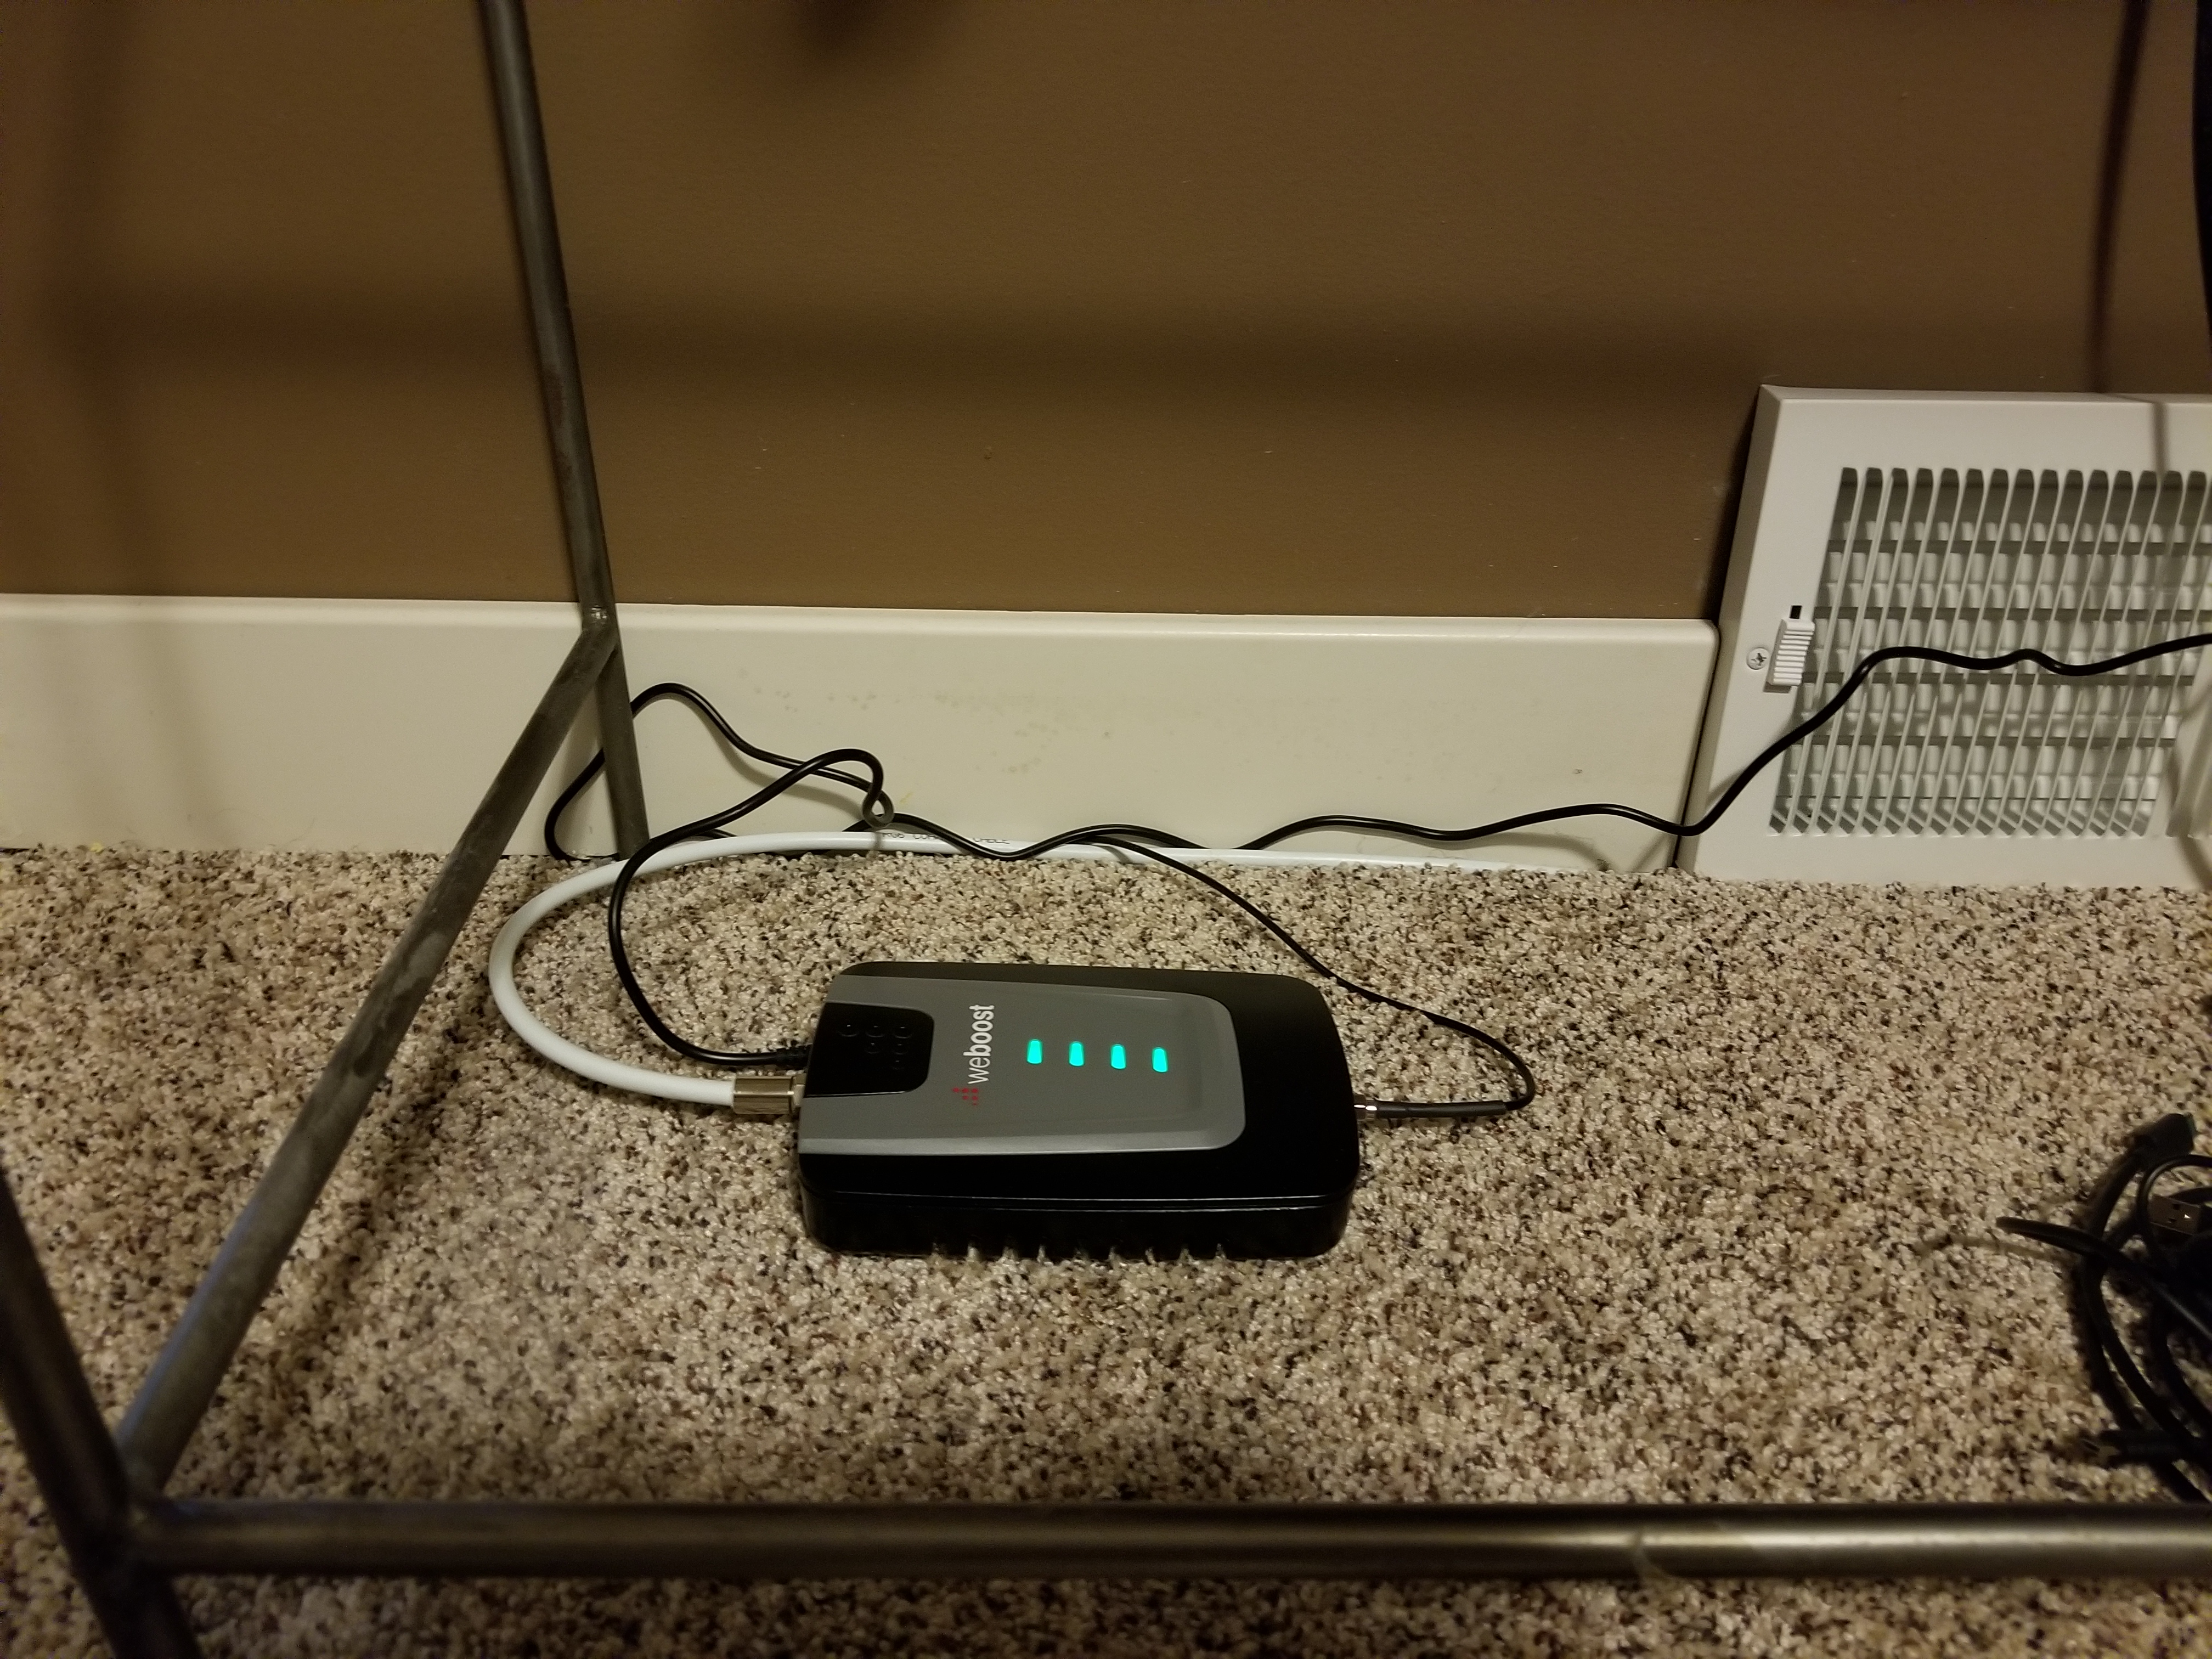
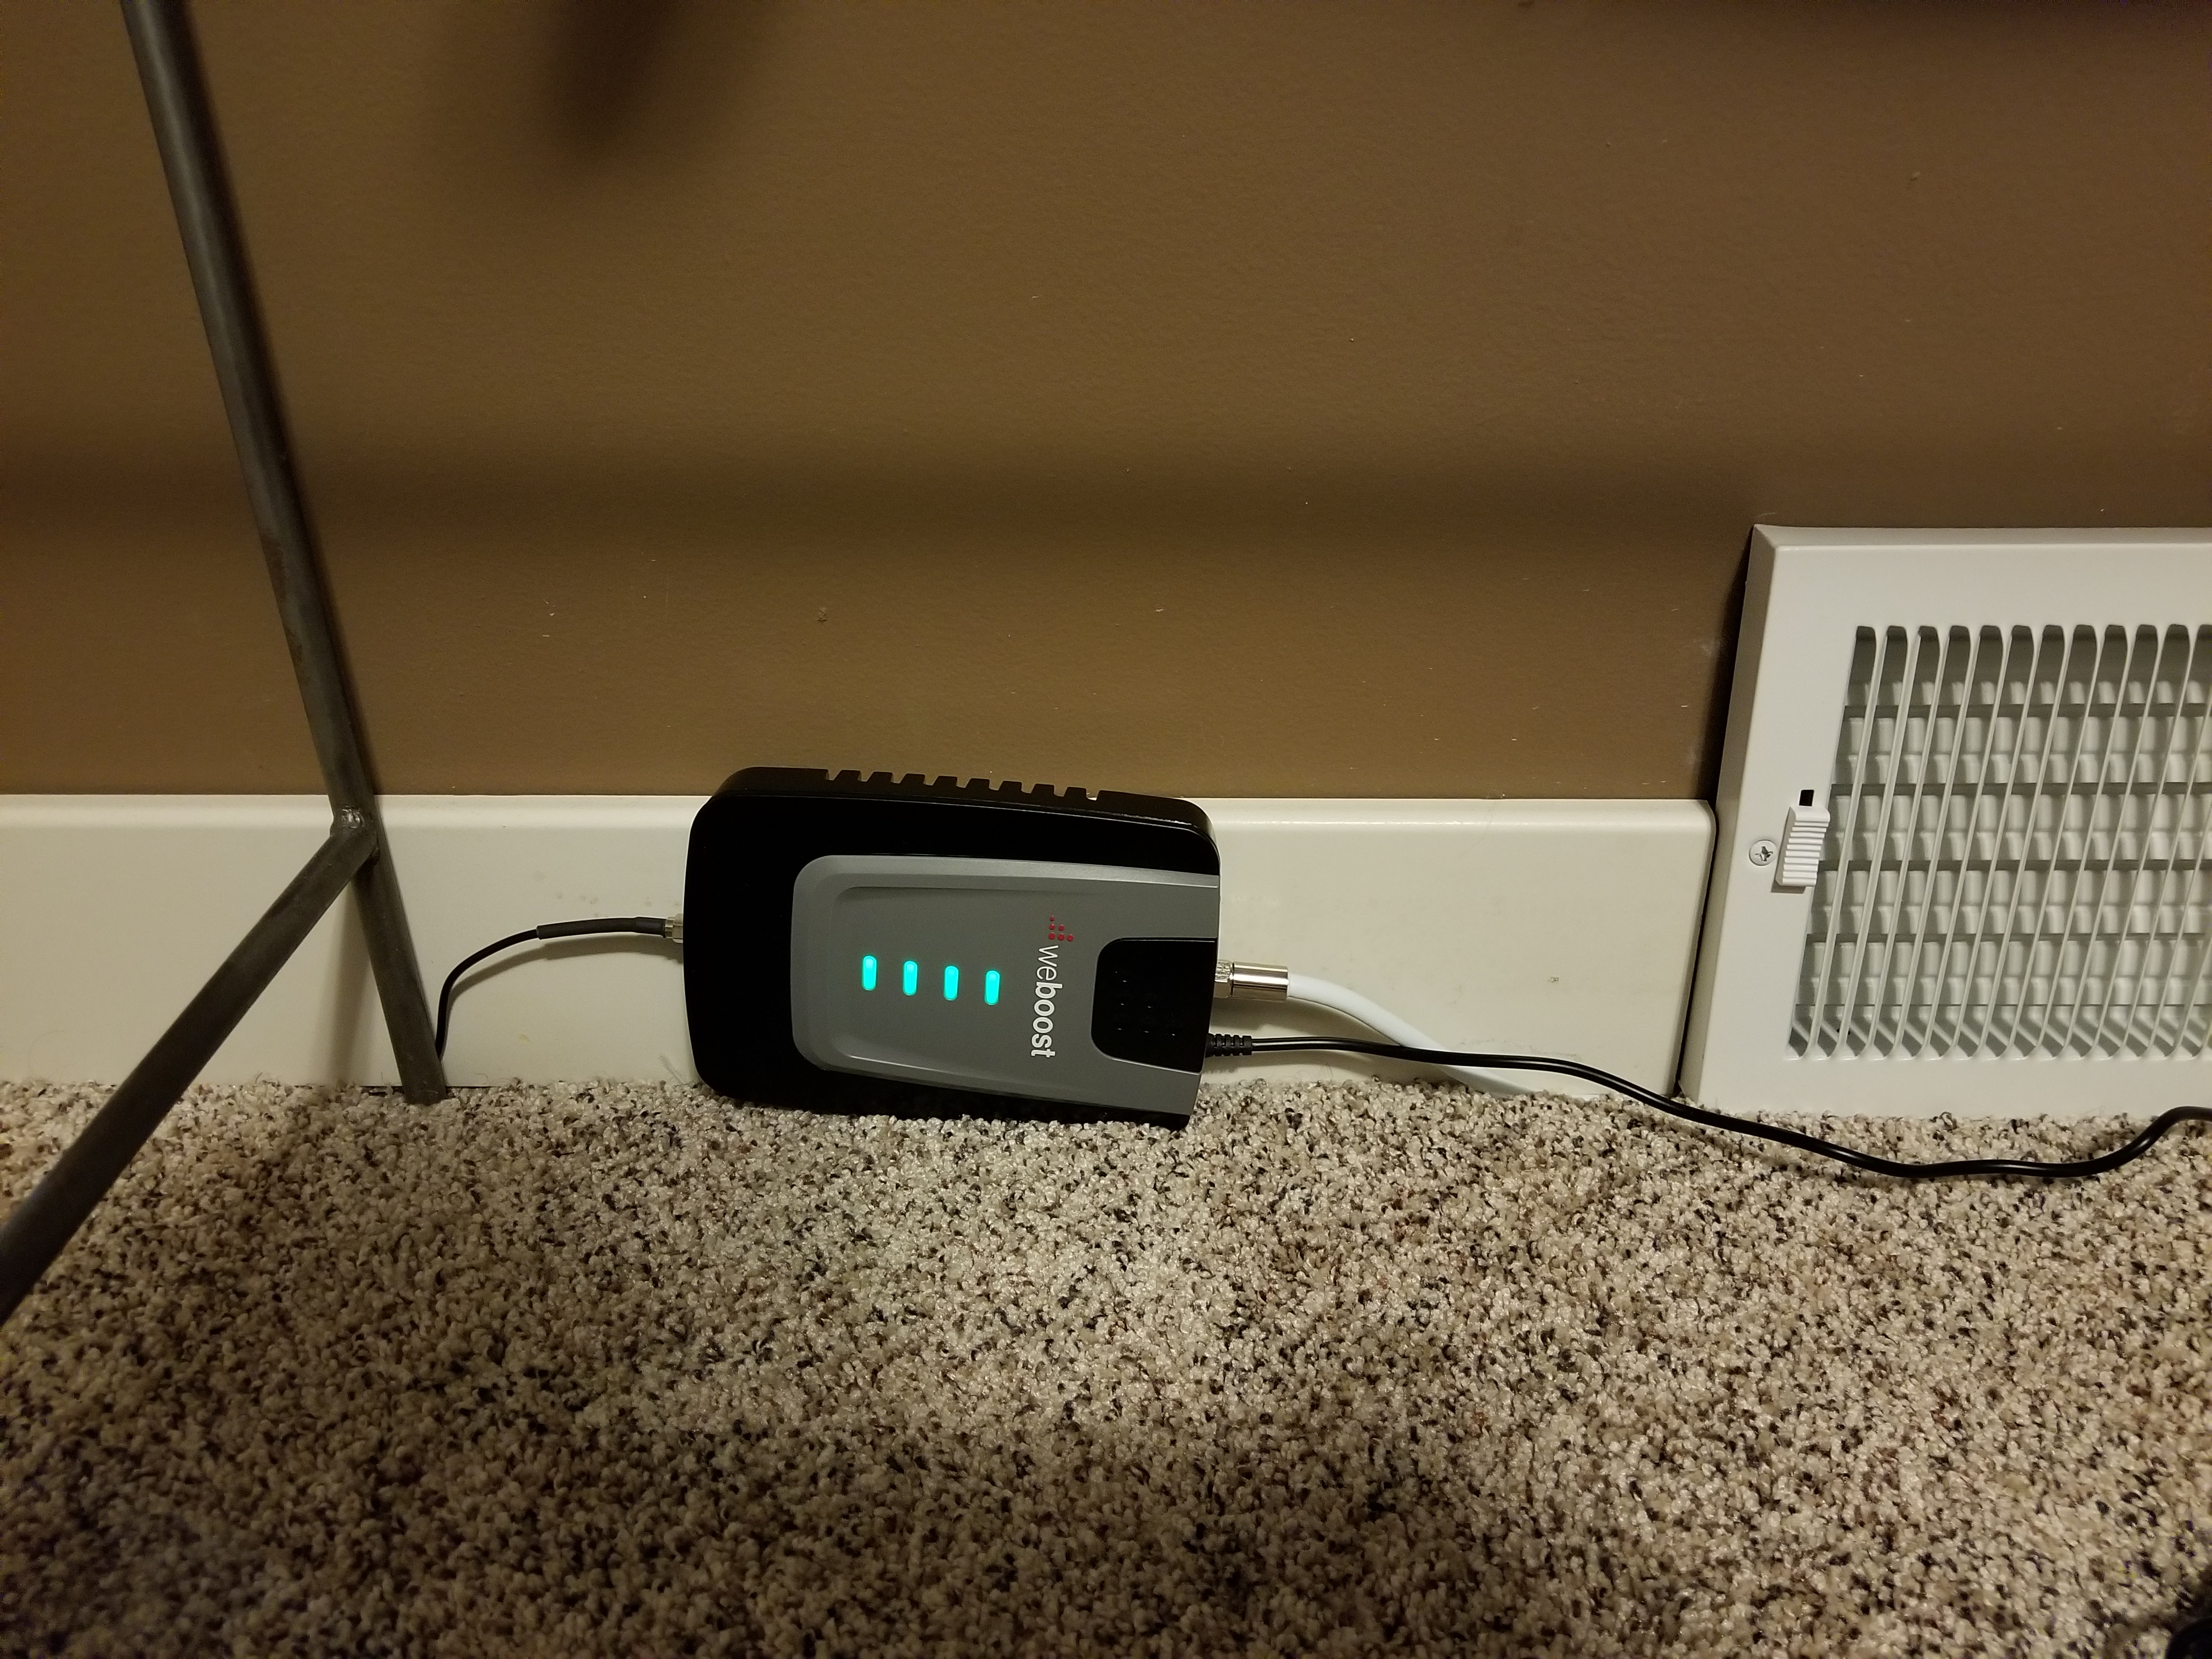
Here’s some pictures from unboxing and testing. Please click on the image to see a larger version of the image:

weBoost Home 4G 470101 Cell Booster Kit

weBoost Home 4G 470101 Cell Booster Unboxed
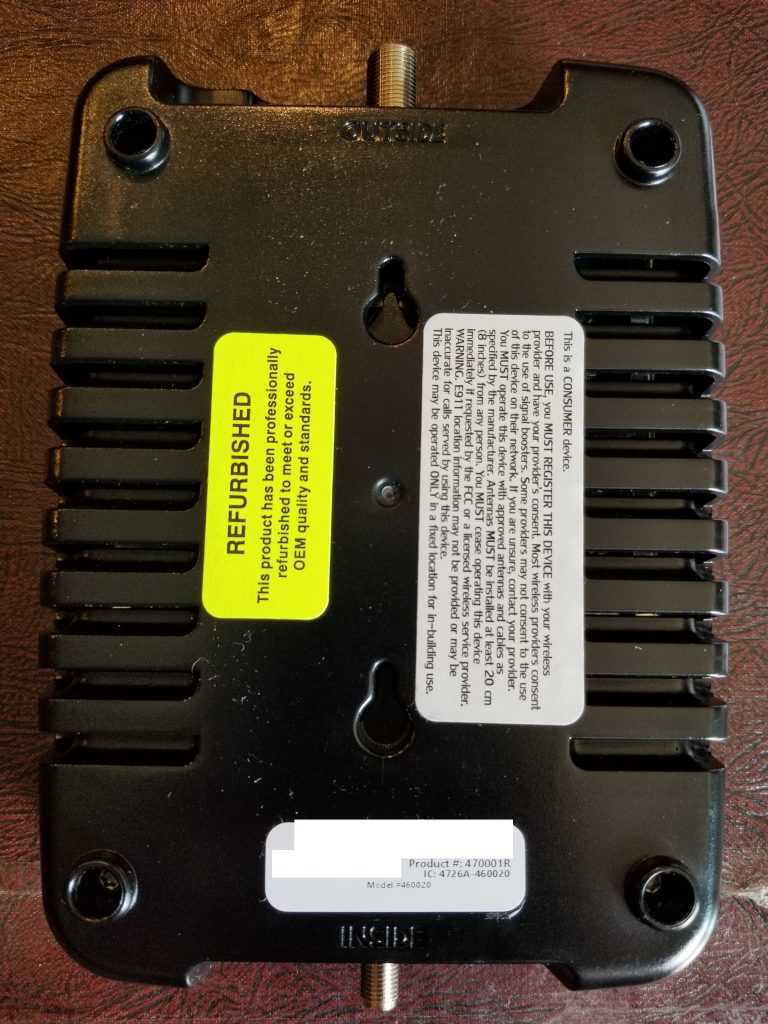
weBoost Home 4G 470101 Cell Booster Refurbished
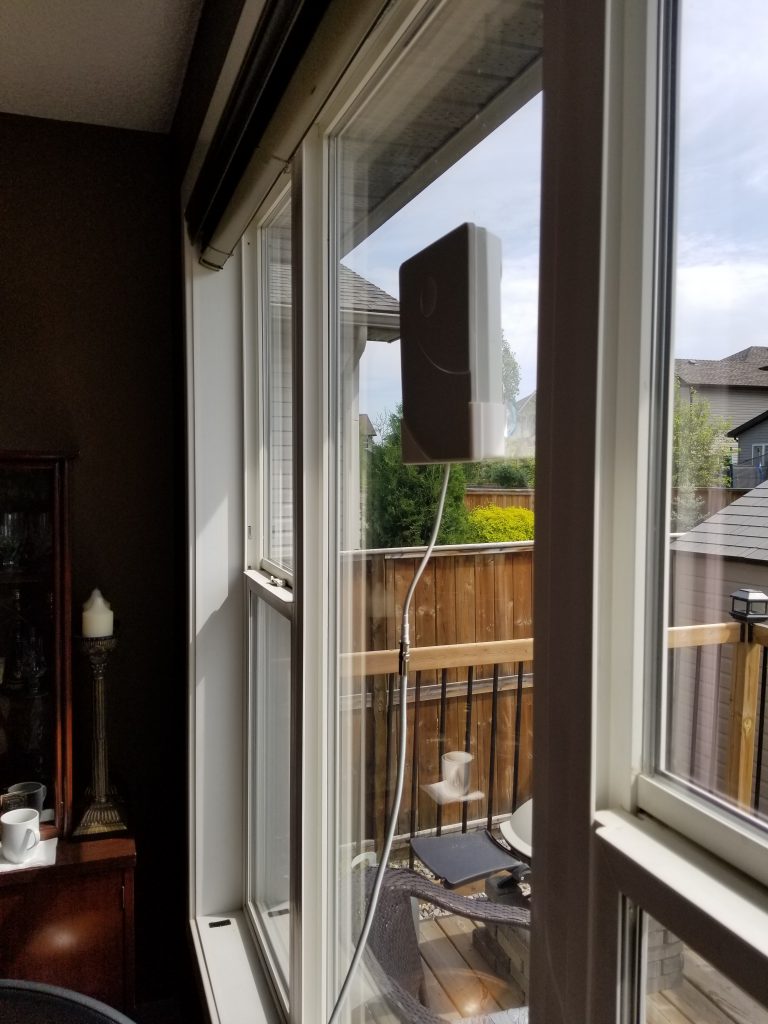
weBoost Home 4G 470101 Cell Booster Outside Antenna mounted on Window
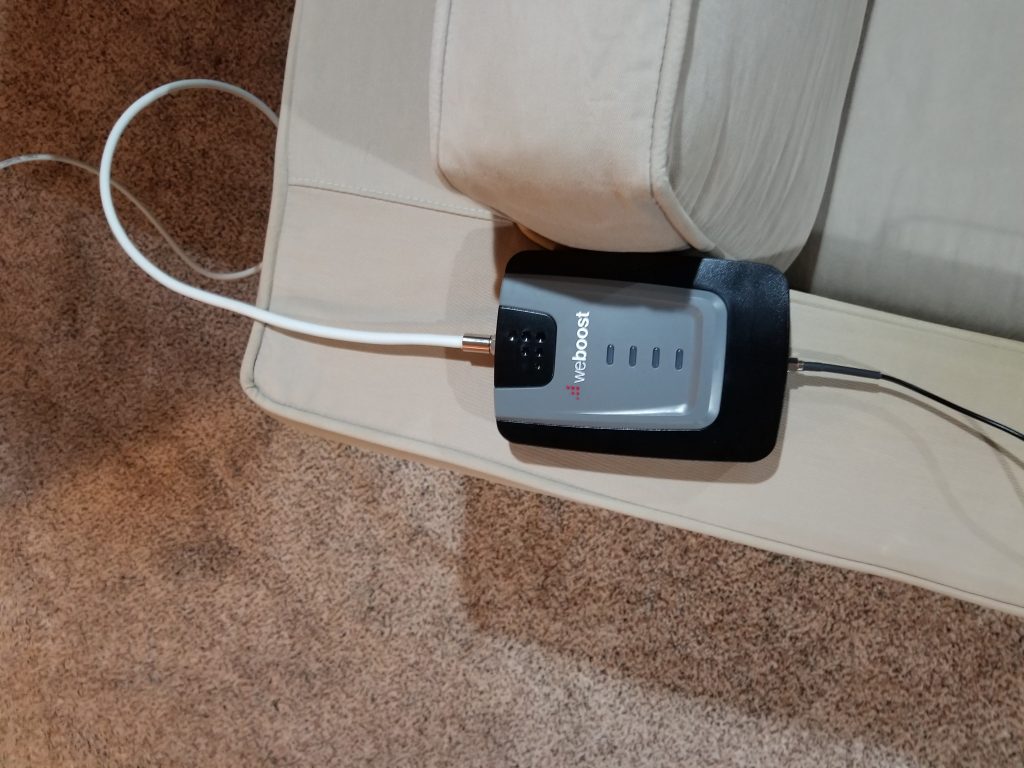
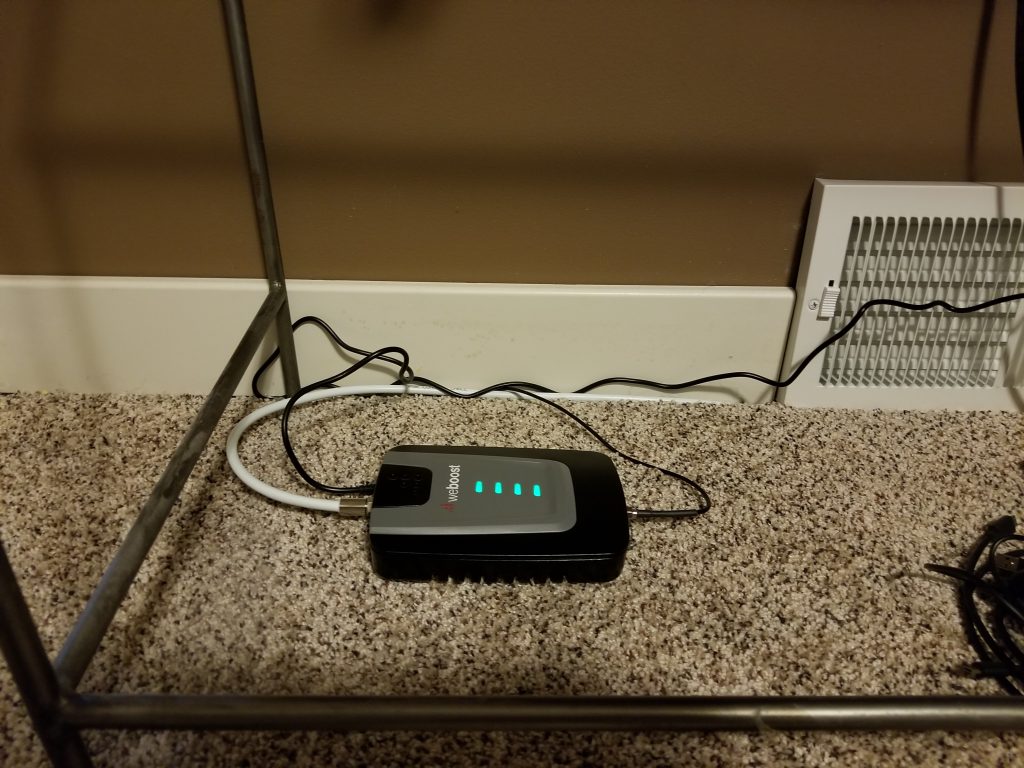
weBoost Home 4G 470101 Cell Booster

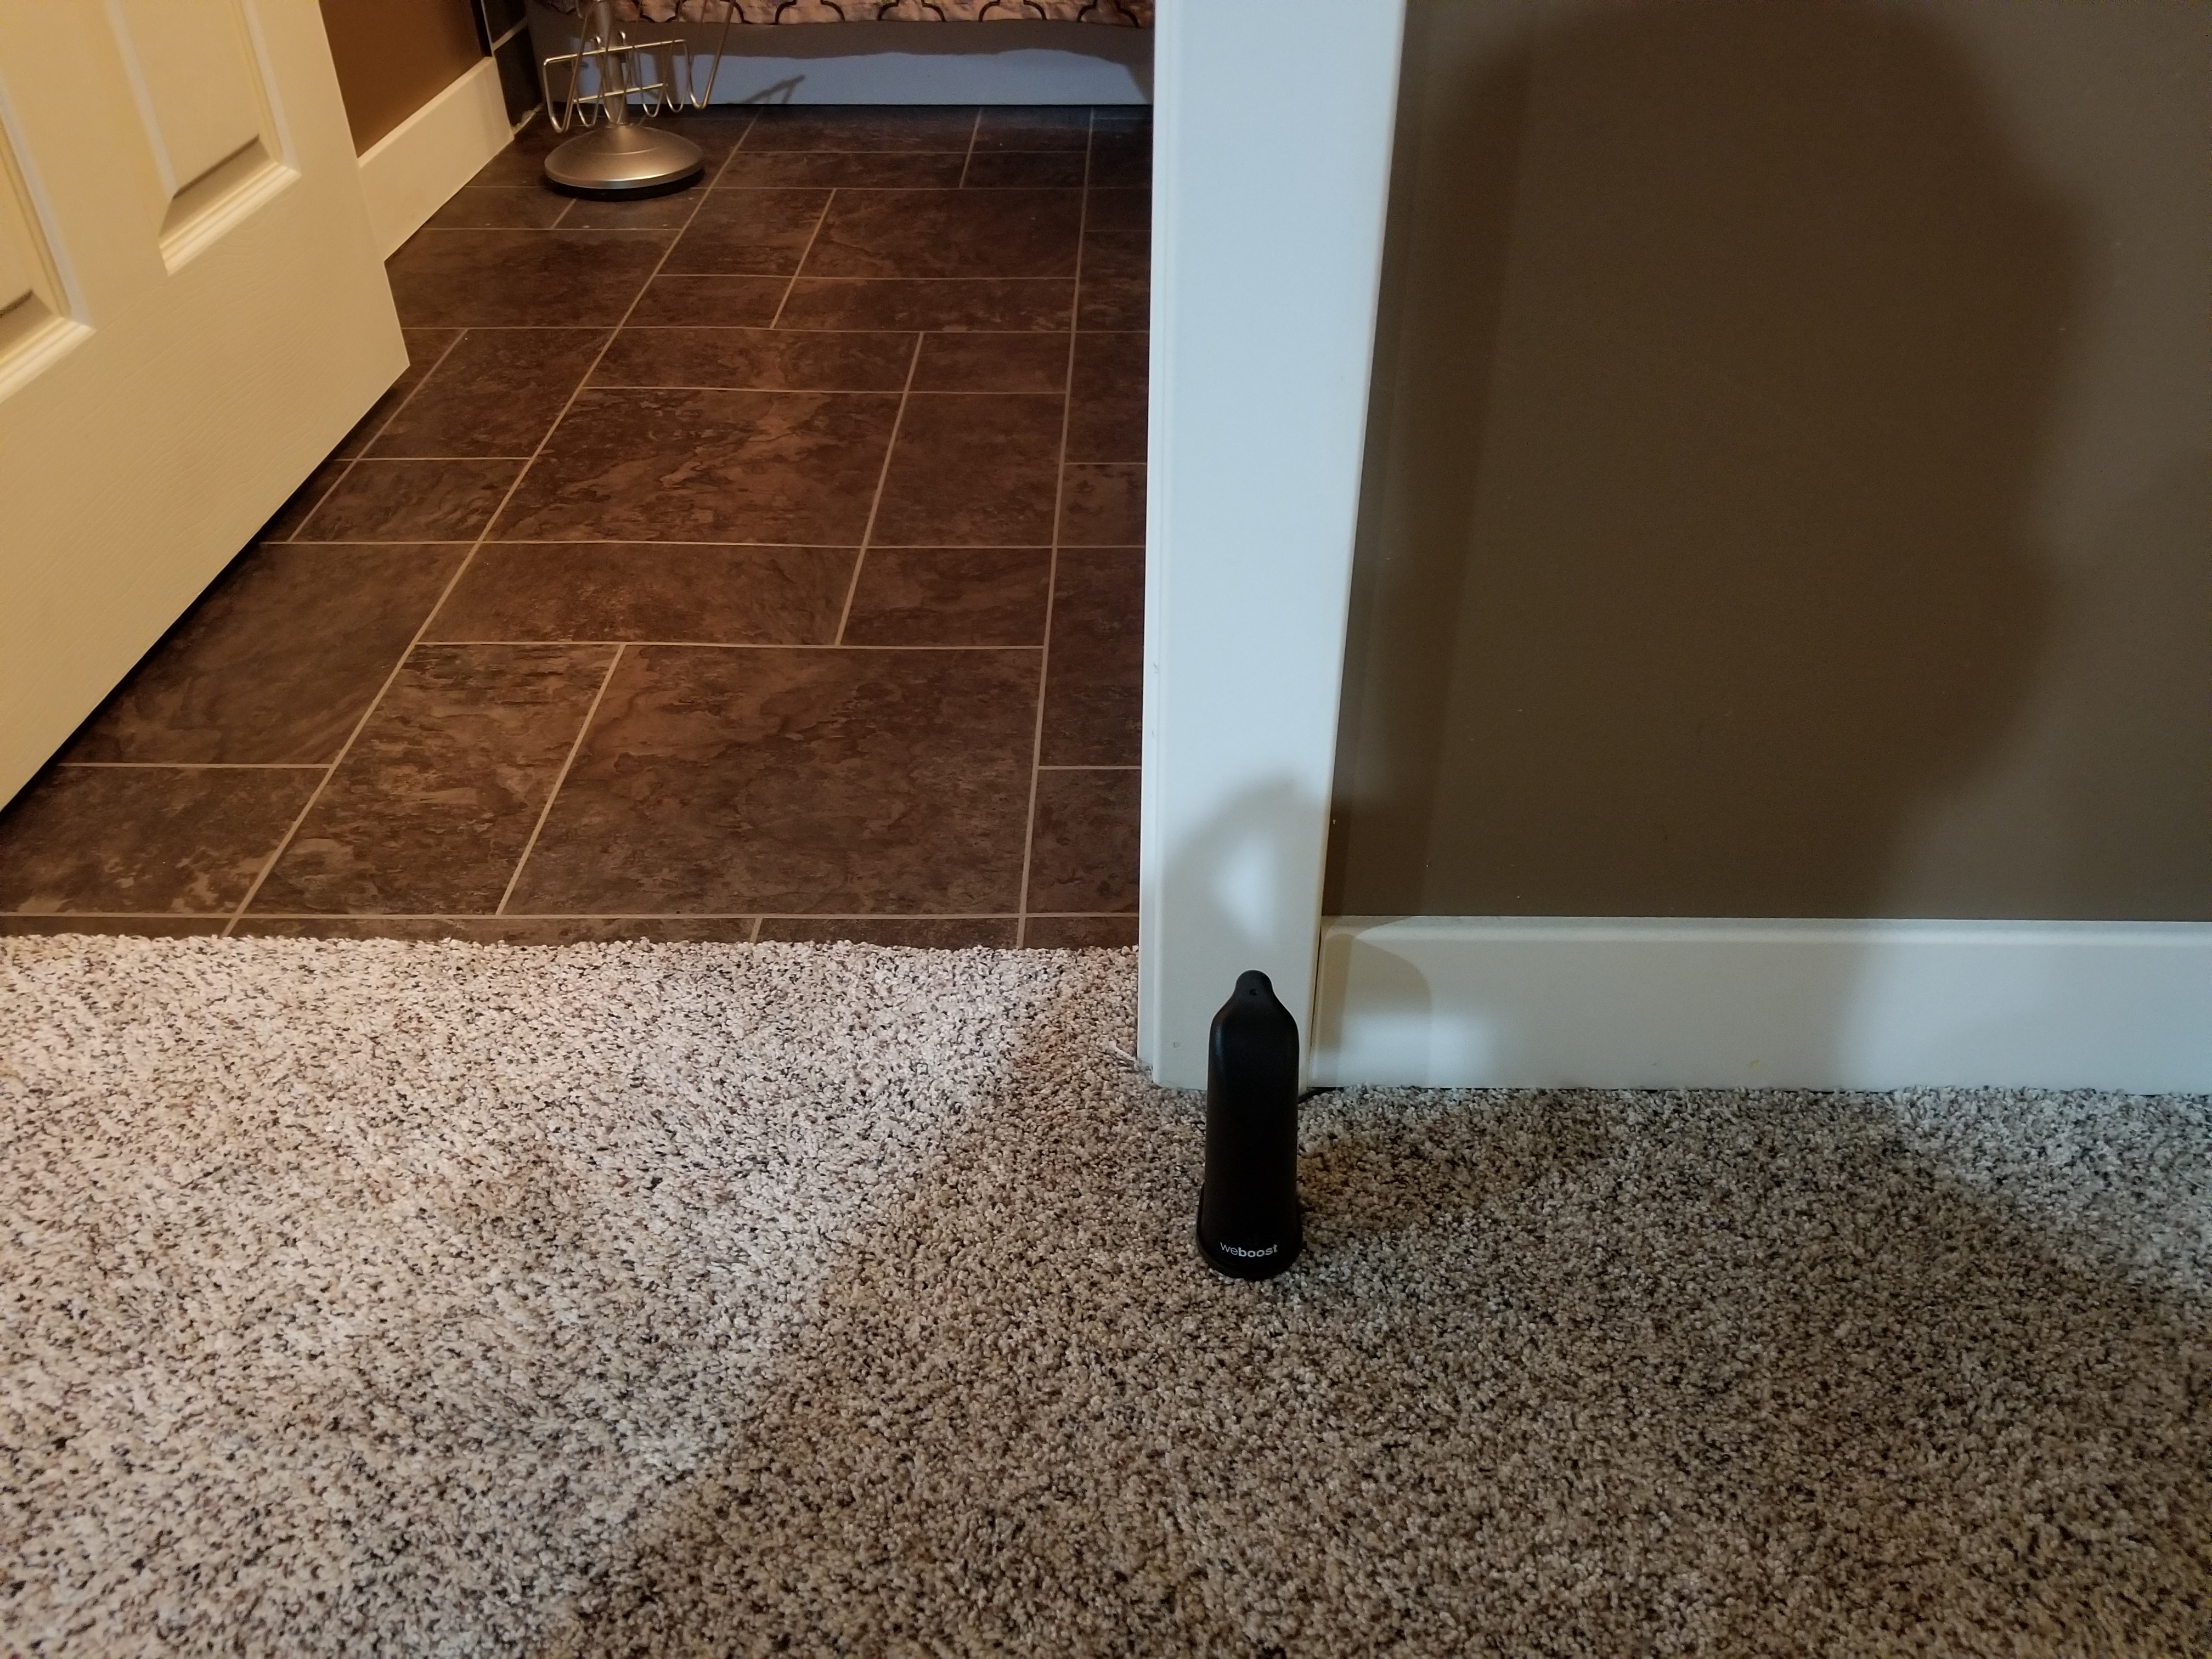
weBoost Home 4G 470101 Cell Booster Inside Antenna
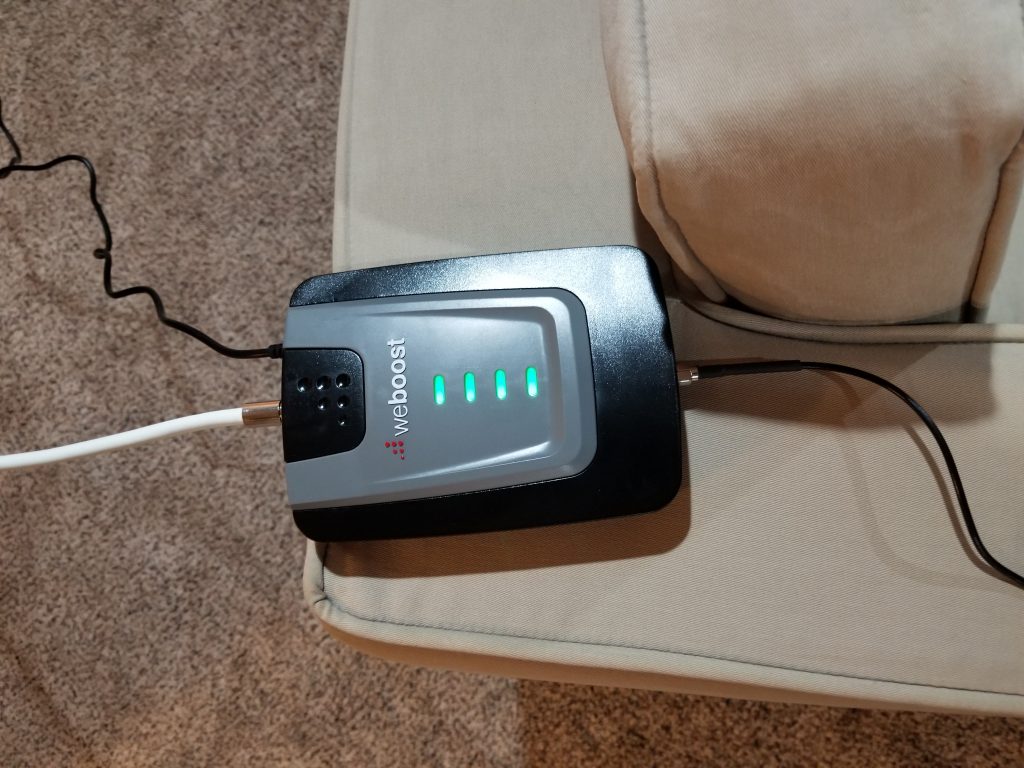
weBoost Home 4G 470101 Cell Booster Turned on with full Green LED lights (operational)
And BAM! That was it, literally on the first test it worked great. Full bars in the basement with my main carrier! I tried a few other locations, and found at an alternative location, my other cell provider (I have 2 phones, with two providers), started to function as well!
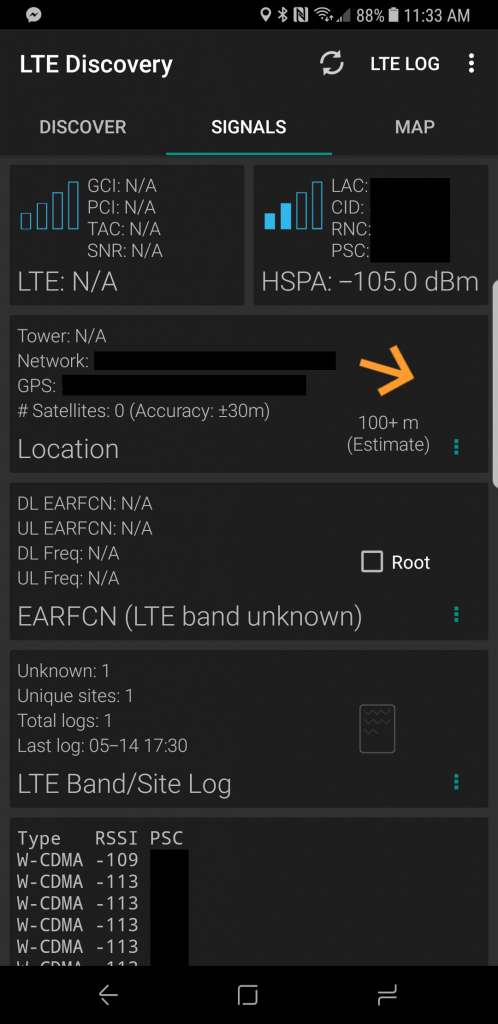
See below for reception before and after:
-
-
Before Wilson 470101 Cell Booster
-

-
After Wilson 470101 Cell Booster
As you can see there was a vast improvement! I tested it with phone calls, texts, MMS messages, and data, and it all worked fantastic! All lights on the booster were green (orange and/or red lights mean adjustments are needed).
Now since testing was complete, I decided to install it to make it look neat and tidy and hide all the wires.
I decided to leave it using the window mount since it was working so well (this was to avoid having to get on the roof, or drill in to the house). Underneath the window I have a cool-air intake so I was able to fish the antenna wire through the ventilation duct down to the basement. I was able to make everything look neat and tidy.
Below pics are final install:
Installed weBoost Home 4G 470101 Cell Booster

Installed weBoost Home 4G 470101 Cell Booster

Installed weBoost Home 4G 470101 Cell Booster Inside Antenna
The entire process was extremely easy and I’m very happy with the result. I’d highly recommend this to anyone with reception issues. This should be able to help as long as there is faint reception. Please note, if you’re in an area with absolutely no reception, then a booster will not function as there is nothing to boost.
You’ll probably need two people, both for testing the signal and adjusting the antenna, as well as fishing cable through your house. Most of the time required for my install was associated with running the wiring.
For testing signal strength, I used the “LTE Discovery” app on Android (https://play.google.com/store/apps/details?id=net.simplyadvanced.ltediscovery)
Update – August 22nd 2018 – I moved to an outdoor roof mount and the blog post can be found here: https://www.stephenwagner.com/2018/08/19/roof-mounted-antenna-wilson-weboost-home-4g-cell-booster-project/
Update – July 28th, 2019 – So here I am two years later. I live and swear by this signal booster. Since the original post, new towers have been erected in the area, however the coverage is still minimal and non-existant in the house. The roof mount (as discussed in the update above), as well as the signal booster provides me 100% full reception. The only issue I had is the power adapter (transformer) fried one day during a lightning storm. Replacing the power adapter resolved the issue and was an easy fix. For the 2 days I waited for the power adapter, I had no reception.