You have VMware Horizon View deployed along with Duo Multi-Factor Authentication (2FA, MFA), and you’re you having user experience issues with 10ZiG Zero Clients and multiple login dialog boxes and planning on how to deal with the MFA logins.
I spent some time experimenting with numerous different settings trying to find the cleanest workaround that wouldn’t bother the user or mess up the user experience. I’m going to share with you what I came up with below.
If you’re interesting in 10ZiG products and looking to buy, don’t hesitate to reach out to me for information and/or a quote! We can configure and sell 10ZiG Zero Clients (and thin clients), help with solution design and deployment, and provide consulting services! We sell and ship to Canada and the USA!
The Issue
When you have DUO MFA deployed on VMware Horizon, you may experience login issues when using a 10ZiG Zero Client to access the View Connection Server. This is because the authentication string (username, password, and domain) aren’t passed along correctly from the 10ZiG Login Dialog Box to the VMware Horizon View Client application.
Additionally, when DUO is enabled on VMware View (as a RADIUS authentication), there is no domain passed along inside of the DUO login prompt on the view client.
This issue is due to limitations in the VMware Horizon View Linux Client. This issue will and can occur on any system, thin-client, or Zero Client that uses a command string to initialize a VMware View session where DUO is configured on the View Connection Server.
Kevin Greenway, the CTO at 10ZiG, reached out to say that they have previously brought this up with VMware as a feature request (to support the required functionality), and are hopeful it gets committed.
At this point in time, we’d like to recommend everyone to reach out to VMware and ask for this functionality as a feature request. Numerous simultaneous requests will help gain attention and hopefully escalate it on VMware’s priority list.
The Workaround
After troubleshooting this, and realizing that the 10ZiG VMware login details are completely ignored and not passed along to the VMware View client, I started playing with different settings to test the best way to provide the best user experience for logging in.
At first I attempted to use the Kiosk mode, but had issues with some settings not being passed from the 10ZiG Client to the View Client.
Ultimately I found the perfect tweaking of settings that created a seamless login experience for users.
The Settings
On the 10ZiG Zero Client, we view the “Login” details of the “VMware Horizon Settings” dialog box.
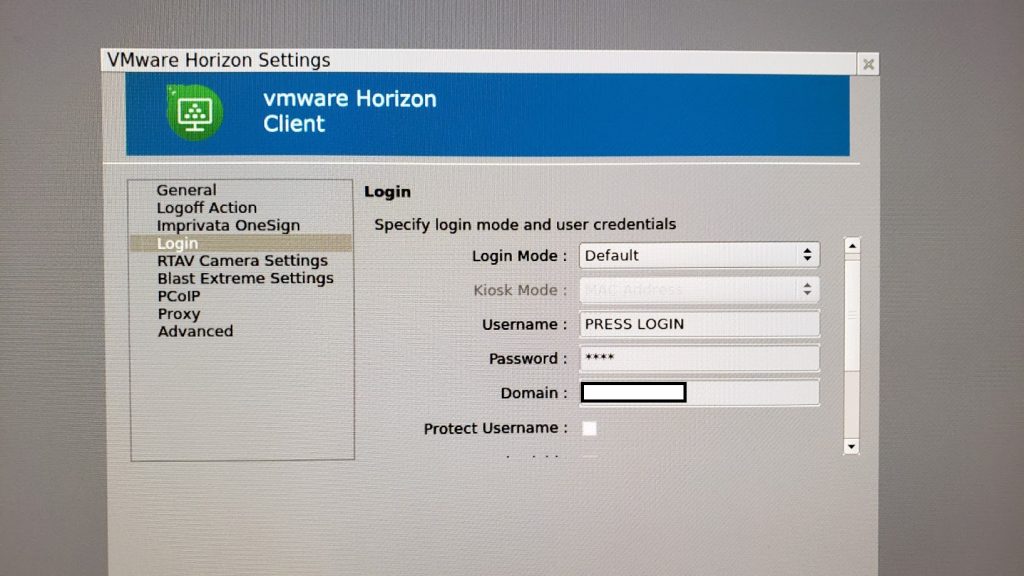
- Login Mode: Default
- Username: PRESS LOGIN
- Password: 1234
- Domain: YourDomain
Please Note: In the above, because DUO MFA is enabled, the “Username”, “Password” and “Domain” values aren’t actually passed along to the VMware View application on the Zero Client.
We then navigate to the “Advanced” tab, and enable the “Connect once” option. This will force a server disconnection (and require re-authentication) on a desktop pool logoff or disconnection.
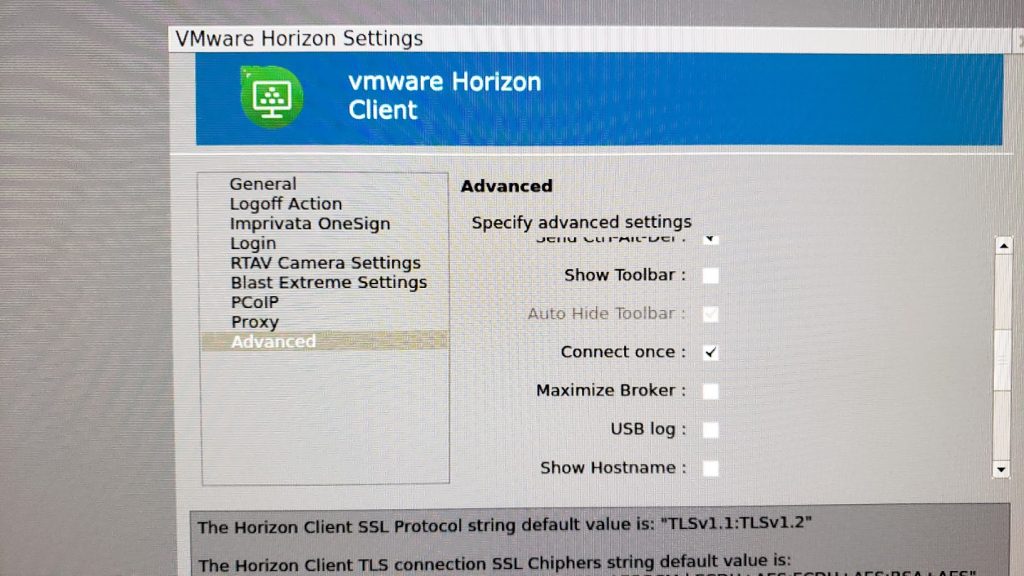
Please Note: This option is required so that when a user logs off, disconnects, or get’s cut off by the server, the Zero Client fully disconnects from the View Connection Server which causes re-authentication (a new password prompt) to occur.
The Login User Experience
So now that we’ve made the modifications to the Zero Client, I want to outline what the user experience will look like from Boot, to connection, to disconnection, to re-authentication.
- Turning on the 10ZiG Zero Client, you are presented with the DUO Login Prompt on the View Connection Server.
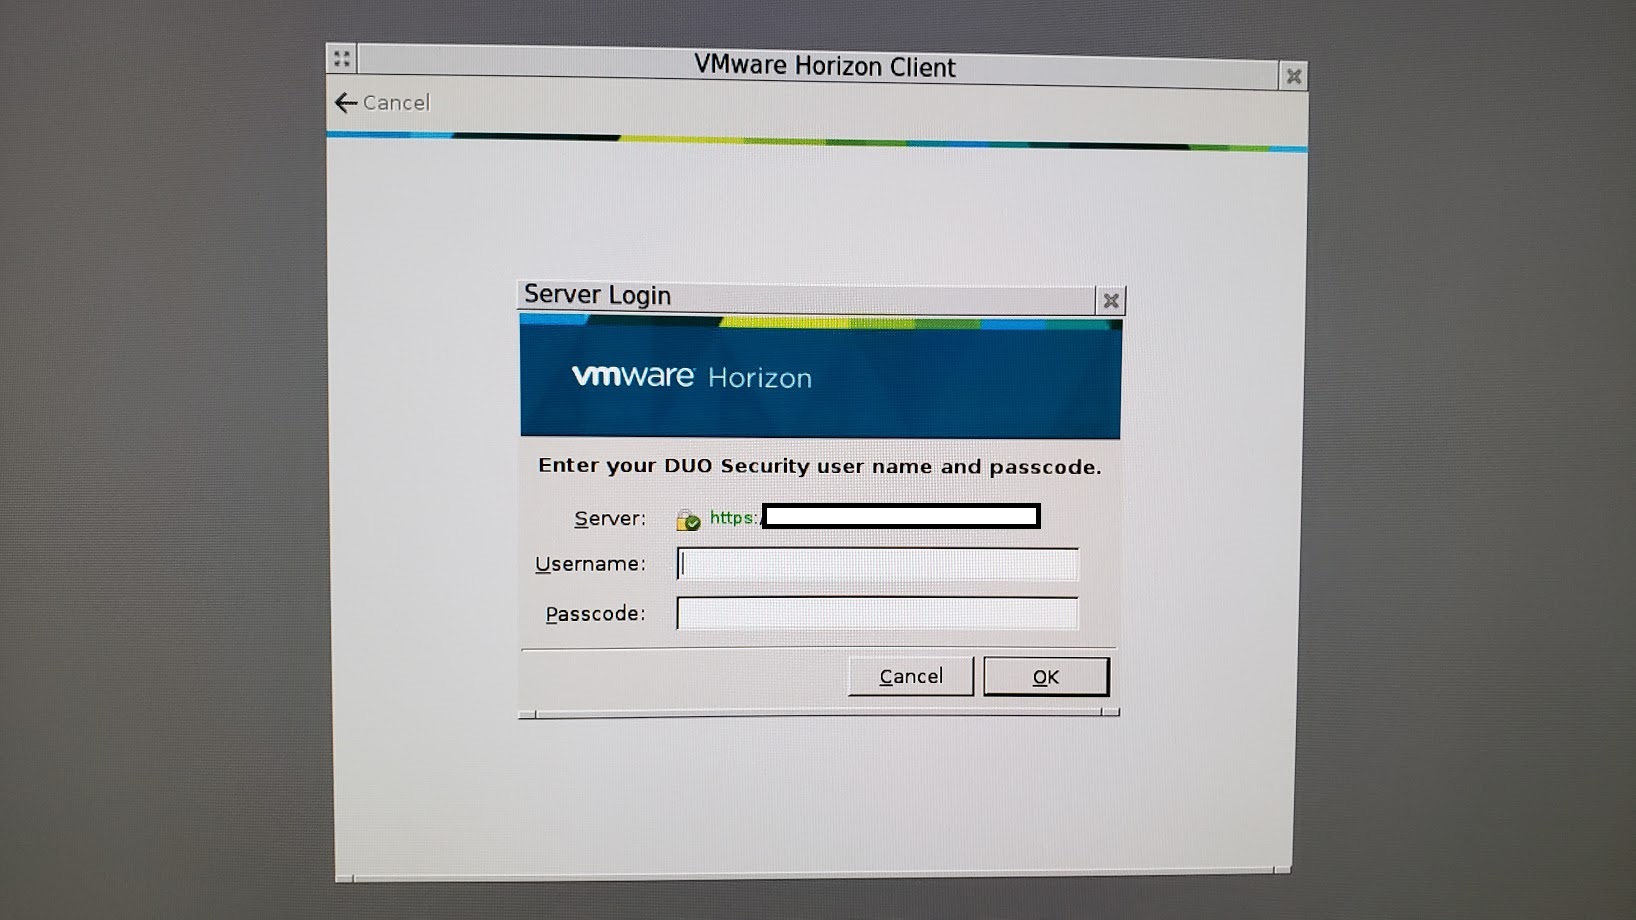
- You then must pass 2FA/MFA authentication.

- You are then presented with the desktop pools available to the user.
- Upon logging off, disconnecting, or getting kicked off the server, the session is closed and you are presented to the 10ZiG VDI Login Window.
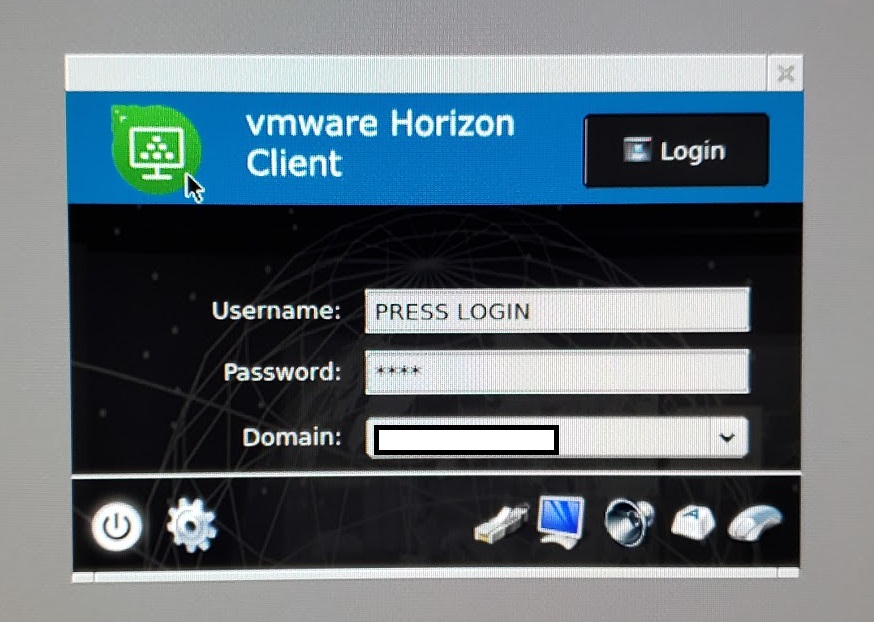
- To re-establish a connection, click “Login” as instruction by the “Username” field.
- You are presented with the DUO Login Window.
- And the process repeats.
As you can see it’s a simple loop that requires almost no training on the end user side. You must only inform the users to click “Login” where the prompt advises to do so.
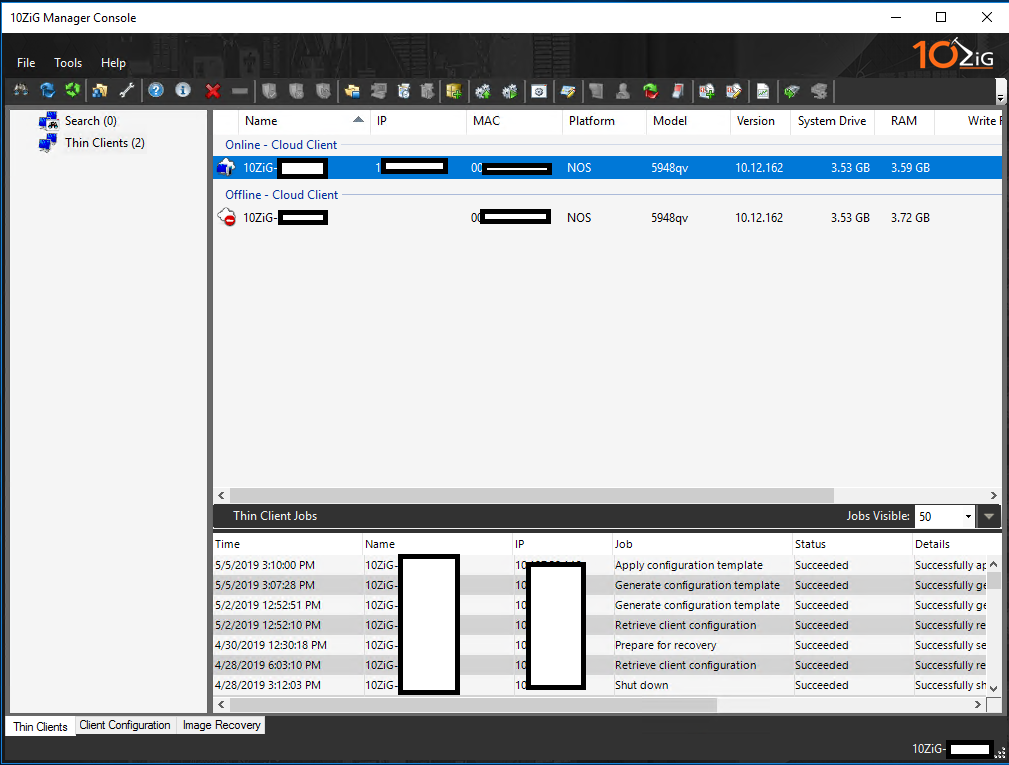
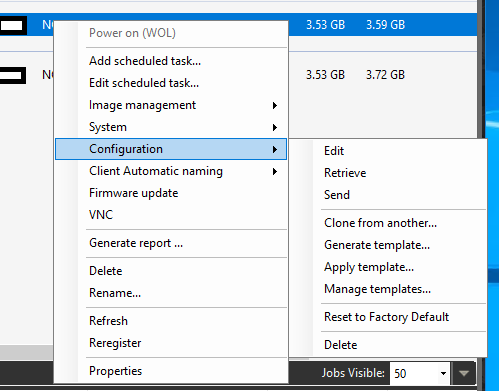
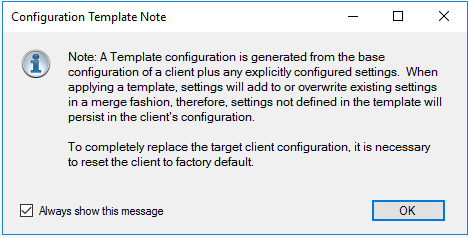
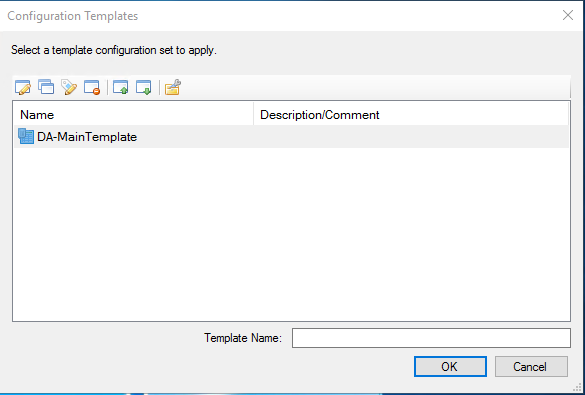
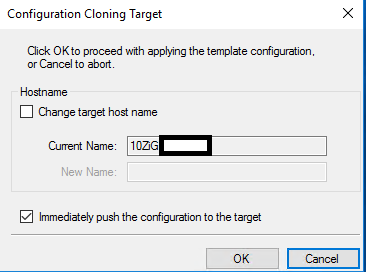
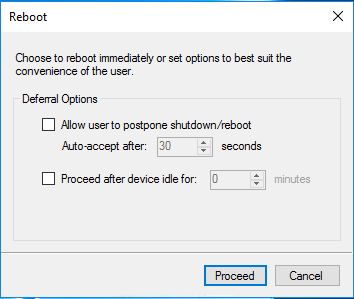
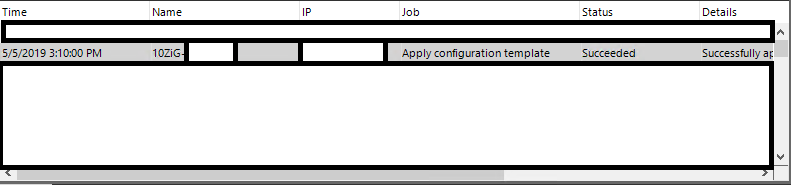
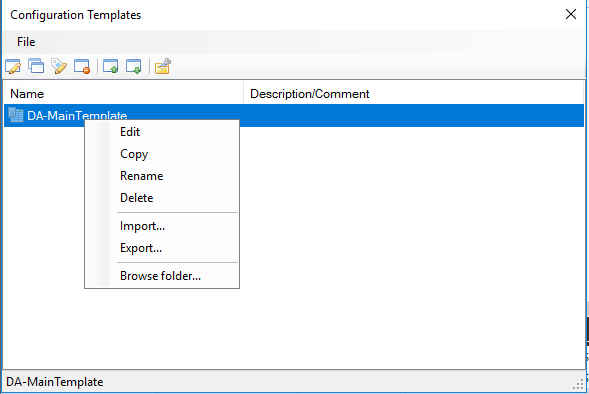
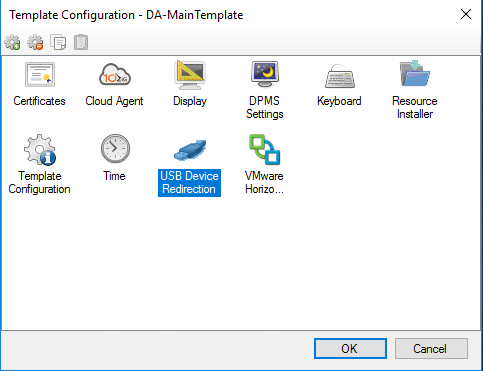
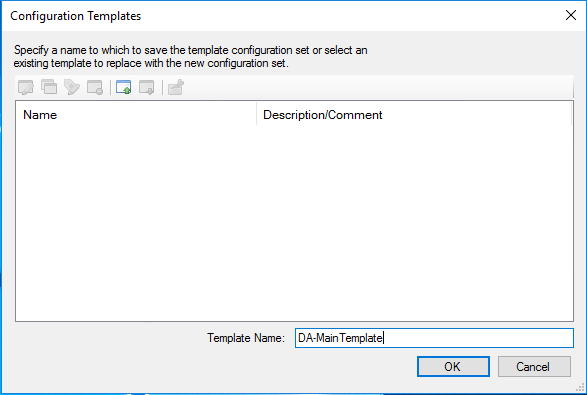
Once you configure this, you can add it to a configuration template (or generate a configuration template), and then deploy it to a large number of 10ZiG Zero Clients using 10ZiG Manager.
Let me know if this helps, and/or if you find a better way to handle the DUO integration!