There is a new issue starting to be visible in the last couple days that I’ve noticed across 3 fully patched systems (Windows 10 running Outlook 2016 connecting to Exchange 2013).
When using Microsoft Outlook 2016 with Microsoft Exchange 2013, a password prompt becomes visible when opening an attachment in an e-mail. The attachment will open, however the prompt occurs after it’s opened, and only appears if an attachment is opened in the first place. The prompt will not appear if an attachment is never opened or highlighted (selected).
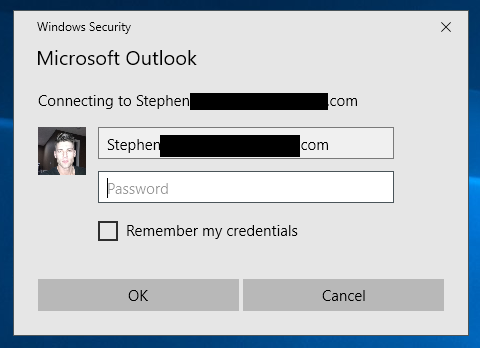
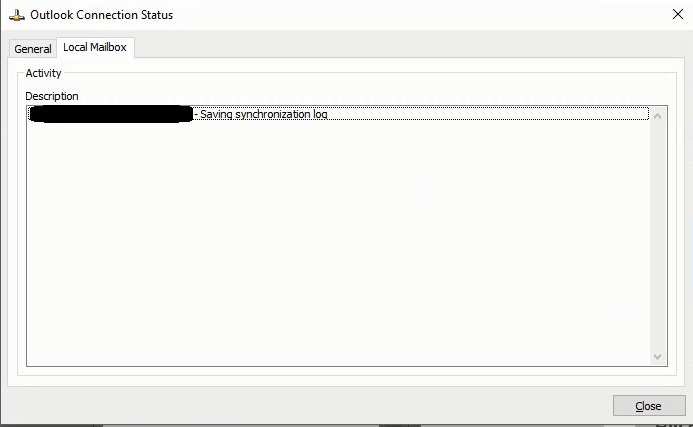
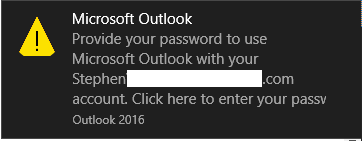
When entering AD credentials, the prompt keeps re-appearing. When you hit cancel, Outlook will continue to function. You may also see the prompt shown below.
After troubleshooting, I can confirm this is NOT related to any of the traditional “Outlook password prompt” issues that users normally experience due to misconfiguration, and I have a feeling this is related to either an Outlook 2016 update, or an update for Microsoft Windows 10 (and/or Microsoft Windows 7).
I’ve only found one other mention of this occurring on the internet which appeared a day ago, where multiple users are experience the same issue with Microsoft Office 365 with Microsoft Outlook 2016 with multiple operating systems (Windows 10 and Windows 7).
Microsoft Office Version: 1708 (Build 8431.2079)
As of right now I have no information on a fix, but I wanted to post this before other admins start ripping apart their Exchange servers trying to resolve this.
Please see below for a fix!
Update October 2nd, 2017: I’ve read that someone used the downgrade guide from Microsoft and downgraded their Outlook 2016 client to an earlier “Click-to-Run” 2016 version. This stopped the password prompt so it appears this issue has to do with the latest updates for Microsoft Office (Office 2016 and Office 365).
Update October 23rd, 2017: Still not fix, however Microsoft has finally acknowledged this issue. Information on their workaround can be found here. Essentially they’re recommending downgrading to a previous “Click to Run” version of Office.
Update November 3rd, 2017: Our Reader AC reported that Microsoft released a statement saying that they addressed this issue in the most recent flights (updates revisions for a line of products). I updated my Office 2016 Click-to-Run instance, and I am no longer receiving the password prompts. I will update in a few hours to confirm it stays this way!
To Update:
1) Open an Office Product (Such as word, outlook, etc…)
2) Click File
3) Click “Office Account”
4) Click “Update Options” on the right side
5) Click “Update Now” from the drop down
Update November 5th, 2017: I can confirm that the latest updates have fully resolved this issue, but create a new issue as well.