There may be a point in time where you may wish to clear and rebuild the search index catalog on your Microsoft Exchange 2016 Server. This will cause the server to rebuild the search index from scratch.
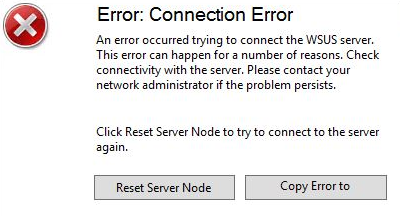
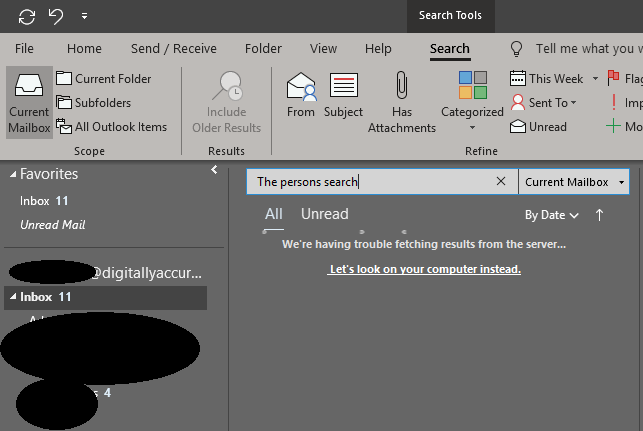
In my case, for the past month or so Outlook 2019 (Office 365) clients connecting to an on-premise Microsoft Exchange 2016 Server, have been seeing the message “We’re having trouble fetching results from the server…”. The user can click on “Let’s look on your computer instead.” and the search will complete.
When troubleshooting this issue, I tried all of the following:
- Clearing and rebuilding the Search index on the client computers
- Deleted the OST files to re-create the local cached copy on the client computers
- Restarting the Exchange Server
- Restarting the Client Computers
- Analyzing the Event Log for any errors (none)
None of the above helped in troubleshooting.
Because of this, I decided to clear and rebuild the Search Index catalog for the mailbox database on the Exchange Server.
To check the status and to see if your index is corrupt, run the following command:
Get-MailboxDatabaseCopyStatus | ft ContentIndexState
“ContentIndexState” will report as “Corrupt” if it is corrupt, or “Healthy” if it is healthy.
[PS] C:\Windows\system32>Get-MailboxDatabaseCopyStatus |  ft ContentIndexState

ContentIndexState
-----------------
          Healthy
My server reported as healthy, but I still chose to run the instructions below to rebuild the index.
Instructions
To do delete and re-create your Exchange Server Mailbox Database Search Index Catalog, please perform the following instructions.
Please Note: This is only for Exchange servers that are not part of a DAG. Do not perform these steps if your server is part of an Exchange cluster. Always make sure you have a complete backup of your server.
- Log on to your Exchange server.
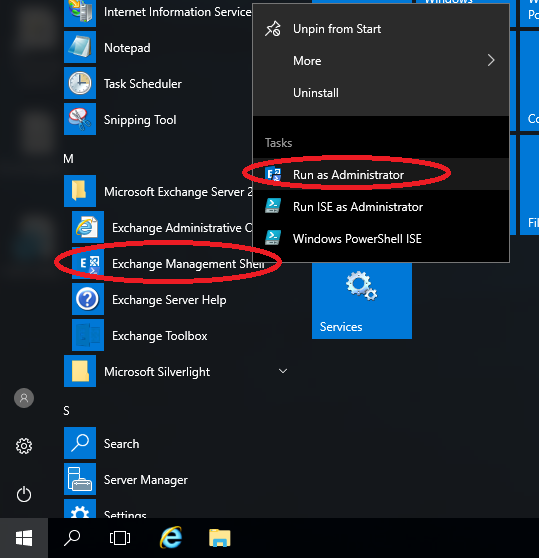
- From the Start Menu, expand “Microsoft Exchange Server 2016”, and right-click on “Exchange Management Shell”, and select “Run as Administrator”.
- Type the following commands to stop required search services.
Stop-Service MSExchangeFastSearch
Stop-Service HostControllerService
- Open a file browser (you may need Administrative privilege) and navigate to your Exchange mailbox directory.
C:\Program Files\Microsoft\Exchange Server\V15\Mailbox\Mailbox Database NumberNumberNumber
- You’ll see a folder inside of the mailbox folder with a GUID type name with Single at the end. Delete or move this (preferred is move to alternate location). I’ve put an example below.
12854239C-1823-8c32-ODJQ-SSDFK123CSDFG.1.Single
This is the folder you want to move/delete. - Go back to the “Exchange Management Shell”, and run the following commands to start the services.
Start-Service MSExchangeFastSearch
Start-Service HostControllerService
- As mentioned above, you can check the status of the rebuild by running the “Get-MailboxDatabaseCopyStatus” command, and looking at the “ContentIndexState” status.
That’s it! After running the command, you may notice your server will experience heavy CPU usage due to Exchange rebuilding the search index.
After rebuilding the search index, I noticed that my Outlook clients were able to successfully search on the server without having to select “Let’s look on your computer instead.”.