Back in February, I was approached by a company that had multiple offices. They wanted my company to come in and implement a system that allowed them to share information, share files, communicate, use their line of business applications, and be easily manageable.
Just an FYI, I provide Microsoft Small Business Server consulting services, including migrations! For more information, please visit https://www.stephenwagner.com/2020/02/28/microsoft-small-business-server-migration-upgrade/.
The Solution – Microsoft Small Business Server 2011
The first thing that always comes to mind is Microsoft Small Business Server 2011. However, what made this environment interesting is that they had two branch offices in addition to their headquarters all in different cities. One of their branch offices had 8+ users working out of it, and one only had a couple, with their main headquarters having 5+ users.
Usually when administrators think of SBS, they think of a single server (two server with the premium add-on) solution that provides a small business with up to 75 users with a stable, enterprise feature packed, IT infrastructure.
SBS 2011 Includes:
- Windows Server 2008 R2 Standard
- Exchange Server 2010
- Microsoft SharePoint Foundation 2010
- Microsoft SQL Server 2008 R2 Express
- Windows Server Update Services
- (And an additional Server 2008 R2 license with Microsoft SQL Server 2008 R2 Standard if the premium add-on is purchased)
Essentially this is all a small business typically needs, even if they have powerful line of business applications.
Additional Domain Controller on SBS
One misconception about Windows Small Business Server is the limitation of having a single domain controller. IT professionals often think that you cannot have any more domain controllers in an SBS environment. This actually isn’t true. SBS does allow multiple domain controllers, as long as there is a single forest, and not multiple domains. You can have a backup domain controller, and you can have multiple RODCs (Read Only Domain Controller), as long as the primary Active Directory roles stay with the SBS primary domain controller. You can have as many global catalogs as you’d like! As long as you pay for the proper licenses of all the additional servers 🙂
This is where this came in handy. While I’ve known about this for some time, this was the first time I was attempting at putting something like this in to production.
The Plan
The plan was to setup SBS 2011 Premium at the HQ along with a second server at the HQ hosting their SQL, line of business applications, and Remote desktop Services (formerly Terminal Services) applications. Their HQ would be sitting behind an Astaro Security Gateway 220 (Sophos UTM).
The SBS 2011 Premium (2 Servers) setup at the HQ office will provide:
- Active Directory services
- DHCP and DNS Services
- Printing and file services (to the HQ and all branch offices)
- Microsoft Exchange
- “My Document” and “Desktop” redirection for client computers/users
- SQL DB services for LoB’s
- Remote Desktop Services (Terminal Services) to push applications out in to the field
The first branch office, will have a Windows Server 2008 R2 server, promoted to a Read Only Domain Controller (RODC), sitting behind an Astaro Security Gateway 110. The Astaro Security Gateway’s would establish a site-to-site branch VPN between the two offices and route the appropriate subnets. At the first branch office, there is issues with connectivity (they’re in the middle of nowhere), so they will have two internet connections with two separate ISPs (1 line of sight long range wireless backhaul, and one simple ADSL connection) which the ASG 110 will provide load balancing and fault tolerance.
The RODC at the first branch office will provide:
- Active Directory services for (cached) user logon and authentication
- Printing and file services (for both HQ and branch offices)
- DHCP and DNS services
- “My Documents” and “Desktop” redirection for client computers/users.
- WSUS replica server (replicates approvals and updates from WSUS on the SBS server at the main office).
- Exchange access (via the VPN connection)
Users at the first branch office will be accessing file shares located both on their local RODC, along with file shares located on the HQ server in Calgary. The main wireless backhaul has more then enough bandwidth to support SMB (Samba) shares over the VPN connection. After testing, it turns out the backup ADSL connection also handles this fairly well for the types of files they will be accessing.
The second branch office, will have an Astaro RED device (Remote Ethernet Device). The Astaro/Sophos RED devices, act as a remote ethernet port for your Astaro Security Gateways. Once configured, it’s as if the ASG at the HQ has an ethernet cable running to the branch office. It’s similar to a VPN, however (I could be wrong) I think it uses EoIP (Ethernet over IP). The second branch doesn’t require a domain controller due to the small number of users. As far as this branch office goes, this is the last we’ll talk about it as there’s no special configuration required for these guys.
The second branch office will have the following services:
- DHCP (via the ASG 220 in Calgary)
- DNS (via the main HQ SBS server)
- File and print services (via the HQ SBS server and other branch server)
- “My Document” and “Desktop” redirection (over the WAN via the HQ SBS server)
- Exchange access (via the Astaro RED device)
Hardware
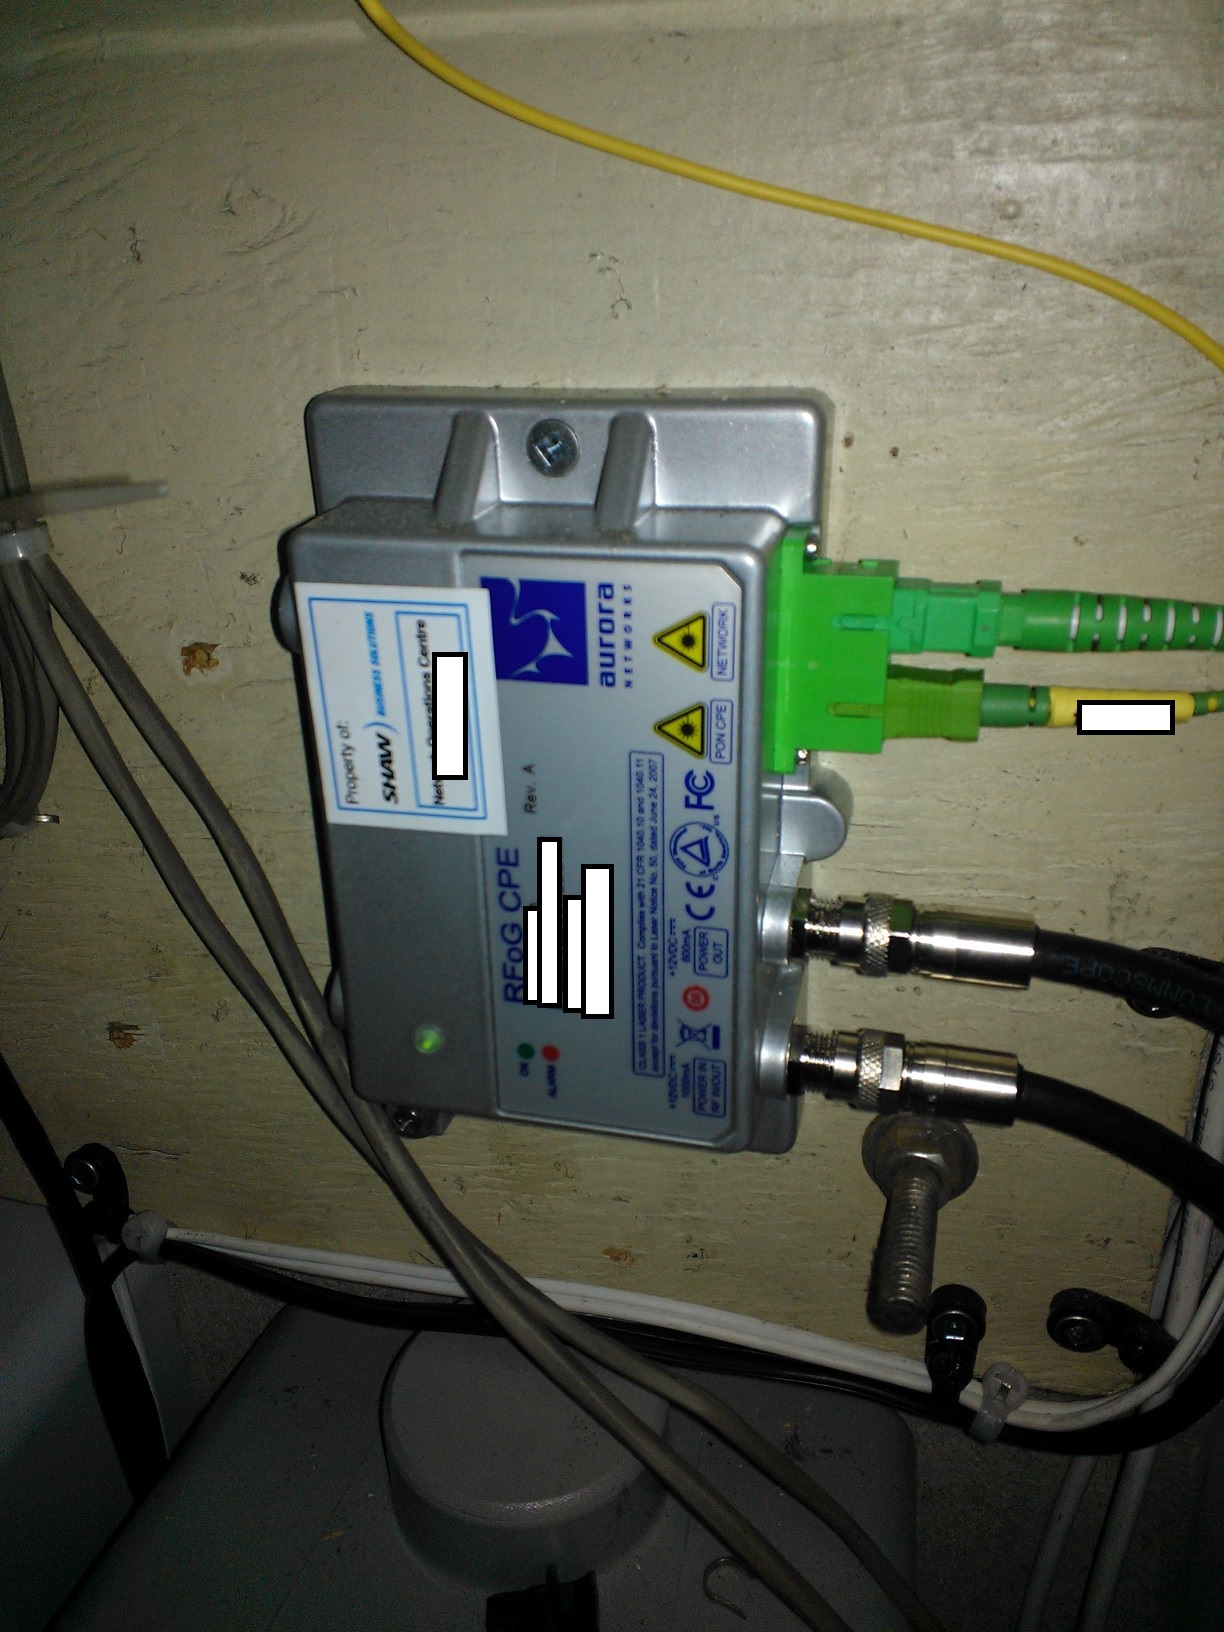
For all the servers, we chose HP hardware as always! The main SBS server, along with the RODC were brand new HP Proliant ML350p Gen8s. The second server at the HQ (running the premium add-on) is a re-purposed HP ML110 G7. I always configure iLo on all servers (especially remote servers) just so I can troubleshoot issues in the event of an emergency if the OS is down.
Implemenation
I’ll explain how this was all implemented.
- Configure and setup a typical SBS 2011 environment. I’m going to assume you already know how to do this. You’ll need to install the OS. Run through the SBS configuration wizards, enable all the proper firewall rules, configure users, install applicable server applications, etc…
- Configure the premium add-on. Install the Remote Desktop Services role (please note that you’ll need to purchase RDS CAL’s as they aren’t included with SBS). You can skip this step if you don’t plan on using RDS or the premium server at the main site.
- Configure all the Astaro devices. Configure a Router to Router VPN connection. Create the applicable firewall rules to allow traffic. You probably know this, but make sure both networks have their own subnet and are routing the separate subnets properly.
- Install Windows Server 2008 R2 on to the target RODC box (please note, in my case, I had to purchase an additional Server 2008 license since I was already using the premium add-on at the HQ site. (If you purchase the premium add-on, but aren’t using it at your main office, you can use this license at the remote site).
- Make sure the VPN is working and the servers can communicate with each other.
- Promote the target RODC to a read only domain controller. You can launch the famous dcpromo. Make sure you check the “Read Only domain controller” option when you promote the server.
- You now have a working environment.
- Join computers using the SBS connect wizard. (DO NOT LOG ON AS THE REMOTE USERS UNTIL YOU READ THIS ENTIRE DOCUMENT)
I did all the above steps at my office and configured the servers before deploying them at the client site.
You essentially have a working basic network. Now to get to the tricky stuff! This tricky stuff is to enable folder redirection at the branch site to their own server (instead of the SBS server), and get them their own WSUS replica server.
Now to the fancy stuff!
1. Installing WSUS on the RODC using the add role feature in Windows Server: You have to remember that RODC’s are exactly what they say! !READ ONLY! (As far as Active directory goes)! Installing WSUS on a RODC will fail off the bat. It will report that access is denied when trying to create certain security groups. You’ll have to manually create these two groups in Active Directory on your primary SBS server to get it to work:
- SQLServer2005MSFTEUser$RODCSERVERNAME$Microsoft##SSEE
- SQLServer2005MSSQLUser$RODCSERVERNAME$Microsoft##SSEE
Replace RODCSERVERNAME with the computer name of your RODC Server. You’ll actually notice that two similiar groups already exist (with the server name different) for the existing Windows SBS WSUS install, this existing groups are for the main WSUS server. After creating these groups, this will allow it to install. After this is complete, follow through the WSUS configuration wizard to configure it as a replica for your primary SBS WSUS server.
2. One BIG thing to keep in mind is that with RODC’s you need to configure what accounts (both user and computer) are allowed to be “cached”. Cached credentials allow the RODC to authenticate computers and users in the event the primary domain controller is down. If you do not configure this, if the internet goes down, or the primary domain controller isn’t available, no one will be able to log in to their computers or access network resources at the branch site. When you promoted the server to a RODC, two groups were created in Active Directory: Allow RODC Cached Logins, and Deny RODC Cached Logins (I could be wrong on the exact name since I’m going off memory). You can’t just select and add users to these groups, you need to also select and add the computers they use as well since computers have their own “computer account” in Active Directory.
To overcome this, create two security groups under their respective existing groups. One group will be for users of the branch office, the other group will be for computers of the branch office. Make sure to add applicable users and groups as members of the security groups. Now go to the “Allow RODC Cached Logins” group created by the dc promotion, and add those two new security groups to that group. This will allow remote users and remote computers to authenticate using cached security credentials. PLEASE NOTE: DO NOT CACHE YOUR ADMINISTRATIVE ACCOUNT!!! Instead, create a separate administrative account for that remote office and cache that.
3. One of the sweet things about SBS is all the pre-configured Group policy objects that enable the automatic configuration of the WSUS server, folder redirection, and a bunch of other great stuff. You have to keep in mind that off of the above config, if left alone up to this point, the computers in the branch office will use the folder redirection settings and WSUS settings from the main office. Remote users folder redirection (whatever you have selected, in my case My Documents and Desktop redirection) locations will be stored on the main HQ server. If you’re alright with this and not concerned about the size of the user folders, you can leave this. What I needed to do (for reasons of simple disaster recovery purposes) is have the folder re-directions for the branch office users store the redirection on their own local branch server. Also, we need to have the computers connect to the local branch WSUS server as well (we don’t want each computer pulling updates over the VPN connection as this will use up tons of bandwidth). What’s really neat is when users open applications via RemoteApp (over RDS), if they export files to their desktop inside of RemoteApp, it’ll actually be immediately available on their computer desktop since the RDS server is using these GPOs.
To do this, we’ll need to duplicate and modify a couple of the default GPOs, and also create some OU (Organizational Unit) containers inside of Active Directory so we can apply the new GPOs to them.
First, under “SBSComputers” create an OU called “Branch01Comps” (or call it whatever you want). Then under “SBSUsers” create an OU called “Branch01Users”. Now keep in mind you want to have this fully configured before any users log on for the first time. All of this configuration should be done AFTER the computer is joined (using the SBS connect) to the domain and AFTER the users are configured, but BEFORE the user logs in for the first time. Move the branch office computer accounts to the new Branch office computers OU, and move the Branch office user accounts to the Branch office users OU.
Now open up the Group policy Management Management Console. You want to duplicate 2 GPOs: Update Services Common Settings Policy (rename the duplicate to “Branch Update Services Common Settings Policy” or something), and Small Business Server Folder Redirection Policy (rename the duplicate to “Branch Folder Redirection” or something).
Link the new duplicated Update Services policy to the Branch Computers OU we just created, and link the new duplicated folder redirection to the new users policy we just created.
Modify the duplicated server update policy to reflect the address of the new branch WSUS replica server. Computers at the branch office will now pull updates from that server.
As for Folder redirection, it’s a bit tricky. You’ll need to create a share (with full share access to all users), and then set special file permissions on the folder that you shared (info available at http://technet.microsoft.com/en-us/library/cc736916%28v=ws.10%29.aspx). On top of that, you’ll need to find a way to actually create the child users folders under that share/folder in which you created. I did this by going in to active directory, opening each remote user, and setting their profile variable to the file share. When I hit apply this would create a folder with their username with the applicable permissions under that share, after this was done, I would undo that variable setting and the directory created would stay. Repeat this for each remote user at that specific branch office. You’ll also need to do this each time you add a new user if they bring on more staff, you’ll also need to add all new computers and new users to the appropriate OUs, and security groups we’ve created above.
FINALLY you can now go in to the GPO you duplicated for Branch Folder redirection. Modify the GPO to reflect the new storage path for the redirection objects you want (just a matter of changing the server name).
4. Configure Active Directory Sites and Services. You’ll need to go in to Active Directory Sites and Services and configure sites for each subnet you have (you main HQ subnet, branch 1 subent, and branch 2 subnet), and set the applicable domain controller to those sites. In my case, I created 3 sites, and configured the HQ subnet and second branch to authenticate off the main SBS PDC, and configured the first branch (with their own RODC) to authenticate off their own RODC. Essentially, this tells the computers which domain controller they should be authenticating against.
And you’re done!
A few things to remember, whenever adding new users and/or computers to the branch, ALWAYS join using SBS wizard, add computer to the branch OU, add user to the branch OU, create the users master redirection folder using the profile var in the AD user object, and separately add both user and computer accounts as members of the security group we created to cache credentials.
And remember, always always always test your configuration before throwing it out in to production. In my case, I got it running first try without any problems, but I let it run as a test environment for over a month before deploying to production!
We’ve had this environment running for months now and it’s working great. What’s even cooler is how well the Astaro Security Gateway (Sophos UTM) is handling the multiple WAN connections during failures, it’s super slick!